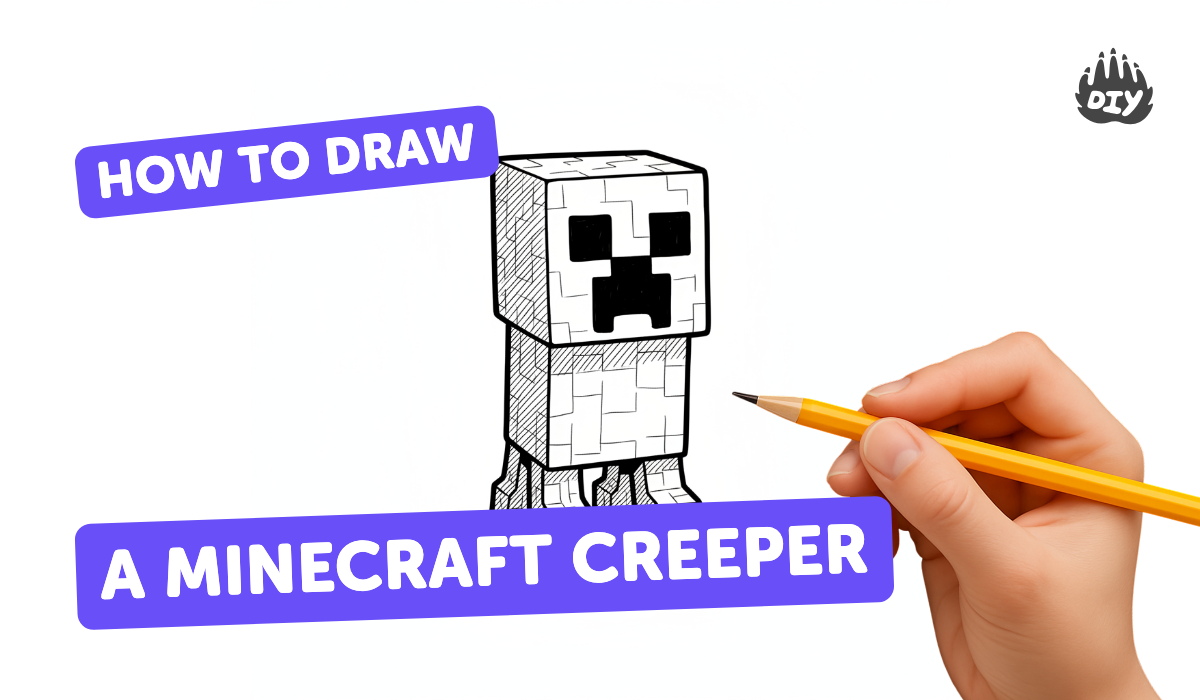
How to draw a minecraft creeper - a free minecraft creeper drawing guide
Draw a Minecraft Creeper using simple squares, a pencil grid, and shading for depth. Practice symmetry, proportion, and pixel style detailing.

Drawing Apps
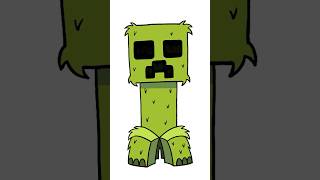
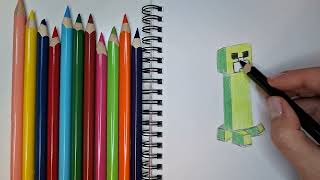
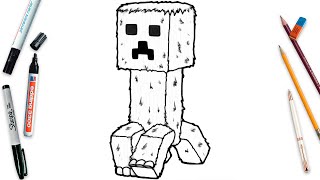
Photos of Minecraft Creeper drawings


Step-by-step guide to draw a Minecraft Creeper
How To Draw A Minecraft Creeper Face
Step 1
Put your paper on a flat surface and hold your ruler and pencil ready.
Step 2
Lightly draw a grid of 8 columns and 16 equal rows across the paper using your ruler and pencil.
Step 3
Fill in all squares in the top 8 rows across all 8 columns to make an 8 by 8 pixel head.
Step 4
Fill in the next 5 rows under the head across all 8 columns to make the creeper body.
Step 5
Fill the bottom 3 rows in four equal 2-column sections to create four short pixel legs.
Step 6
Lightly sketch two 2 by 2 square eyes on the head placed two squares in from each side and two squares down from the top.
Step 7
Sketch a centered pixel-style mouth near the bottom of the head as a horizontal row of four squares with a small column under its center.
Step 8
Trace the eyes and mouth with your black marker or pen so the face looks bold and blocky.
Step 9
Erase any extra pencil grid lines inside the creeper shape while keeping the outline clear.
Step 10
Colour all the creeper squares with light green leaving the eyes and mouth uncoloured.
Step 11
Add darker green squares randomly across the head and body to create pixel texture and interest.
Step 12
Darken one side of the creeper with extra darker green pixels to make a simple shadow and show depth.
Step 13
Share your finished Minecraft Creeper on DIY.org
Help!?
What can we use instead of a ruler, black marker, or light/darker green markers if we don't have them?
Use graph paper to skip measuring the 8×16 grid, a dark ballpoint pen or fine-tip felt pen in place of the black marker for tracing the eyes and mouth, and crayons, colored pencils, or green paint for the light and darker green squares.
My grid lines or facial features look uneven—how can I fix that so the head and eyes line up correctly?
If your grid or facial features are uneven, lightly mark equal tick marks along each paper edge and connect them with a straight edge so the top 8 rows form the 8×8 head and you can place the two 2×2 eyes exactly two squares in and two down before tracing the face with your black marker.
How can I adapt this activity for younger kids or make it more challenging for older kids?
For younger children, pre-draw a larger-block version of the 8×8 head and 8×16 grid so they only need to colour and trace the two 2×2 eyes and mouth, while older kids can shrink the squares for more pixels, add extra darker-green texture across the head and body, or deepen the side shadow for more detail.
What are some fun ways to extend or personalize the finished Minecraft Creeper?
After colouring and adding the darker-green pixels and side shadow, create a background scene, make a family of creepers with different pixel patterns, add glitter or textured paper to the shaded side, or cut out and mount the creeper on card stock to share on DIY.org.
Watch videos on how to draw a Minecraft Creeper
How to Draw a Minecraft Creeper | Step-by-Step Tutorial for Beginners
4 Videos
How to Draw a Minecraft Creeper | Step-by-Step Tutorial for Beginners
How To Draw Minecraft Creeper... step by step #creeper #howtodraw #easydrawing
How To Draw Real Creeper Easy Step By Step | Minecraft Movie Art Lesson
How to draw a creeper from MINECRAFT- easy kids Minecraft character drawings @DrawwithBee
Facts about pixel art and drawing techniques
🧱 The Creeper was created accidentally when Markus "Notch" Persson swapped dimensions while modeling a pig — and it became Minecraft's iconic foe.
🎮 Minecraft has sold over 200 million copies worldwide, making it one of the best-selling video games ever.
🎨 Classic pixel art sprites were often as small as 8×8 or 16×16 pixels — a pencil grid is a perfect way to plan that pixel style.
🔁 The Creeper's face is largely vertically symmetric, so you can draw one half and mirror it for an even, balanced look.
✏️ Using just 2–3 shades (light, mid, dark) on square blocks can create a strong sense of depth for blocky characters like a Creeper.
How do I draw a Minecraft Creeper using a pencil grid and simple squares?
What materials do I need to draw a pixel-style Minecraft Creeper?
What ages is drawing a Minecraft Creeper suitable for?
What are the benefits of drawing a Minecraft Creeper with squares and shading?
