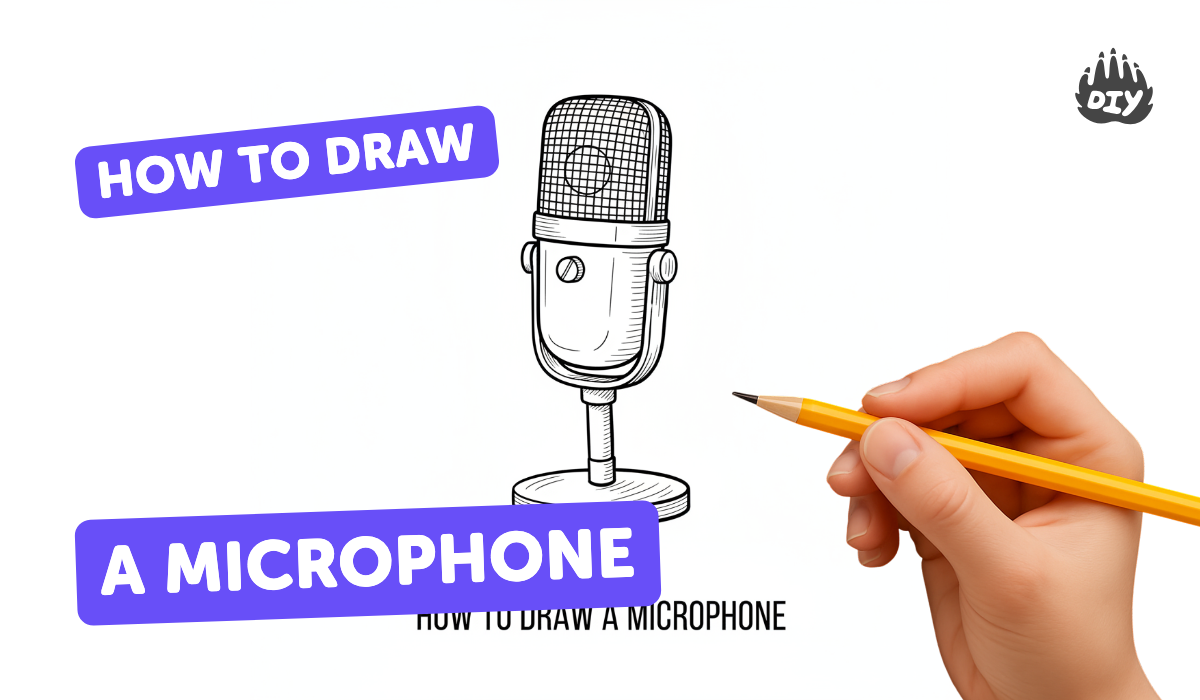
How to draw a microphone - a free microphone drawing guide
Draw a realistic microphone step by step using basic shapes, lines, and shading. Practice proportion, texture, and perspective through guided sketching exercises.

Drawing Apps
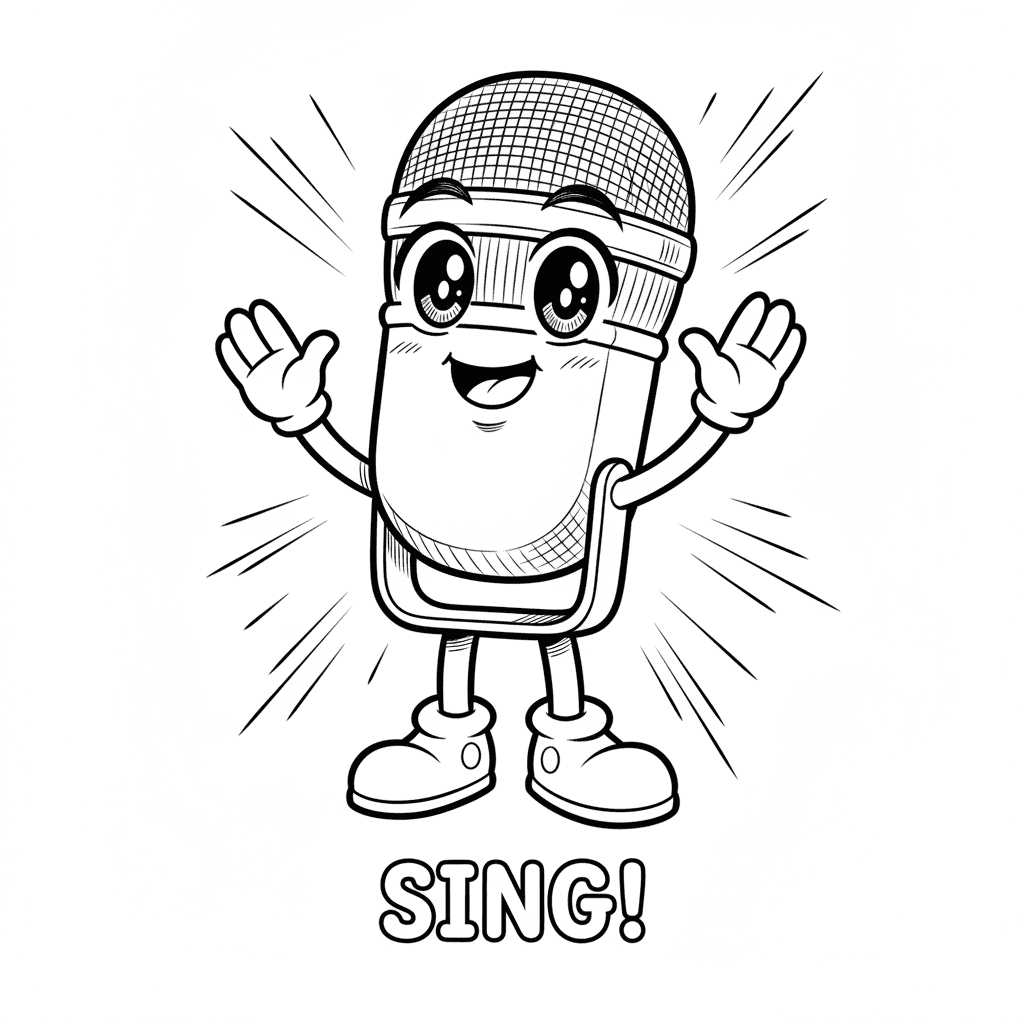
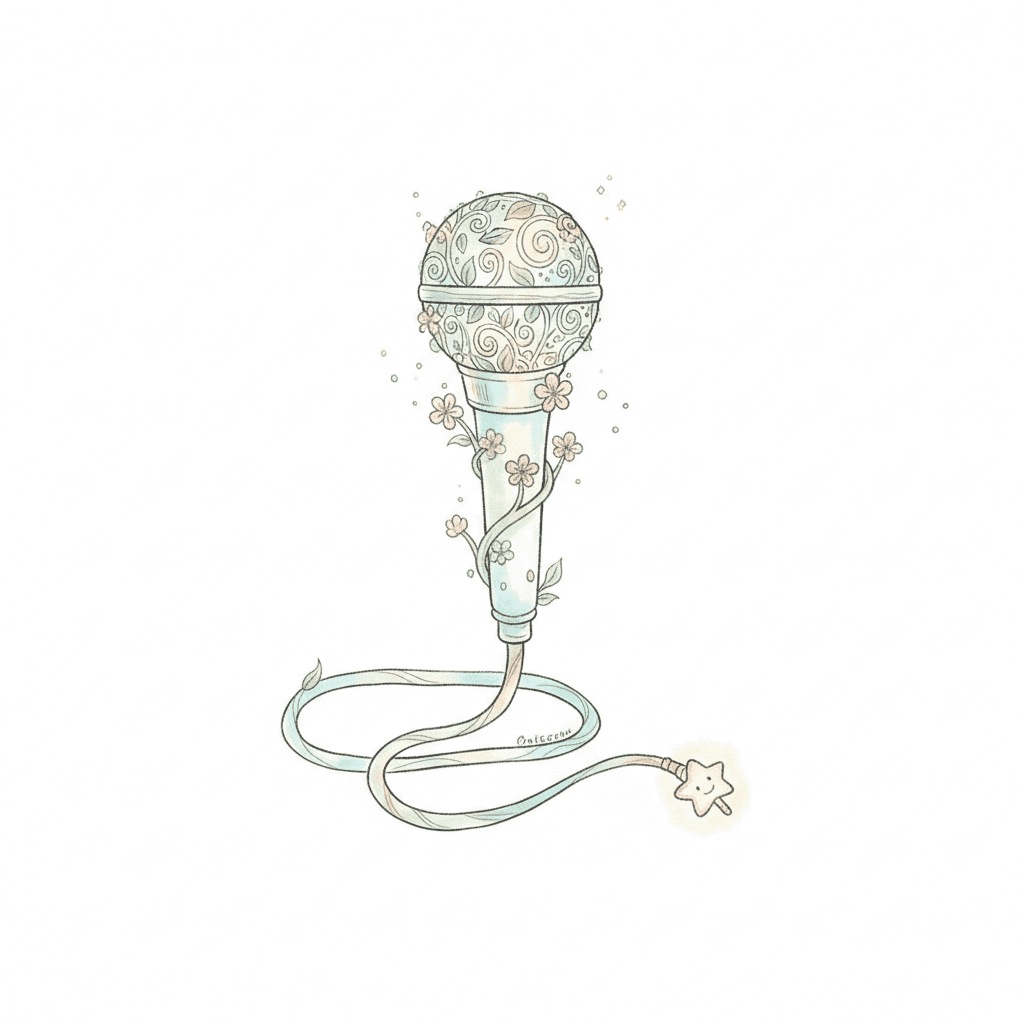
Photos of microphone drawing examples
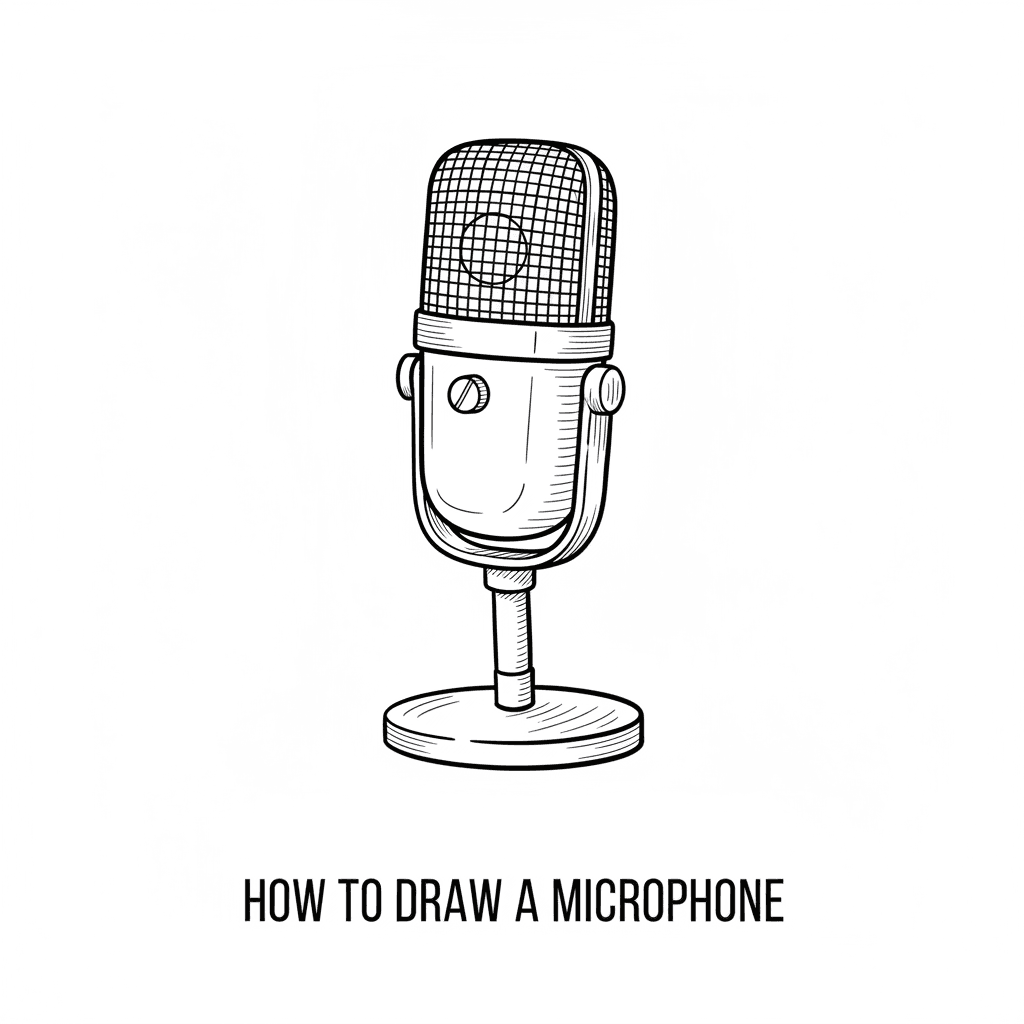

Step-by-step guide to draw a microphone
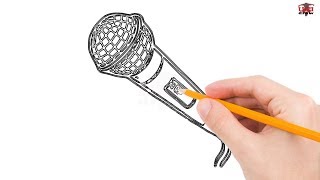
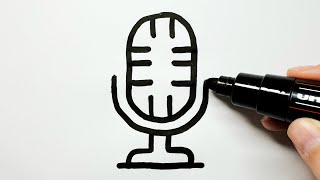
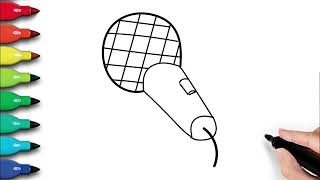
Easy Microphone Drawing 🎤 | Simple Drawing for Kids | Step by Step Tutorial
Step 1
Lightly draw a vertical centerline down the middle of your paper with your pencil.
Step 2
Draw a long narrow rectangle centered on the line for the microphone handle about two-thirds of the paper height.
Step 3
Draw a slightly flattened oval that overlaps the top of the handle for the microphone head.
Step 4
Draw a smaller oval inside the head that follows its shape to make the grille rim.
Step 5
Add three to five evenly spaced curved horizontal lines across the head to show the rounded grille rings.
Step 6
Fill the grille area with tiny diagonal hatch marks or small dots to create a mesh texture.
Step 7
Sketch a thin band where the head meets the handle to show the joint.
Step 8
Draw a small circle at the bottom of the handle for the connector jack.
Step 9
Erase any extra guidelines so the microphone outline looks clean and tidy.
Step 10
Shade the head with soft pencil strokes that follow its curve to make it look round.
Step 11
Add a soft shadow beneath the microphone to show it sitting on a surface and give it perspective.
Step 12
Share your finished realistic microphone drawing on DIY.org
Help!?
What can we use if we don't have a pencil for the light centerline and shading?
Use a light-colored erasable colored pencil, a mechanical HB pencil, or a soft charcoal pencil for the vertical centerline and shading and keep a good eraser to remove guidelines before adding fine grille details.
My oval head looks off-center or the grille lines are uneven — how can I fix it?
If the flattened oval head is off-center or grille rings look uneven, lightly erase the top of the handle and redraw the oval centered on the vertical centerline, then use a ruler or fingertip as a guide to space the three to five curved horizontal grille lines evenly.
How can I change this activity for younger or older children?
For younger kids, simplify by drawing a single oval head and rectangle handle with marker and omit the tiny diagonal hatch marks, while older kids can add extra curved grille rings, detailed mesh texture inside the grille rim, and more advanced curved shading and soft shadow for realism.
How can we extend or personalize the finished microphone drawing before sharing it on DIY.org?
To personalize the drawing before sharing on DIY.org, sketch a cable from the small circle connector jack, add a logo or color bands on the handle, and increase realism by deepening the curved shading on the head and the soft shadow underneath.
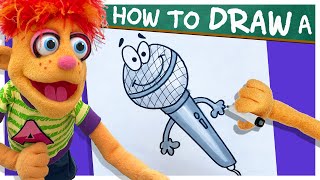
Watch videos on how to draw a microphone
How to Draw a Microphone Step by Step Easy for Beginners/Kids - Simple Microphones Drawing Tutorial
4 Videos
How to Draw a Microphone Step by Step Easy for Beginners/Kids - Simple Microphones Drawing Tutorial
How to Draw a Microphone
How to Draw a Microphone for Beginners | Simple Drawing Guide
Teach Kids To Draw A Microphone - Artie's Show
Facts about drawing for kids
🎙️ Microphones turn sound waves into electrical signals so voices can be recorded or amplified.
✏️ Artists build complex objects by starting with simple shapes like cylinders, spheres, and boxes.
📐 Linear perspective uses vanishing points to make flat drawings look three-dimensional.
🖌️ Shading tricks the eye: softer transitions create smooth surfaces, while hard edges suggest crisp highlights.
🔍 Observing a real microphone helps you capture details like mesh texture, reflections, and proportions.
How to draw a realistic microphone step by step?
What materials do I need to draw a realistic microphone?
What ages is drawing a realistic microphone suitable for?
What are the benefits of drawing a realistic microphone?
