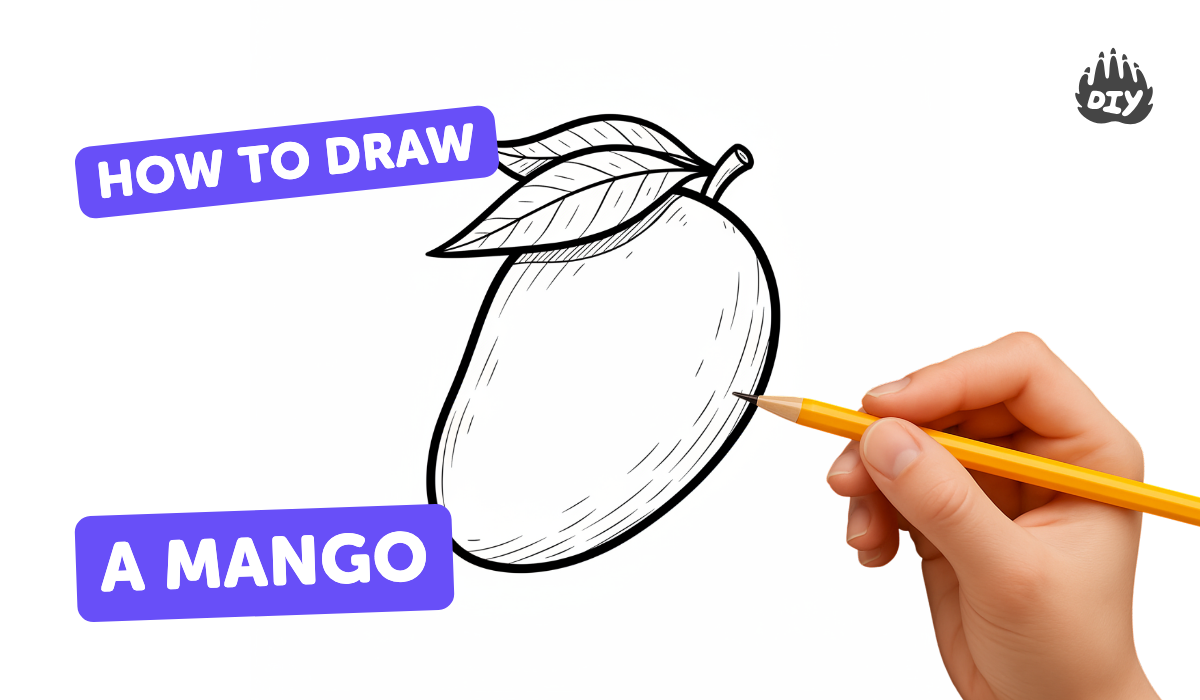
How to draw a mango - a free mango drawing guide
Draw a realistic mango step-by-step using simple shapes, lines, shading, and color. Practice careful observation, proportions, shading, and blending techniques.

Drawing Apps
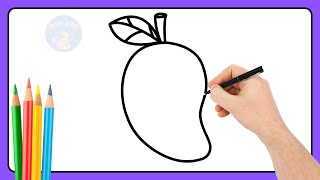
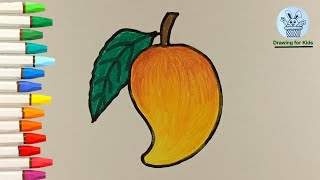
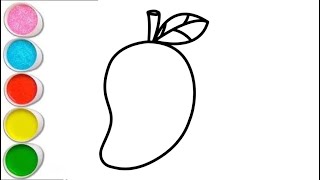
Photos of realistic mango drawings


Step-by-step guide to draw a realistic mango
How to Draw a Mango 🥭 - Easy Step by Step (Kids & Beginners)
Step 1
Gather your materials and put them on a flat table next to your mango or picture.
Step 2
Look closely at the mango or photo for one minute and notice its overall shape the light side and the dark side.
Step 3
Lightly sketch a slightly flattened oval for the mango's main shape using soft pencil strokes.
Step 4
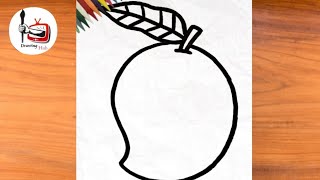
Draw a short curved stem at the top of your oval.
Step 5
Add a gentle curved line inside the shape to mark the seed bulge.
Step 6
Compare your sketch to the reference and erase or change the outline until the proportions match.
Step 7
Draw one or two soft curved contour lines across the mango to show its roundness.
Step 8
Lightly shade the side opposite the light source with even pencil strokes to create a basic shadow.
Step 9
Smooth the pencil shading with a tissue or cotton swab so the mango looks rounded.
Step 10
Darken the deepest shadow areas including the underside and near the far edge to add depth.
Step 11
Apply a light base color all over the mango with colored pencils or crayons.
Step 12
Add patches of orange red and green where you see them on the reference and tiny marks for skin texture.
Step 13
Gently blend the colored areas with a lighter pencil or tissue to make smooth color transitions.
Step 14
Use your eraser to lift a small highlight where the light hits the mango.
Step 15
Take a photo of your finished mango and share your creation on DIY.org.
Help!?
What can I use instead of a soft pencil, tissue, or cotton swab if I don't have them?
Use an HB or 2B pencil held lightly for sketching instead of a soft pencil, and smooth the shading with a clean finger, folded paper towel, or scrap tissue if you don't have a cotton swab or tissue.
My mango shape or proportions look wrong after sketching—how do I fix it?
Follow the instruction to compare your sketch to the reference and gently erase or change the outline, then recheck the slightly flattened oval and seed bulge by measuring angles with your pencil held at arm's length before adding contour lines and shading.
How can I adapt this drawing for different ages or skill levels?
For young children simplify to sketching a single flattened oval, stem, and one shaded side with a crayon, while older kids can complete every step including adding orange/red/green patches, tiny skin texture marks, blended color transitions, and lifted highlights with an eraser.
What are simple ways to extend or personalize the mango drawing activity?
Try drawing two mangoes under different light directions to practice smoothing with a tissue and deepening shadows, add a background or signature, and photograph the final piece to share your step-by-step process on DIY.org.
Watch videos on how to draw a realistic mango
How to Draw a Mango 🥭 | Easy Step by Step Drawing for Kids | Color's Artbox
4 Videos
How to Draw a Mango 🥭 | Easy Step by Step Drawing for Kids | Color's Artbox
Easy Mango Drawing for Kids | Simple Step by Step Tutorial
"How to Draw a Cute Mango for Kids | Easy Mango Drawing Tutorial
How to Draw a Mango (Step by Step)
Facts about observational drawing
🥭 There are more than 400 varieties of mango grown worldwide — great for studying lots of shapes and colors!
👀 Artists often spend several minutes just observing an object before sketching to notice subtle curves and shadows.
✏️ Most realistic drawings begin by blocking in simple shapes (ovals, triangles, lines) to get proportions right.
🎨 Ripe mango skin can blend greens, yellows, oranges, and reds — smooth color transitions make them look real.
🌓 Adding a soft core shadow plus a tiny reflected light on the shadow edge helps a mango appear three-dimensional.
How do you draw a realistic mango step-by-step?
What materials do I need to draw a realistic mango?
What ages is drawing a realistic mango suitable for?
What are the benefits and fun variations of drawing a mango?
