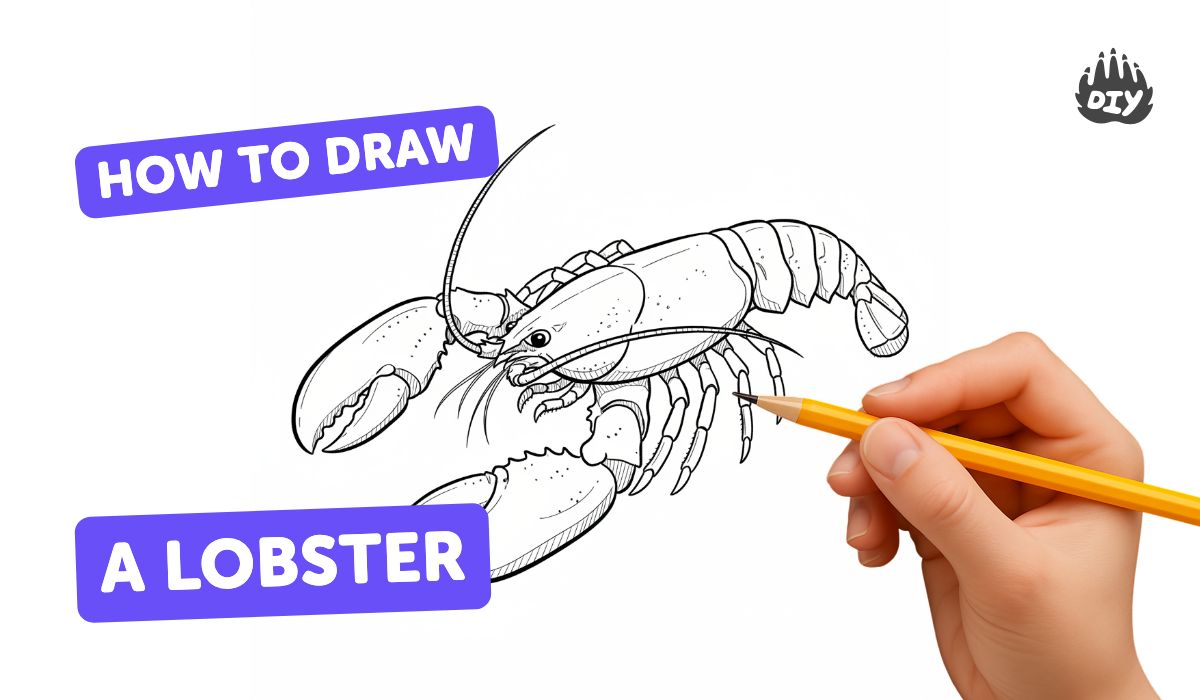
How to draw a lobster - a free lobster drawing guide
Draw a realistic lobster step by step using simple shapes, add claws, tail, antennae, and shading while observing proportions and color choices.

Step-by-step guide to draw a lobster
How to Draw a Lobster 🦞 | Easy Step-by-Step Drawing Tutorial for Kids
Step 1
Put your paper on the table in a landscape position so you have lots of room to draw.
Step 2
Lightly draw a center guideline from left to right to show where the lobster’s head and tail will go.
Step 3
Sketch a medium oval near the left third of the guideline for the lobster’s head and front body.
Step 4
Draw a long row of 5 or 6 overlapping rounded segments along the guideline to make the lobster’s tail and end with a three-lobed fan.
Step 5
Draw two small circles near the front of the head to mark where the claws will attach.
Step 6
From each circle draw the big claw shapes by making a larger rounded pincer on one side and a smaller curved pincer on the other.
Step 7
Draw four pairs of bent walking legs as simple angled lines along each side of the body segments.
Step 8
Draw two long thin curved antennae stretching out from the front of the head.
Step 9
Add eye stalks by drawing two short stems with small circles on top near the front of the head.
Step 10
Smooth and connect the simple shapes into one continuous lobster outline by tracing around your sketch to make a clear silhouette.
Step 11
Erase the center guideline and any extra sketch marks so the lobster outline is clean.
Step 12
Darken the final outline with your black pen or a darker pencil to make the lobster stand out.
Step 13
Add segment lines across the tail and small texture lines on the claws and shell to show ridges and details.
Step 14
Color your lobster using base colors and add darker tones and lighter highlights then gently blend with a cotton swab or tissue for a realistic look.
Step 15
Share your finished lobster drawing on DIY.org.
Help!?
What can I use if I don't have a cotton swab, tissue, or black pen for blending and outlining?
If you don't have a cotton swab or tissue for blending or a black pen for the final outline, use a clean fingertip or folded paper towel to blend and a fine-tipped marker or darker pencil to darken the final outline.
My tail segments and claws look uneven—how can I fix them while following the steps?
If the tail segments or claws look uneven, keep your initial strokes light, follow the center guideline to realign the row of overlapping rounded segments and the claw attachment circles, then smooth them into one continuous outline before erasing stray marks.
How can I adapt these instructions for different age groups?
For younger children, simplify by drawing only three tail segments and basic oval claws with crayons, while older kids can add the segment lines, texture lines on the claws and shell, and use darker tones plus a cotton swab or tissue to blend for a realistic finish.
What are some ways to extend or personalize the lobster drawing activity?
Extend the activity by adding an underwater background with seaweed, rocks, and bubbles, experimenting with bold color patterns or realistic highlights and darker tones blended with a cotton swab, and then share the finished lobster on DIY.org.
Watch videos on how to draw a lobster
How to Draw a Lobster for Beginners - Simple Drawing Guide
4 Videos
How to Draw a Lobster for Beginners - Simple Drawing Guide

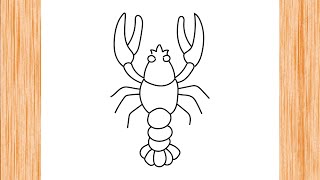
🦞 Easy Lobster Drawing for Kids | Fun & Simple Art
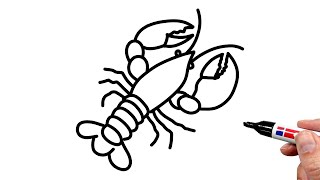
How to Draw a Lobster
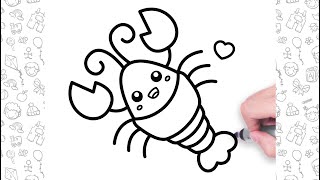
How to Draw a Cute Lobster Easy Step by Step
Facts about drawing marine animals
🦞 Lobsters can regrow lost claws and legs after molting — a great reason to notice broken limbs when you draw one!
🎨 Most live lobsters are brownish-green or bluish; they turn bright red when cooked because heat frees a red pigment called astaxanthin.
📏 Some species, like the American lobster, can grow very large — occasionally weighing over 20 pounds (around 9 kg).
👀 Lobsters have compound eyes made of many tiny units (ommatidia) that help them detect motion underwater.
🧭 Lobsters use long antennae to 'smell' and taste the water, so sketching antennae accurately helps make your drawing realistic.
How do you draw a realistic lobster step by step?
What materials do I need to draw a realistic lobster?
What ages is drawing a realistic lobster suitable for?
What are the benefits and safe variations of drawing a lobster?
