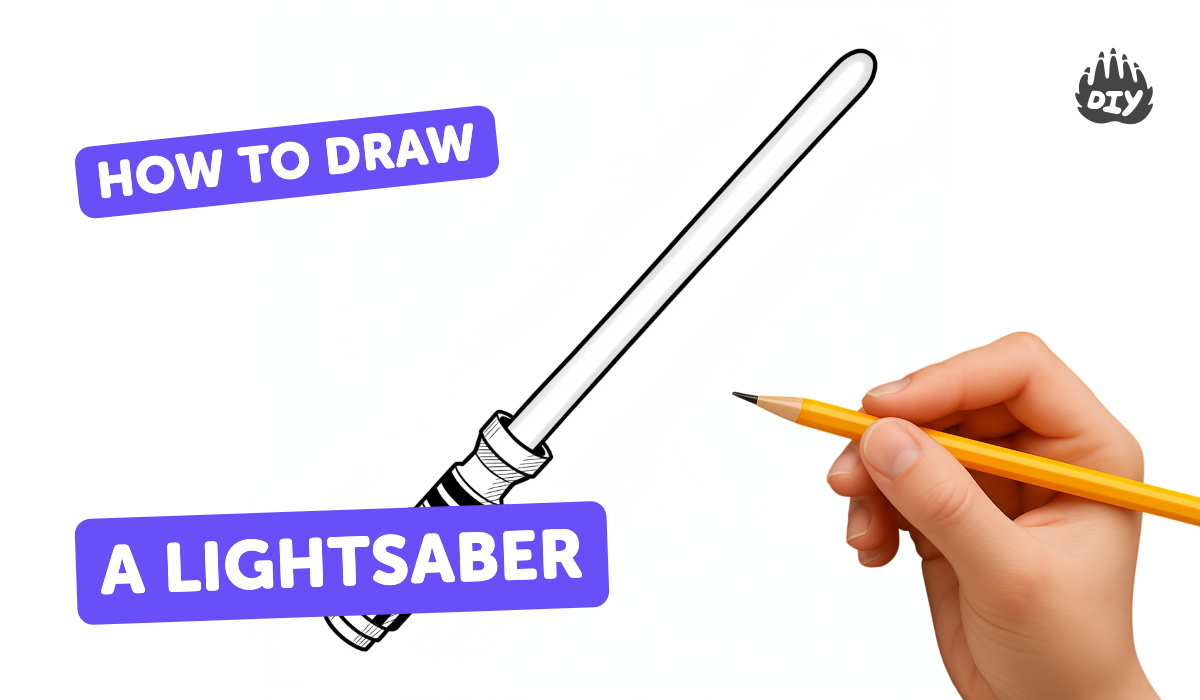
How to draw a lightsaber - a free lightsaber drawing guide
Draw a lightsaber by sketching a hilt, adding a glowing blade, practicing perspective, color and shading, and personalizing your design.

Step-by-step guide to draw a lightsaber
How To Draw A Lightsaber From Star Wars
Step 1
Place your paper landscape or portrait and draw a light straight center line from the bottom toward the top as a guide.
Step 2
Sketch the hilt at the bottom of the center line using simple rectangle and cylinder shapes for the handle.
Step 3
Add buttons rings and grooves to the hilt to make it look mechanical and interesting.
Step 4
Use the ruler to draw a light straight guideline from the top of the hilt upward for the blade direction.
Step 5
Draw the blade shape as two parallel lines along the guideline stopping where you want the tip to be.
Step 6
Make the blade slightly narrower near the tip by redrawing the tip lines a bit closer together to show perspective.
Step 7
Erase extra guide lines so only the hilt blade and details remain clean on the page.
Step 8
Lightly sketch a soft halo around the blade with your pencil to map out the glow area.
Step 9
Trace the hilt outlines with a black marker or pen and wait a moment for ink to dry.
Step 10
Color the blade with a bright color filling the outer area but leave the center lighter for a glowing core.
Step 11
Add a thin bright white or very light colored line down the middle of the blade to create a glowing core highlight.
Step 12
Shade the hilt on the side away from the blade light to show shadows and make the metal look 3D.
Step 13
Personalize your lightsaber by adding symbols patterns or a unique color scheme and then share your finished creation on DIY.org
Help!?
What can we use instead of a ruler or a black marker if we don't have them?
Use the straight edge of a book or a credit card for the 'Use the ruler to draw a light straight guideline' step, and substitute a dark ballpoint pen or sharpened pencil to trace the hilt outlines if you don't have a black marker.
My blade lines look wobbly and my marker smudged—how do I fix that?
Redraw the blade lightly with a pencil using the center guide and ruler so the two parallel lines match before inking, and when you 'Trace the hilt outlines with a black marker or pen' let the ink dry fully and rest your hand on scrap paper to avoid smudges.
How can I change the activity for different ages?
For preschoolers skip the ruler and have them draw a simple rectangle hilt and color the blade with broad crayons, while older kids can follow all steps exactly—adding the thin bright white core line, detailed grooves, and the shaded 3D hilt.
What are some fun ways to personalize or upgrade the lightsaber drawing?
Add symbols or patterns to the hilt as described in the 'Personalize your lightsaber' step, use metallic pens for the hilt, layer a sheet of tracing paper over the soft halo to intensify the glow, or place a small LED behind the paper for a real light effect before sharing on DIY.org.
Watch videos on how to draw a lightsaber
How to Draw Kylo Ren's Lightsaber
3 Videos
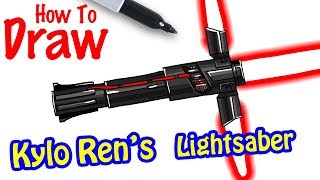
How to Draw Kylo Ren's Lightsaber
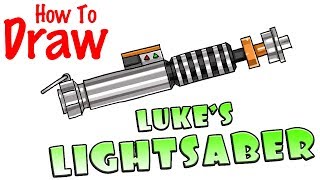
How to Draw Luke Skywalker's Lightsaber
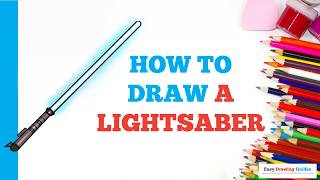
How to Draw a Lightsaber in a Few Easy Steps: Drawing Tutorial for Beginner Artists
Facts about drawing and sketching for kids
✨ The lightsaber is a fictional energy sword from Star Wars — its famous glow was created with visual effects and clever filmmaking tricks!
🔊 The iconic hum of a lightsaber was made by blending sounds like an old movie projector and a buzzing microphone for a living, breathing effect.
🌈 In Star Wars lore, kyber crystals inside the hilt are said to give each lightsaber its color — the crystal 'chooses' its wielder.
📐 One-point (linear) perspective uses a single vanishing point on the horizon — perfect for drawing a saber that looks like it's pointing straight at you.
🔧 Movie prop makers often built lightsaber hilts from recycled camera parts, plumbing pieces, and flashlight handles — real-world bits turned into sci-fi gear!
How do I draw a lightsaber step by step?
What materials do I need to draw a lightsaber?
What ages is this lightsaber drawing activity suitable for?
What are some fun variations or ways to personalize a lightsaber drawing?
