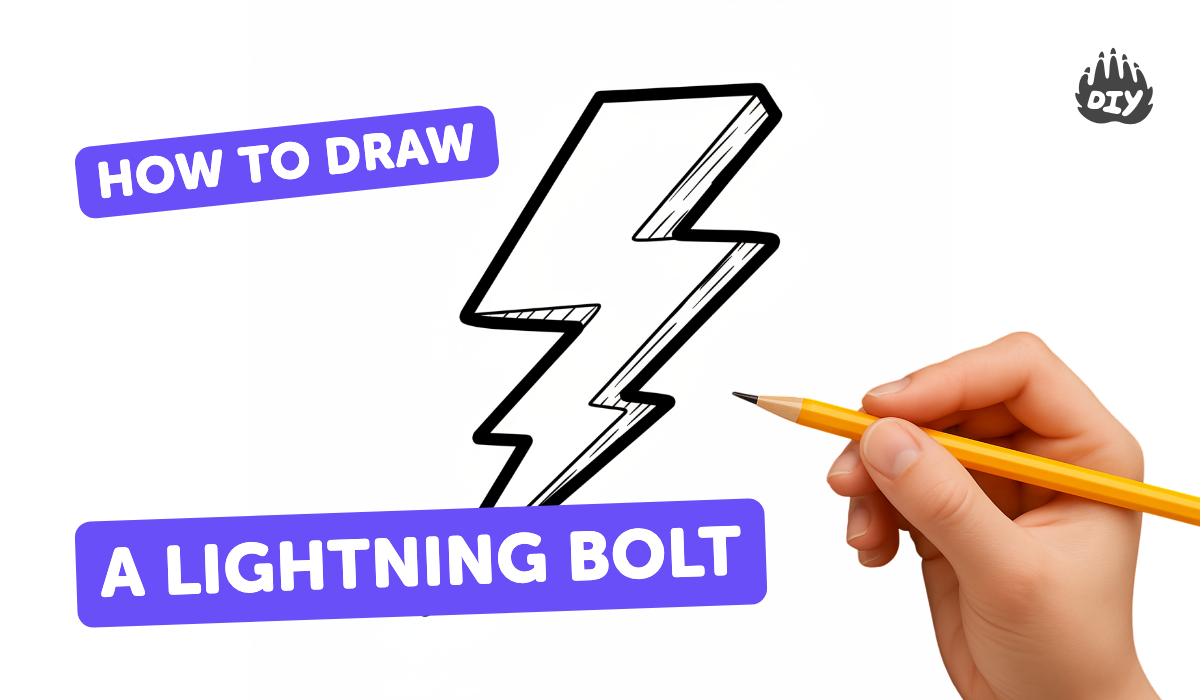
How to draw a lightning bolt - a free lightning bolt drawing guide
Draw a striking lightning bolt step by step using simple shapes, practice clean lines, add shading and color for a dramatic storm picture.

Drawing Apps
Photos of lightning bolt drawings


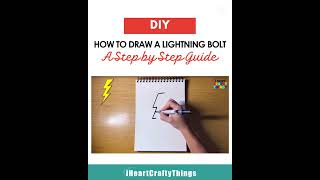
Step-by-step guide to draw a lightning bolt
🎨 How to Draw a Lightning Bolt - Step by Step for Kids ⚡
Step 1
Put your paper in front of you and lightly mark one dot near the top and one dot lower down to show where the lightning will start and end.
Step 2
Draw a light diagonal line connecting the two dots to give your lightning a direction.
Step 3
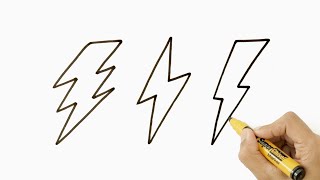
From the diagonal line draw a zigzag path of sharp V shapes to make the main lightning bolt shape.
Step 4
Draw a second zigzag line parallel to the first so the two lines form the outer edges of the bolt.
Step 5
Erase the diagonal guide line and any stray pencil marks inside the bolt so the bolt outline is clean.
Step 6
Trace over the final lightning outline with your black pen or fineliner to make bold clean lines.
Step 7
Wait for the ink to dry a little then gently erase all remaining pencil marks so only the ink lines remain.
Step 8
Add small forked branches and inner jagged lines inside the bolt for texture and energy.
Step 9
Shade the bolt by coloring the edges darker and leaving the center lighter to make it look like it is glowing.
Step 10
Draw stormy clouds around the top of the bolt and add rain or flashes to make the scene dramatic.
Step 11
Add final highlights or tiny bright lines with a light-colored pencil or by leaving thin white spaces for extra shine.
Step 12
Take a picture or scan your finished stormy lightning drawing and share it on DIY.org
Help!?
What can we use instead of a black pen/fineliner or a light-colored pencil if we don't have them?
Use a fine-tip permanent marker or a dark mechanical pencil to trace the bolt instead of a fineliner, and substitute a white gel pen, a very sharp white colored pencil, or simply leave thin white paper spaces for the final highlights.
My ink smudged when I tried to erase pencil lines—how do I avoid that?
After you trace the final lightning outline with your black pen, wait until the ink is completely dry and then gently remove the diagonal guide line and stray pencil marks with a clean kneaded eraser to prevent smearing.
How can this activity be adapted for different age groups?
For younger children, simplify by drawing larger, fewer V-shaped zigzags and using washable markers instead of a fineliner, while older kids can add the parallel edge, inner jagged lines, careful edge-shading for a glowing center, and small forked branches for detail.
What are simple ways to extend or personalize the lightning drawing after it's finished?
Enhance the scene by coloring the edges darker for a glowing gradient, adding stormy clouds and rain as described, applying bright highlights with a white gel pen or left white spaces, and then photograph or scan your drawing to share on DIY.org.
Watch videos on how to draw a lightning bolt
How to Draw a Lightning Bolt #drawingtutorial
4 Videos
How to Draw a Lightning Bolt #drawingtutorial
⚡ How to Draw a Lightning Bolt - Easy Step-by-Step Guide! 🌩️ #howtodraw #drawingtutorial
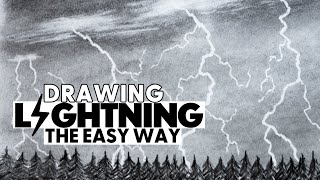
How to Draw Lightning The EASY WAY
How to Draw Lightning Bolts | Easy Step by Step | Draw with Sketchy
Facts about drawing and shading
⚡ Lightning can heat the air around it to about 30,000 kelvin — roughly five times hotter than the Sun's surface!
🌩️ Thunder is the sound of air rapidly expanding after lightning super-heats it — that's why you often see lightning before you hear thunder.
✏️ Cartoon lightning bolts are usually made from 3–5 zigzag segments, which makes them great for step-by-step drawing practice.
🖍️ To make a bolt look like it's glowing, leave the bolt mostly white and add darker shading and color around it for strong contrast.
🎨 Using bright yellows or whites against deep blues or purples instantly makes a storm picture feel dramatic and powerful.
How can I teach my child to draw a lightning bolt step by step?
What materials do I need to draw a lightning bolt with my child?
What ages is drawing a lightning bolt suitable for?
What are the benefits of practicing lightning bolt drawings with kids?
