How to draw a lighthouse - a free lighthouse drawing guide
Draw a detailed lighthouse step-by-step using simple shapes, perspective, shading, and color to learn drawing fundamentals and seaside features confidently.

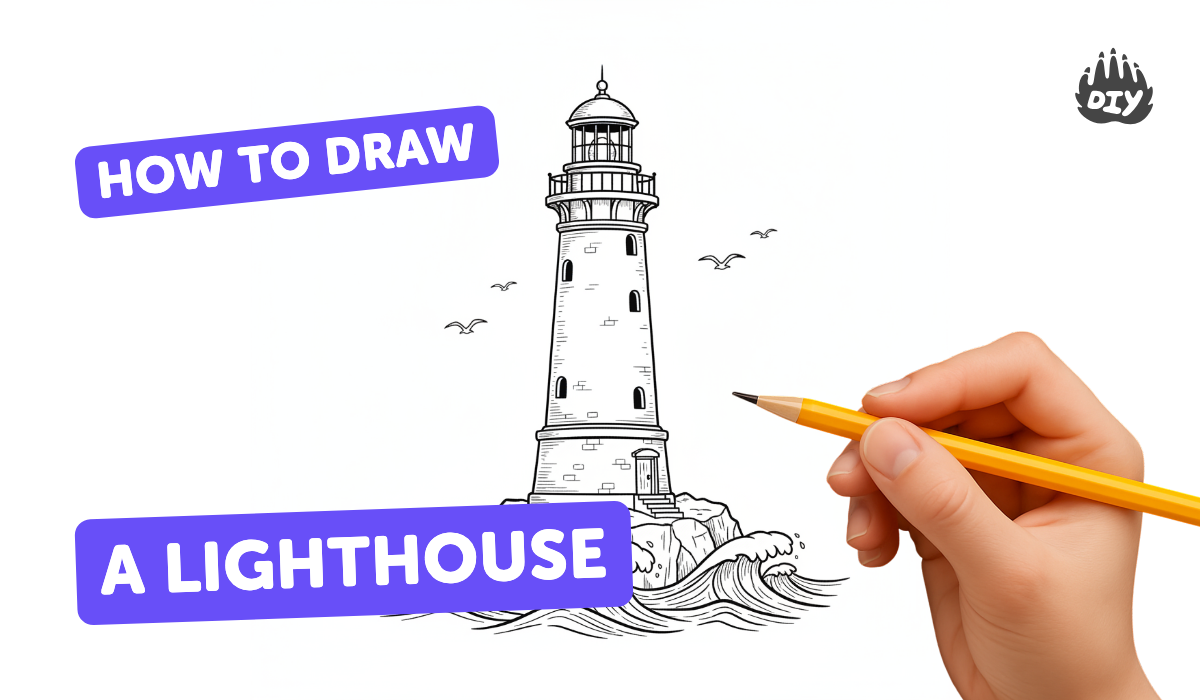
Step-by-step guide to draw a lighthouse
How To Draw A Lighthouse
Step 1
Draw a light horizontal horizon line across your paper to show where sea meets sky.
Step 2
Mark a single vanishing point a little above the horizon toward the center of the page.
Step 3
Draw a vertical centerline from near the bottom of the paper up toward the vanishing point to mark the lighthouse position.
Step 4
Sketch a tall trapezoid around the centerline with the top narrower than the base to form the tapered tower.
Step 5
Add a wide curved base under the tower so the lighthouse sits firmly on the ground or rocks.
Step 6
Draw the lantern room on top by sketching a short cylinder or small rectangle with a curved top and then add a simple cone or dome roof.
Step 7
Add a rounded door at the base and place small rectangular or square windows up the tower aligned along the centerline.
Step 8
Draw gently curved horizontal lines around the tower to make stripes and add a thin circular railing line around the lantern room.
Step 9
Sketch a few rocks and wavy shoreline lines at the tower’s base to create a seaside scene.
Step 10
Erase extra construction lines and the centerline so your lines look clean and ready for shading.
Step 11
Pick where the light comes from (left or right) and add shading on the opposite side using pencil hatching; blend with a finger or tissue for smooth shadows.
Step 12
Color your lighthouse and background using brighter tones toward the light source and darker tones in shaded areas to show form.
Step 13
Share your finished lighthouse drawing on DIY.org
Help!?
What can we use instead of a tissue or blending stump for the shading step if we don't have one?
If you don't have a tissue or blending stump for the step that says "blend with a finger or tissue," use a clean fingertip, a cotton swab, a folded paper towel, or a small piece of torn tissue to smooth the pencil hatching.
My trapezoid tower and windows look crooked—how do I fix alignment while following the instructions?
If the trapezoid or windows look lopsided, redraw or darken the vertical centerline from step 3 with a ruler, mark equal spacing with tiny pencil ticks along that centerline to place the windows in step 7, and then erase the construction lines as instructed in step 11.
How can I adapt this lighthouse drawing activity for different age groups?
For younger kids, pre-draw the horizon, vanishing point, and a simple wide tower outline for them to add the door, windows, and big stripes with crayons, while older kids can make the trapezoid taper accurately to the vanishing point, add detailed lantern-room railing, textured rocks, and more advanced hatching and blending for shading.
What are some ways to extend or personalize the lighthouse drawing after finishing the basic steps?
To personalize and extend the drawing, add radiating light beams from the lantern room in step 6, paint a sunset wash behind the horizon, glue small pebbles or sand to the rocks at the base, create patterned stripes, or add boats and seagulls before sharing the finished artwork on DIY.org.
Watch videos on how to draw a lighthouse
Lighthouse Sketching Tutorial - Step by Step Lesson
4 Videos

Lighthouse Sketching Tutorial - Step by Step Lesson
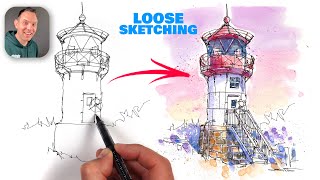
How to sketch a LIGHTHOUSE in 5 STEPS! (Loose Ink & Watercolor Sketching)
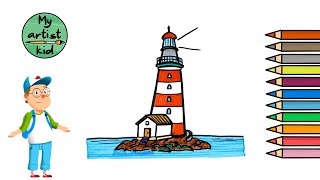
How to Draw a Lighthouse - Easy drawing, painting and coloring for kids
How to Draw a Lighthouse Easy (using the Number 97) For Kids!
Facts about drawing fundamentals for kids
🧭 Many lighthouses wear unique paint patterns called "daymarks" so sailors can recognize them during daylight.
🔦 Fresnel lenses focus light into a powerful beam that can travel many miles to warn ships at sea.
🎯 Linear perspective uses a vanishing point on the horizon to make buildings like lighthouses look realistic and three-dimensional.
🌊 Coastal lighthouses are often built with rounded bases or heavy foundations to deflect huge waves and survive storms.
🖌️ Shading (chiaroscuro) adds light and shadow to flat drawings so round towers and curved surfaces look 3D.
How do I teach my child to draw a detailed lighthouse step-by-step?
What materials do I need to draw a detailed lighthouse with my child?
What ages is drawing a step-by-step detailed lighthouse suitable for?
What are the benefits of drawing a lighthouse step-by-step for children?
