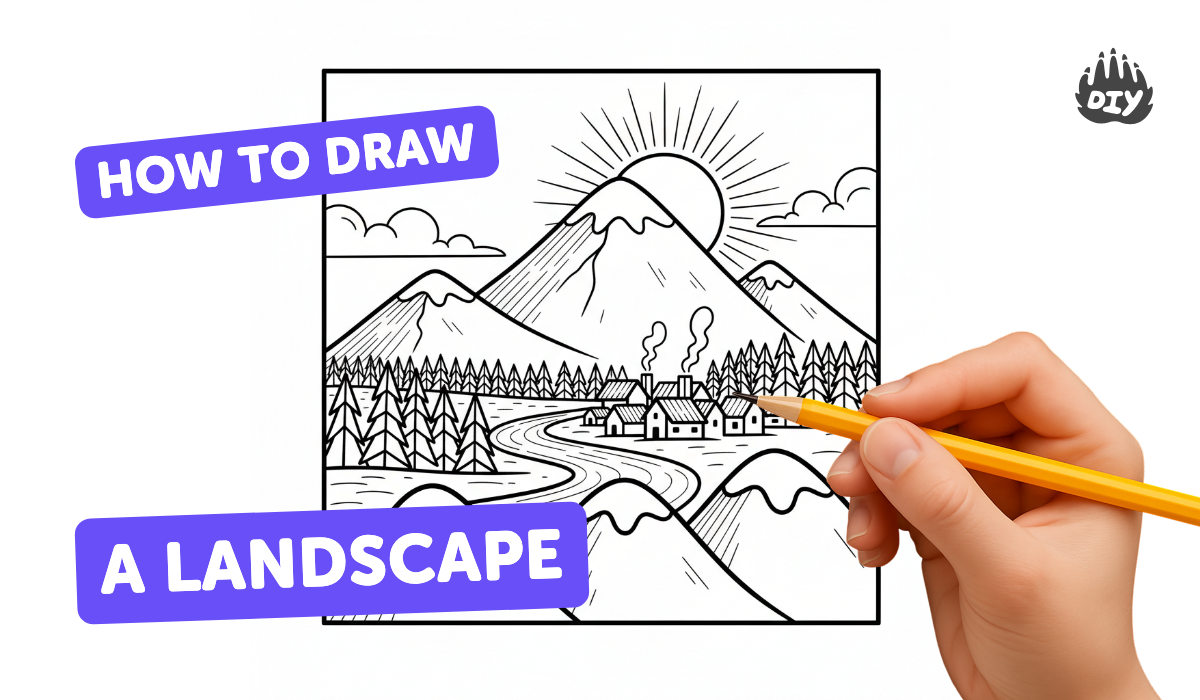
How to draw a landscape - a free landscape drawing guide
Draw a simple outdoor landscape using pencils, crayons, or markers. Practice perspective, layering, shading, and color blending to create depth.

Drawing Apps
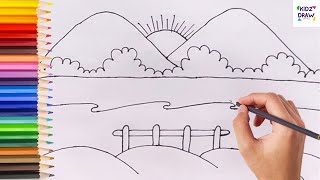
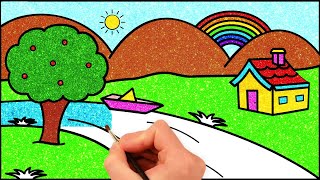
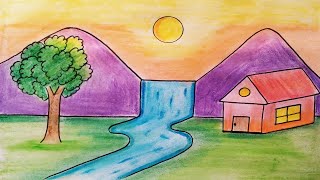
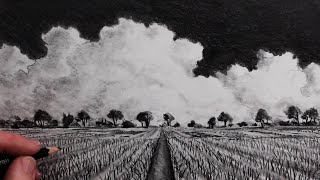
Photos of simple outdoor landscape drawings


Step-by-step guide to draw a simple outdoor landscape
How To Draw a Landscape--Art Lesson For Kids
Step 1
Choose a comfortable flat workspace.
Step 2
Lay out your paper pencil eraser and coloring materials within reach.
Step 3
Lightly draw a horizon line across the paper to divide sky from land.
Step 4
Sketch the large shapes for the foreground middle ground and background using simple shapes like hills rectangles and circles.
Step 5
Draw a focal object such as a tree or a house in the middle ground.
Step 6
Add smaller elements like bushes rocks paths or clouds to suggest distance.
Step 7
Erase any extra sketch lines so the main shapes look clean.
Step 8
Decide the direction of light and mark it with a small arrow on the edge of your paper.
Step 9
Use your pencil to add shadows and lighter areas by shading the foreground darker and the background lighter to create depth.
Step 10
Color the background first using light soft colors for sky and distant hills.
Step 11
Color the middle ground next using slightly stronger colors.
Step 12
Color the foreground last using the strongest darkest colors.
Step 13
Blend colors where they meet by gently rubbing with a tissue or cotton swab for smooth transitions.
Step 14
Add texture strokes for grass bark and cloud fluff to make your scene come alive.
Step 15
Share your finished creation on DIY.org
Help!?
What can I use if I don't have cotton swabs, tissues, or specific coloring pencils listed in the materials?
Use a folded paper towel or your fingertip to blend colors where they meet instead of a cotton swab or tissue, and swap crayons or markers for colored pencils while following the step to color background first, then middle ground, then foreground.
My drawing looks flat — what common mistakes in these steps cause that and how do I fix them?
If the scene looks flat, recheck and redraw the horizon line and the light-direction arrow, erase stray sketch lines, then darken the foreground and lighten the background with gentle pencil shading to increase depth as the instructions describe.
How can I adapt this landscape activity for younger children or older kids who want more challenge?
For younger children, simplify steps to large shapes and one focal object to draw and color, while older kids can add detailed texture strokes for grass and bark, more precise light-and-shadow shading, and careful color blending between planes.
What are simple ways to personalize or extend the finished landscape before sharing it on DIY.org?
Personalize by changing the focal object (for example swap the tree for a house), add small elements like animals or a path, experiment with mixed media such as a watercolor wash under colored pencils, and enhance textures and blended transitions as in the instructions before posting on DIY.org.
Watch videos on how to draw a simple outdoor landscape
Easy Landscape Drawing for Kids 🌳🌞 | Step by Step Scenery Drawing Tutorial
4 Videos
Easy Landscape Drawing for Kids 🌳🌞 | Step by Step Scenery Drawing Tutorial
How to Draw Simple Landscape Picture | Glitter Painting for Kids | HooplaKidz How To
Easy landscape drawing for kids and beginners|Learn house and nature simple painting
How to Draw a Landscape Step-by-Step for Beginners
Facts about landscape drawing and perspective
🌄 Landscape painting became a major art genre in Europe during the 17th century — the Dutch Golden Age loved everyday nature scenes!
🧭 Artists like Filippo Brunelleschi and Leon Battista Alberti helped invent linear perspective in the Renaissance so flat pictures can look 3D.
🎨 Color blending works with pencils, crayons, or markers: tiny overlapping layers mix visually to make smooth shades and new hues.
✏️ Shading tricks — like hatching, cross-hatching, or soft smudging — can make a flat shape look round and lit from a specific direction.
🌤️ Drawing outdoors “en plein air” helps artists capture real changing light quickly — many Impressionist works began as outdoor studies.
How do you draw a simple outdoor landscape step by step?
What materials do I need to draw a landscape with my child?
What ages is this landscape drawing activity suitable for?
What are the benefits and variations of drawing outdoor landscapes, and are there any safety tips?
