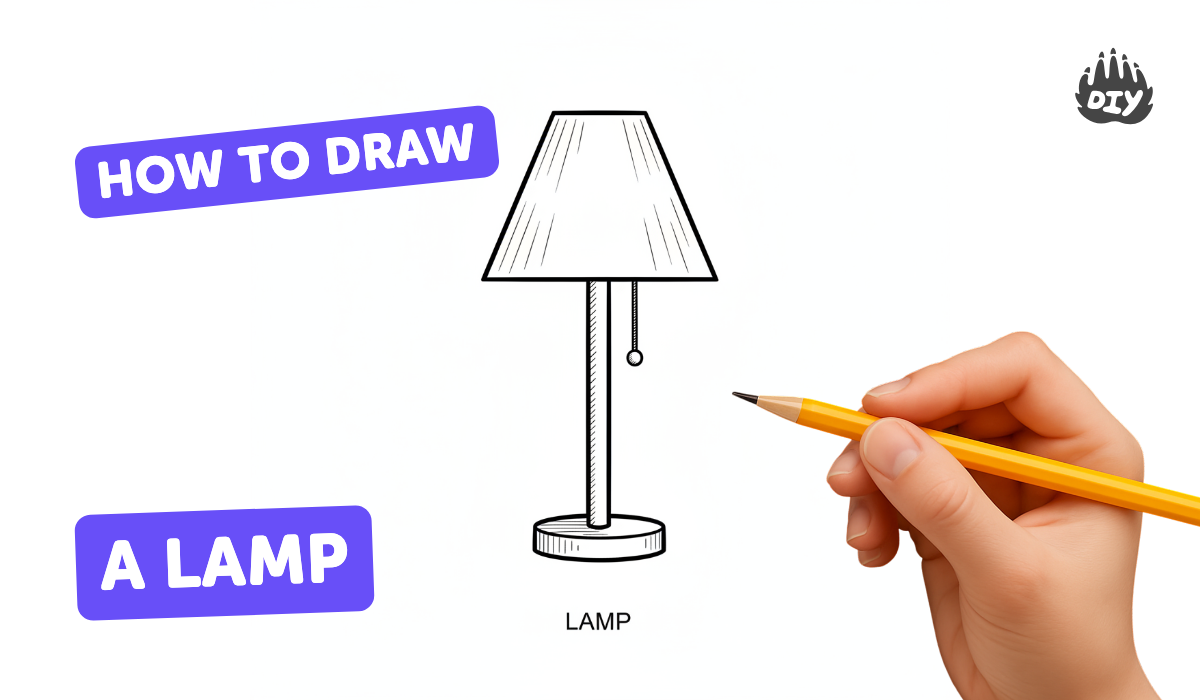
How to draw a lamp - a free lamp drawing guide
Draw a lamp step-by-step using basic shapes, proportions, and shading. Practice sketching lines, adding details, and shading to make a realistic lamp.

Drawing Apps
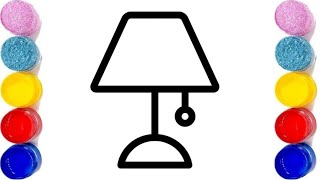
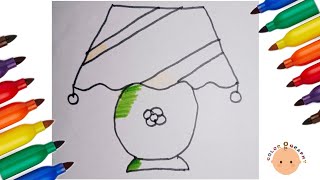
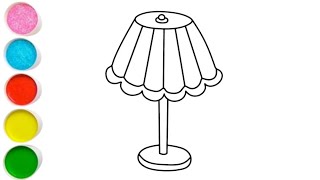
Photos of lamp drawing examples


Step-by-step guide to draw a lamp
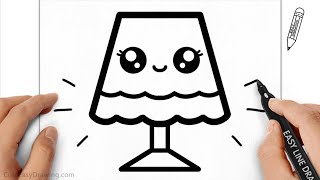
How to draw a lamp easy | Step by step drawing for kids
Step 1
Draw a light vertical center line down the middle of your paper to guide your lamp's symmetry.
Step 2
Draw a horizontal line near the bottom of the page to mark where the lamp will sit on a table.
Step 3
Lightly sketch a small oval near the top center of the page for the top edge of the lampshade.
Step 4
Lightly sketch a larger oval below the first one for the bottom edge of the lampshade.
Step 5
Draw two slightly slanted straight lines connecting the ovals to make the sides of the lampshade.
Step 6
Draw a simple rounded bulb shape inside the shade near the top center to show the light source.
Step 7
Draw a narrow rectangle or cylinder straight down from the shade center to create the lamp neck.
Step 8
Draw two or three stacked ovals at the bottom of the neck to form a sturdy lamp base.
Step 9
Add small decorative details like a switch knob lines or patterns on the shade and base to make your lamp unique.
Step 10
Use your eraser to gently remove the center and table guide lines so the lamp shapes look clean.
Step 11
Shade the side of the lampshade that is opposite your imaginary light source using short light pencil strokes.
Step 12
Gently blend the shaded areas with a tissue or your fingertip to make smooth shadows and add a soft shadow under the base.
Step 13
Share your finished lamp drawing on DIY.org
Help!?
What can I use instead of a blending tissue, soft pencil, or an eraser if I don't have them?
If you don't have a tissue to blend the shaded side of the lampshade, use a cotton ball or your fingertip, and if you lack a soft pencil or eraser try a charcoal stick or soft crayon and a kneaded eraser or folded bread crumb to lift marks when you remove the center and table guide lines.
My lampshade looks uneven — how do I fix lopsided ovals or slanted sides?
If the ovals or slanted shade sides don't line up, redraw them very lightly using the light vertical center line as a mirror guide, measure equal distances from the center before connecting with slanted lines, and erase extra marks gently so the shade edges match.
How can I adapt this drawing for younger or older kids?
For younger children pre-draw the center line and ovals and let them trace and color the shade with chunky crayons, while older kids can practice drawing accurate ellipses, add layered shading using tissue blending from step 12, and include detailed patterns on the base from step 9.
What are some ways to extend or personalize the lamp drawing after it's finished?
To personalize the project, add painted patterns or a switch knob from step 9, glue fabric or colored tracing paper over the shade ovals, or cut out the shade and backlight it with a small LED to show the shaded side and cast a real shadow like in step 12.
Watch videos on how to draw a lamp
Easy Table Lamp Drawing Tutorial for Kids and Beginners
4 Videos
Easy Table Lamp Drawing Tutorial for Kids and Beginners
Easy Lamp Drawing|Step by Step lamp Drawing| #stepbystepdrawing #lampsketch
Easy and Simple Lamp Drawing, Painting & Coloring For Kids and Toddlers_Child Art
How to Draw Simple Easy Table Lamp Step by Step
Facts about drawing and sketching for kids
🪔 Ancient oil lamps date back thousands of years — some were used in Mesopotamia and Egypt to light homes and temples.
🎨 Chiaroscuro is an art technique using strong contrasts of light and dark to create the illusion of volume.
✏️ Artists often start by sketching a lamp as simple shapes — an oval shade, a cylinder stem, and a round base.
💡 Modern LED bulbs use far less energy than incandescent bulbs and are often drawn as small bright circles to show glow.
🔦 The position of the light source changes a lamp's cast shadow — lower light makes longer shadows, higher light makes shorter ones.
How do I teach my child to draw a lamp step-by-step?
What materials do I need to draw a realistic lamp with my child?
What ages is drawing a lamp suitable for?
What are the benefits of drawing lamps for kids?
