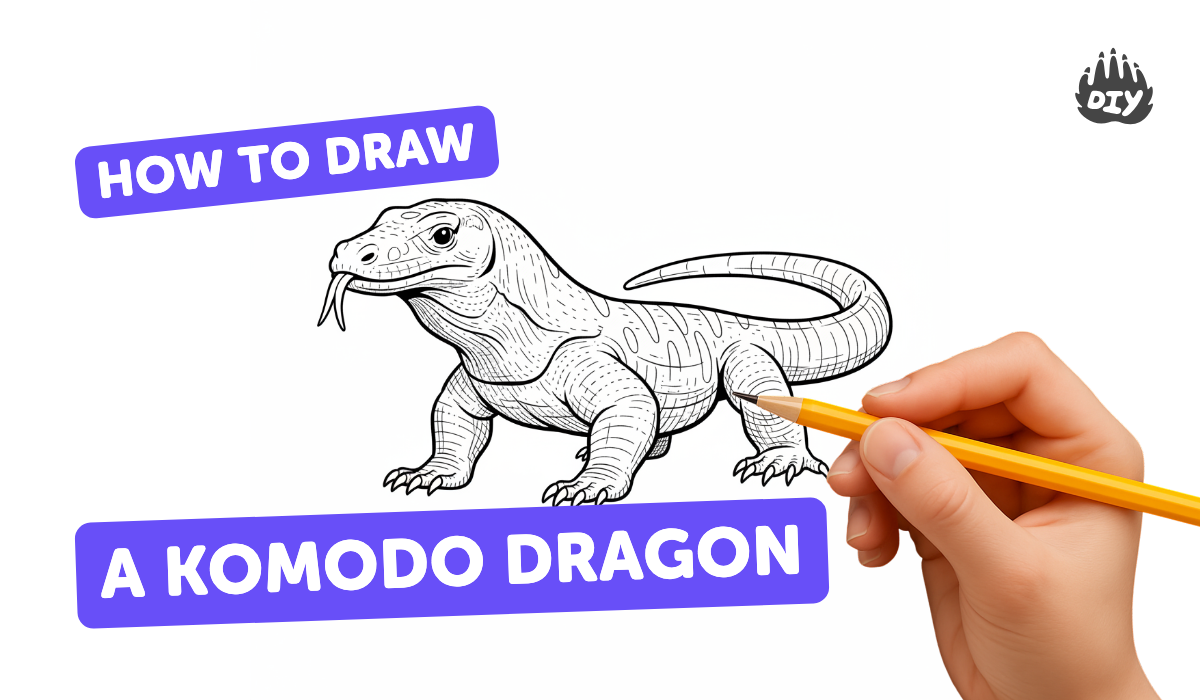
How to draw a komodo dragon - a free komodo dragon drawing guide
Draw a realistic Komodo dragon step-by-step using simple shapes, shading, and texture techniques to capture its form and scales. Practice observation and patience.

Drawing Apps
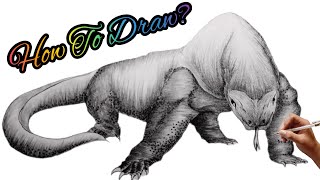
Photos of Komodo dragon drawing examples


Step-by-step guide to draw a Komodo dragon
How to Draw a Komodo Dragon In 8 EASY Steps - GREAT for Kids & Beginners
Step 1
Gather your materials and place your reference photo where you can see it clearly.
Step 2
Draw a light horizontal ground line near the bottom of the page to give your Komodo a place to stand.
Step 3
Sketch simple shapes to map the body: a large oval for the body a circle for the head a long curved line for the tail and straight lines where the legs will go.
Step 4
Connect the head and body with two curved lines to form the neck and smooth the overall body outline.
Step 5
Draw each leg as a rounded rectangle showing where the knee and ankle sit.
Step 6
Add toes as small ovals and put short pointed triangles at the tips to show claws.
Step 7
Shape the head by drawing the snout a curved mouth line a small nostril and the eye spot.
Step 8
Refine the tail by widening it near the body and tapering it to a point with smooth curved lines.
Step 9
Draw skin folds near the neck and joints using short curved lines to show loose skin.
Step 10
Lightly sketch scale patterns using larger plate-like scales along the spine and many tiny pebble marks on the sides.
Step 11
Erase the extra construction lines so only your clean outline and texture marks remain.
Step 12
Decide where the light is coming from so you know which parts will be darker.
Step 13
Shade the shadowed areas with soft pencil strokes following the body curves to show volume.
Step 14
Darken between scale groups to add depth and gently blend shaded areas with a tissue or stump to smooth transitions.
Step 15
Share your finished Komodo dragon drawing on DIY.org.
Help!?
What can we use if we don't have a blending stump or a printed reference photo?
If you don't have a blending stump, use a folded tissue, cotton swab, or your fingertip to gently blend the shadowed areas, and if you lack a printed reference photo use a screen image or a Komodo toy as your visible reference for the 'Gather your materials and place your reference photo where you can see it clearly' step.
My Komodo's legs look wrong—how can I fix the proportions?
If the legs look too short or misaligned, go back to the 'Sketch simple shapes to map the body' step and redraw the straight guideline lines for the legs with very light strokes, check angles against your reference, then reshape each leg as rounded rectangles in the 'Draw each leg' step before adding toes and claws.
How can I adapt the activity for younger or older children?
For younger children simplify steps 3–6 by using big ovals and one-piece legs and skip the tiny pebble scales, while older kids should follow 'Lightly sketch scale patterns' and 'Darken between scale groups' and spend more time shading and blending for realism.
What are some ways to personalize or extend the Komodo drawing once it's finished?
To personalize and extend your drawing, decide the light source in the 'Decide where the light is coming from' step, add a colored background or habitat, emphasize plate-like spine scales for drama, or create a series showing different poses before sharing on DIY.org.
Watch videos on how to draw a Komodo dragon
How To Draw A Komodo Dragon | Step By Step
4 Videos
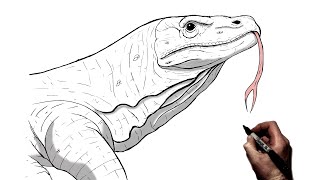
How To Draw A Komodo Dragon | Step By Step
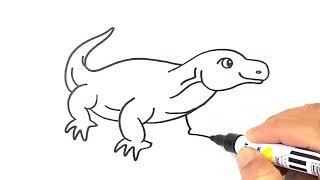
How to DRAW KOMODO DRAGON easy step by step drawing wild animals

How to Draw a Komodo Dragon
How to Draw a Komodo Dragon easy step by step for beginner|Drawning komodo dragon for tutorial
Facts about animal drawing for kids
🐉 Komodo dragons are the world's largest lizards — they can grow up to about 3 meters (10 feet) long!
🌋 Komodo dragons live on Indonesian islands like Komodo National Park, a UNESCO World Heritage site.
✏️ Artists often sketch animals by blocking in simple shapes (ovals and cylinders) before adding details.
🪨 A Komodo's skin is covered in tiny, rough scales called osteoderms—great reference for drawing texture.
🎨 To make a Komodo look real, shade darker under the belly and behind legs to show weight and form.
How do I draw a Komodo dragon step by step?
What materials do I need to draw a realistic Komodo dragon?
What ages is drawing a Komodo dragon suitable for?
What are the benefits of drawing a Komodo dragon for kids?
