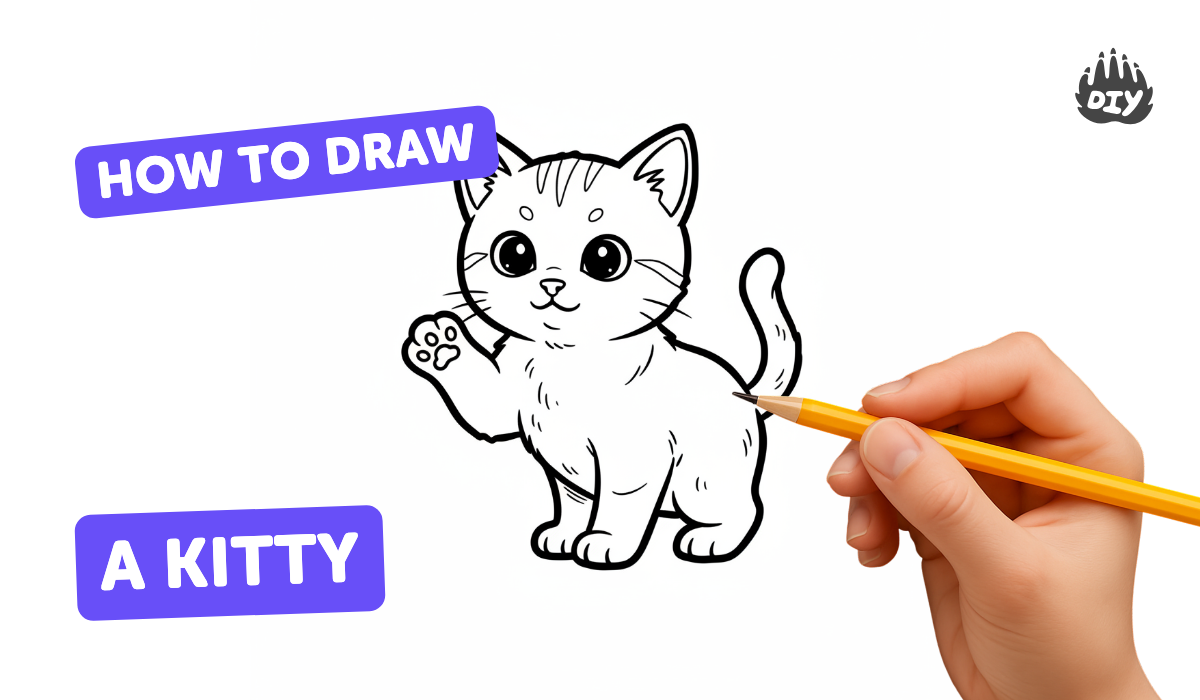
How to draw a kitty - a free kitty drawing guide
Draw a simple kitty using basic shapes, pencil, and colored pencils, step-by-step to create the face, body, whiskers, and tail. Practice proportions and line control.

Drawing Apps
Photos of kitty drawing examples


Step-by-step guide to draw a kitty
How to Draw a Cute Cat Step by Step: Fun & Easy Drawing Tutorial for Kids and Beginners!
Step 1
Place your paper on a flat surface so it won't move while you draw.
Step 2
Lightly draw a round circle near the top center of the page for the kitty's head.
Step 3
Draw two triangle ears on top of the circle so the kitty looks alert.
Step 4
Draw two small circles inside the head for the kitty's eyes.
Step 5
Draw a small triangle just below the eyes for the kitty's nose.
Step 6
Draw a short curved line under the nose to make the kitty's mouth.
Step 7
Draw three straight whiskers on each side of the face.
Step 8
Draw a slightly larger oval below the head for the kitty's body.
Step 9
Draw two short curved lines connecting the head and body to make the neck.
Step 10
Draw a long curved tail coming out from one side of the body.
Step 11
Draw four small ovals at the bottom of the body to make the kitty's paws.
Step 12
Trace over the lines you want to keep with a darker pencil to make them clear.
Step 13
Gently erase any light sketch lines you no longer need.
Step 14
Color your kitty with colored pencils and pick any fun colors you like.
Step 15
Share a photo of your finished kitty on DIY.org.
Help!?
What can we use if we don't have colored pencils, a darker pencil, or an eraser?
Use crayons or washable markers instead of colored pencils for step 16, a fine-tip pen or darker marker to trace the lines in step 14, and a soft white eraser or kneaded eraser to remove sketch lines in step 15.
My kitty's head looks lopsided or the ears and eyes are uneven—how can I fix that?
Lightly redraw the round circle in step 2 using a faint guideline or trace a cup for an even head, then reposition the triangle ears in step 3 and the small eye circles in step 4 before tracing final lines in step 14 and erasing extras in step 15.
How can I adapt this drawing for younger or older kids?
For younger kids, pre-draw the circle, oval, ears and paws from steps 2, 8, 3, and 12 for tracing and use chunky crayons, while older kids can add fur texture and shading around the nose, body, and tail from steps 5–11 and blend with colored pencils in step 16.
What are some easy ways to personalize or extend the kitty drawing activity?
Personalize the kitty by adding stripes or spots on the body oval from step 8, drawing a collar near the neck lines in step 9, creating a background before coloring in step 16, or cutting out the finished kitty to make a card and then sharing a photo on DIY.org as in step 17.
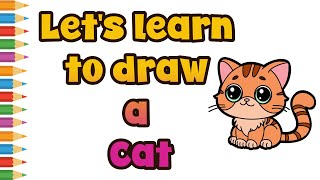
Watch videos on how to draw a kitty
How to Draw a Cute Cat Easy for Kids and Toddlers
4 Videos

How to Draw a Cute Cat Easy for Kids and Toddlers
How to Draw a Cat Step by Step | Easy Tutorial for Kids
How to Draw a Cute Kitty Notebook Simple & Easy for Kids
How to Draw a Cute Cat | Step by Step | Easy Drawing & Painting
Facts about drawing basics for kids
🐾 Whiskers help cats sense space; they're roughly as wide as the cat's body so cats know if they fit through gaps.
✏️ Cartoon kitties can be built from 3 basic shapes — circles for head/body and triangles for ears — perfect for practicing proportions.
🎨 Layering colored pencils from light to dark makes fur look soft and gives depth to your kitty drawing.
😺 Kittens are born with closed eyes and usually open them about 7–10 days after birth.
📏 For an extra-cute look, many artists draw a kitten's head about the same width as its body (a 1:1 ratio).
How do I draw a simple kitty step-by-step?
What materials do I need to draw a simple kitty?
What ages is drawing a simple kitty suitable for?
What are the benefits and safe variations for drawing a kitty?
