How to draw a killer whale - a free killer whale drawing guide
Draw a killer whale step by step using simple shapes, adding details, shading, and an ocean background to learn proportion, patterns, and motion.

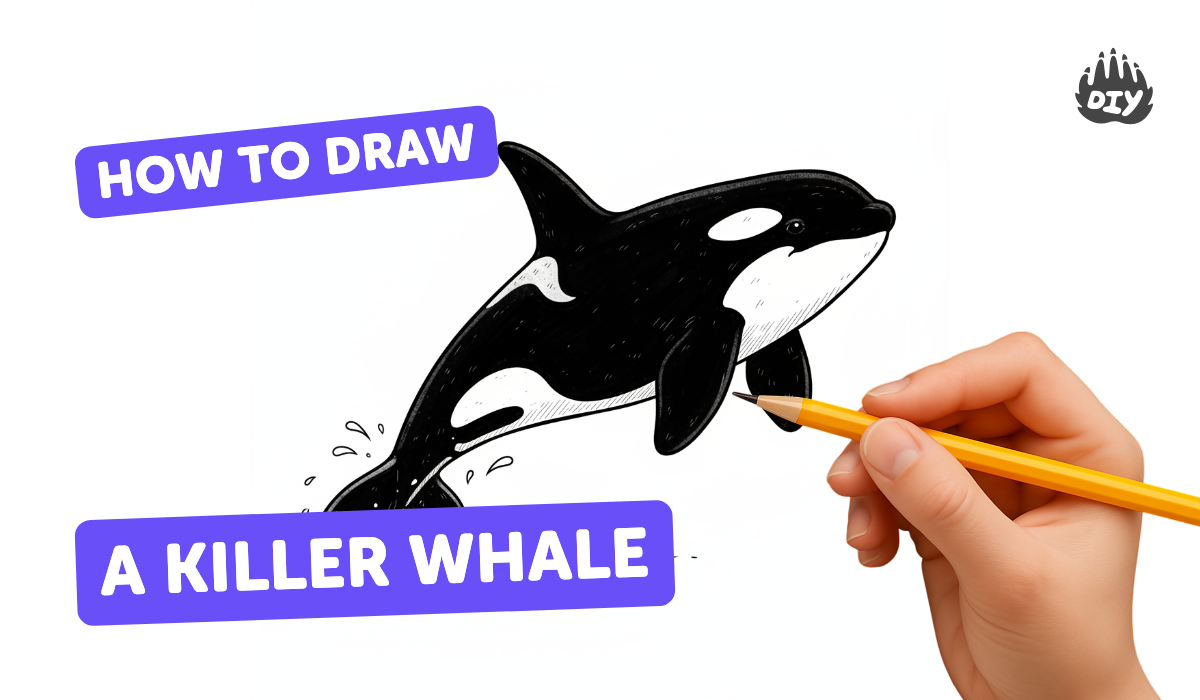
Step-by-step guide to draw a killer whale
Killer Whale Easy Drawing Tutorial for Kids and Beginners | Step-by-Step Guide #lidoartworks
Step 1
Set your paper and pencil on a flat workspace so you are ready to draw.
Step 2
Lightly sketch a large sideways oval tilted slightly upward at the front to make the whale's main body.
Step 3
Draw a smaller circle that overlaps the front of the oval to form the whale's head.
Step 4
Draw the tail by sketching two curved lobes joined at the back of the oval to make the flukes.
Step 5
Add a tall curved triangle on top of the body to create the dorsal fin.
Step 6
Draw a rounded triangular pectoral fin on the lower side of the body.
Step 7
Erase the overlapping pencil lines inside your shapes so the whale looks like one smooth outline.
Step 8
Draw a small circle near the front of the head for the eye.
Step 9
Sketch an oval patch above and behind the eye to make the killer whale’s white eye patch.
Step 10
Draw a long curved white patch along the underside of the body from head toward the tail to make the belly pattern.
Step 11
Carefully shade or color the rest of the whale dark using your pencil marker or black crayon while keeping the white patches clean.
Step 12
Draw a wavy horizontal line across the page to make the ocean surface.
Step 13
Add short curved splash lines near the whale's fins and tail to show movement through the water.
Step 14
Take a photo or upload your finished killer whale drawing and share it on DIY.org
Help!?
What can we use if we don't have a pencil marker or black crayon to color the whale's dark areas?
If you don't have a pencil marker or black crayon, use a dark gray or black colored pencil, a fine-tip black pen (keeping your original sketch lines very light because pen can't be erased), or dark watercolor/tempera paint to fill the whale's dark patches.
My overlapping sketch lines look messy after erasing—how can I get the whale to look like one smooth outline?
To achieve the smooth outline described in the 'erase the overlapping pencil lines' step, first trace the final outer contour with a slightly darker pencil, then erase inner construction lines slowly with a soft eraser and brush away crumbs before shading.
How can I change the activity for younger or older kids?
For younger children, simplify by pre-drawing the large sideways oval and letting them color with thick crayons and skip small details like the eye patch, while older kids can refine fin shapes, add realistic shading to the belly patch and dark areas, and paint the ocean surface and splash lines for more realism.
What are some fun ways to extend or personalize the killer whale drawing after finishing the basic steps?
Personalize the drawing by adding background elements like kelp, a sun, or other sea creatures, experimenting with watercolor for the wavy ocean surface and splashes, creating a flipbook of the whale breaching, and then follow the final instruction to take a photo or upload your finished piece to DIY.org.
Watch videos on how to draw a killer whale
How To Draw A Killer Whale (Orca)
4 Videos
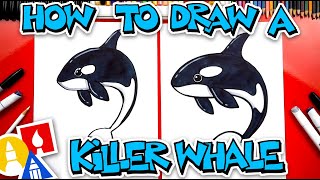
How To Draw A Killer Whale (Orca)
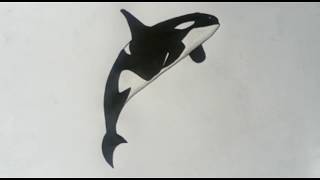
How To Draw a Killer Whale (Orca) | Easy Drawing for Kids
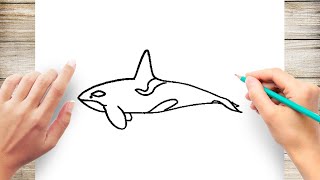
How to Draw a Killer Whale Step by Step for Kindergarten

How to Draw Killer Whale Orca | How to Draw Animals Easy Art Tutorial
Facts about drawing animals
🐋 Killer whales (or orcas) are actually the largest members of the oceanic dolphin family and can grow as long as a small bus!
🎨 Their bold black-and-white pattern is called countershading — a handy clue for drawing simple shapes and high-contrast shading.
🖌️ To show motion, artists often curve the whale’s body and tilt the tail — orcas swim with powerful, rhythmic tail beats.
🌊 Adding a horizon line, a few wave shapes, and splashes helps show depth and makes your whale look like it’s moving through water.
📏 Start with basic shapes: a long oval for the body, a rounded rectangle for the head, and a tall triangle for the dorsal fin to keep proportions right.
How do you draw a killer whale step by step?
What materials do I need to draw a killer whale with my child?
What ages is drawing a killer whale suitable for?
What are the benefits of drawing a killer whale with children?
