How to draw a jeep - a free jeep drawing guide
Draw a simple jeep using basic shapes, pencil, eraser, and colored pencils; follow step by step to add wheels, windows, and shading practice.

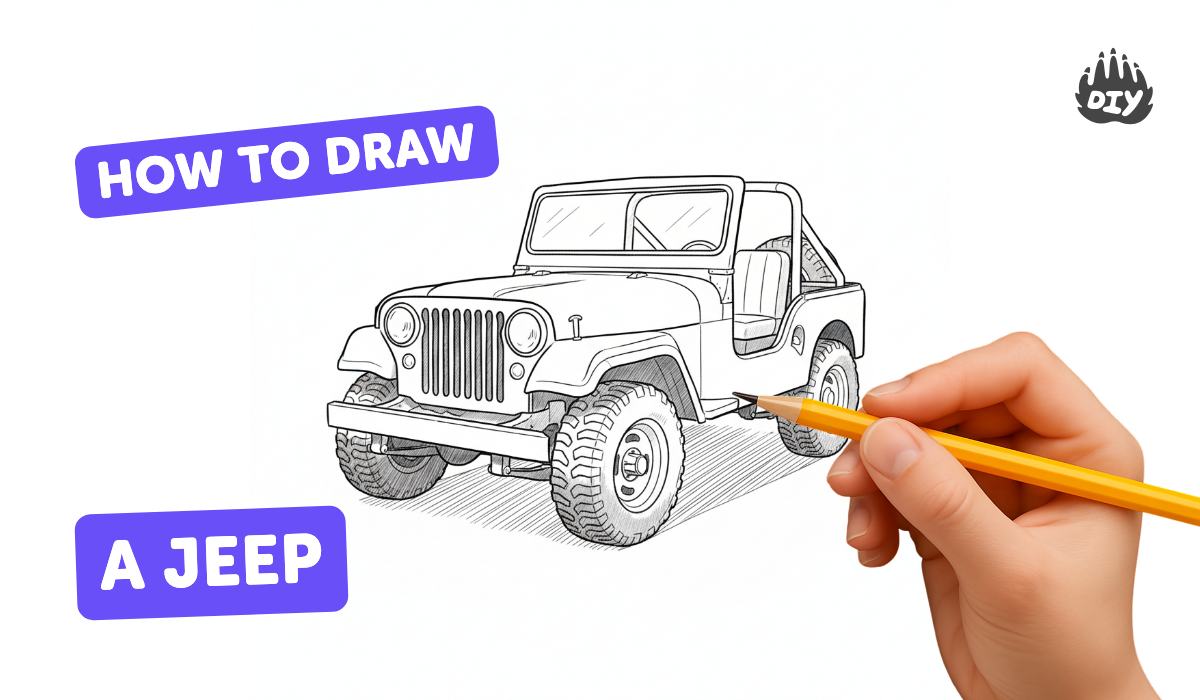
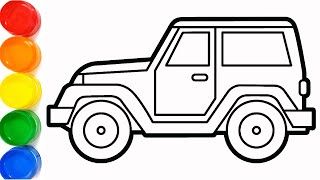
Step-by-step guide to draw a jeep
Easy Jeep Drawing for Kids | How to Draw A Jeep Step by Step
Step 1
Put your paper and pencil on a flat surface so you can draw comfortably.
Step 2
Lightly draw a large rectangle for the main body of the jeep.
Step 3
Draw a smaller rectangle on top toward the back of the big rectangle to make the cabin.
Step 4
Draw two equal circles under the body for the wheels.
Step 5
Draw smaller concentric circles inside each wheel to make the rims.
Step 6
Draw two rectangles inside the cabin area to make the side windows.
Step 7
Draw a vertical rectangle at the front of the cabin for the windshield.
Step 8
Draw a small rectangle at the very front of the jeep to make the bumper.
Step 9
Draw three short vertical lines on the front bumper area to make the grille.
Step 10
Draw a small oval on the side of the body to make the door handle.
Step 11
Gently erase any extra guide lines so your jeep looks neat.
Step 12
Trace over the final outlines with darker pencil strokes to make them clear.
Step 13
Shade the wheels and the lower part of the jeep by adding light layers of color to show shadow.
Step 14
Color the rest of your jeep with colored pencils using at least two colors you like.
Step 15
Take a photo or scan your finished jeep and share your creation on DIY.org.
Help!?
What can I use if I don't have colored pencils, a camera, or special paper?
If you don't have colored pencils, use crayons, washable markers, or watercolor paints for the step 'Color the rest of your jeep', use plain printer paper or card stock instead of special paper, and ask an adult to photograph your finished jeep with a phone if you can't scan it to share on DIY.org.
My wheels look uneven or lopsided — how can I fix them?
For the 'Draw two equal circles under the body for the wheels' step, trace around a coin or bottle cap as a stencil to make identical circles, lightly erase guide lines and redraw until the wheels match, then trace over final outlines.
How can I adapt this jeep drawing for different ages?
For younger kids, pre-draw the large rectangle, cabin, and wheel circles for them to trace and color (steps 2–4 and 12–13), while older kids can add perspective, detailed rims, more realistic shading in step 11, or draw a jeep from a three-quarter view for extra challenge.
What are creative ways to enhance or personalize the jeep after finishing the basic drawing?
After tracing and coloring (steps 12–13), personalize your jeep by adding a roof rack, mud splatters, a driver in the cabin, unique patterns or stickers with markers, or cut out colored paper to glue on as a 3D bumper before sharing on DIY.org.
Watch videos on how to draw a jeep
How To Draw An Army Jeep
4 Videos
How To Draw An Army Jeep
How to Draw a Jeep easy for beginners | Simple Drawing Tutorial for beginners
Easy Jeep Drawing For Kids 🚙 🖍| Jeep Kaise Banate Hain | Chiki Doodle
Drawing Jeep Easy | Draw and color Jeep step by step
Facts about drawing vehicles for kids
🚙 The word “jeep” became widely used after WWII to describe tough military vehicles and later everyday off-road cars.
✏️ Many artists begin with simple shapes—circles, squares, triangles—to build up complex drawings step by step.
🛞 Drawing a small curved highlight and a shadow on a wheel can make a flat circle look round and shiny.
🎨 Just using three tones (light, mid, dark) when shading can make your jeep look 3D and more realistic.
📐 One-point perspective puts everything toward a single vanishing point—great for drawing a jeep on a road that recedes into the distance.
How do I draw a simple jeep step by step?
What materials do I need to draw a jeep?
What ages is drawing a simple jeep suitable for?
What are the benefits of drawing a jeep with kids?
