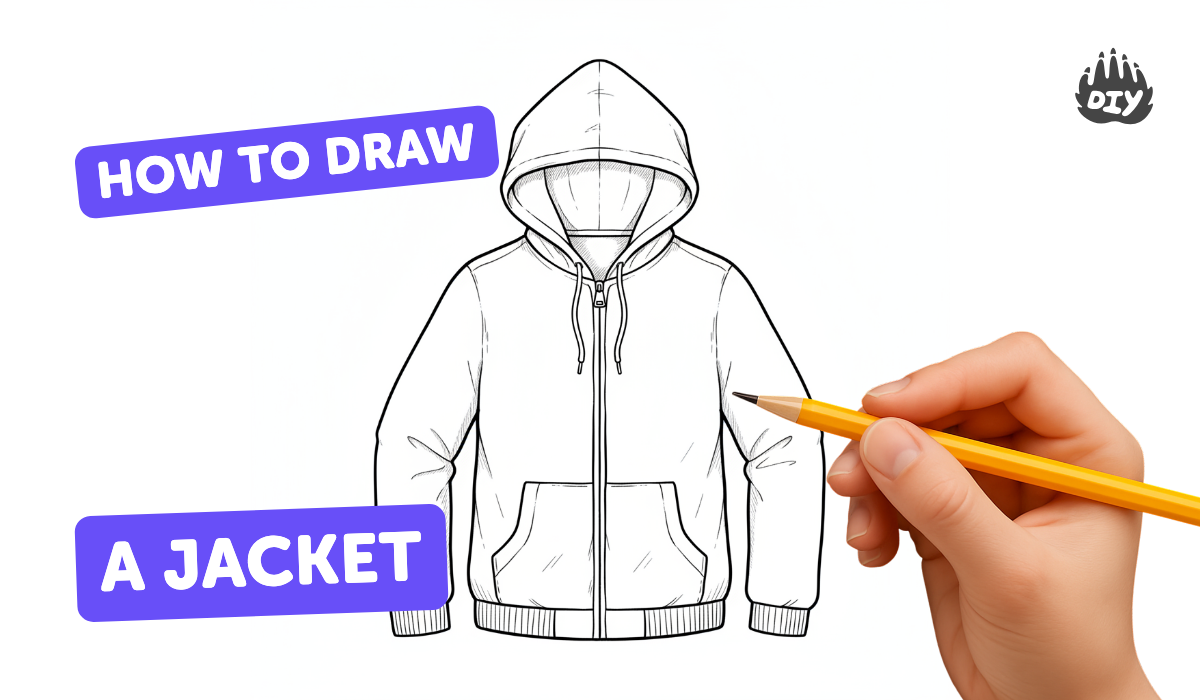
How to draw a jacket - a free jacket drawing guide
Draw a jacket step by step using basic shapes, proportions, and shading. Practice sketching collars, sleeves, buttons, and fabric folds.

Drawing Apps
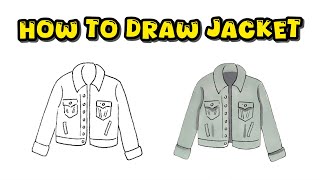
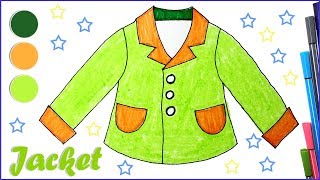
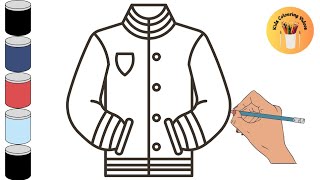
Photos of jacket drawing examples


Step-by-step guide to draw a jacket
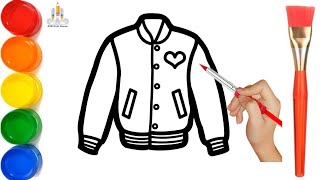
Drawing and Coloring of Jacket 🧥 for kids and toddlers | Draw Jacket step by step #jacket #clothes
Step 1
Draw a light vertical center guide line down the middle of your page.
Step 2
Mark a small horizontal dash for the shoulder line near the top and another dash for the jacket length near the bottom.
Step 3
Sketch a simple rectangle or slightly tapered trapezoid around the guides to show the jacket body.
Step 4
Draw two slanted shoulder lines from the top corners toward the center dash.
Step 5
Draw the sleeve shapes as long rectangles or tapered tubes attached to the shoulder lines.
Step 6
Sketch the collar by drawing two triangular or curved lapel shapes at the top center of the jacket.
Step 7
Draw a straight center button line down the vertical guide inside the jacket body.
Step 8
Add buttons as circles spaced evenly along the button line.
Step 9
Draw pocket shapes on each side of the jacket front as small rectangles or curved flaps.
Step 10
Add a few short curved lines near the elbows and waist to show fabric folds.
Step 11
Erase the light guide marks so only the jacket drawing remains.
Step 12
Darken and clean up the outside lines of the jacket collar sleeves pockets and buttons.
Step 13
Add light shading under folds along the sides and under the collar using your pencil and blend gently with a stump or tissue.
Step 14
Color your jacket using your coloring materials and add tiny details like buttonholes or stitching.
Step 15
Take a photo of your finished jacket drawing and share your creation on DIY.org.
Help!?
What can we use if we don't have a blending stump or special coloring materials for the shading and coloring steps?
Use a clean tissue, cotton swab, fingertip, or small piece of paper to blend the pencil shading and substitute crayons, colored pencils, or markers for specialty coloring materials when you color your jacket.
My jacket looks uneven or the sleeves are misaligned—what step should I check and how can I fix it?
If the jacket is uneven, re-establish the light vertical center guide line and the small horizontal shoulder dashes before redrawing the rectangle and slanted shoulder lines, or fold the paper/use a ruler to find the exact center for symmetric sleeves.
How can I adapt this jacket drawing activity for different ages or skill levels?
For younger kids simplify to one big rectangle for the body and sticker or drawn circle buttons and skip shading, while older kids can refine the triangular or curved lapels, add fabric folds, blend shading with a stump or tissue, and draw tiny buttonholes or stitching.
What are some ways to extend or personalize the jacket drawing after finishing the basic steps?
Personalize by adding patterns, patches, or glued fabric swatches to the pockets, try alternate styles like a hood or bomber in new sketches, use mixed media for color, then take a photo of the finished jacket and share it on DIY.org as the final step.
Watch videos on how to draw a jacket
How to Draw a Jacket - Step-by-Step Clothing Drawing for Beginners
4 Videos
How to Draw a Jacket - Step-by-Step Clothing Drawing for Beginners
How to draw a Jacket | Drawing and Coloring pages | Kids learn colors
How To Draw A Winter Jacket | Winter Jacket Drawing & Coloring | Easy Method For Toddlers
How to Draw jacket drawing, Painting and Coloring for Kids & Toddlers | Draw, Paint and Learn
Facts about drawing clothing
🧥 The word "jacket" comes from the Middle French "jaquette" and jackets evolved from short military and work garments.
🎨 Fashion illustration grew popular in the 18th–19th centuries with fashion plates that showed the latest trends long before photos were common.
✂️ Buttons were once luxury decorations made of gold, bone, or jewels before becoming inexpensive, mass-produced fasteners.
📏 Fashion croquis are often drawn about 9 heads tall to exaggerate proportions and highlight how clothing like jackets sit on the body.
🔻 Fabric folds fall toward gravity and form where fabric is fixed or under tension—shoulders, elbows, and the waist are typical fold points.
How do you draw a jacket step by step?
What materials do I need to draw a jacket?
What ages is this jacket drawing activity suitable for?
What are helpful variations and benefits of drawing jackets?
