How to draw a hot air balloon - a free hot air balloon drawing guide
Draw a colorful hot air balloon step by step using simple shapes, lines, shading, and patterns, then color it with crayons or markers.

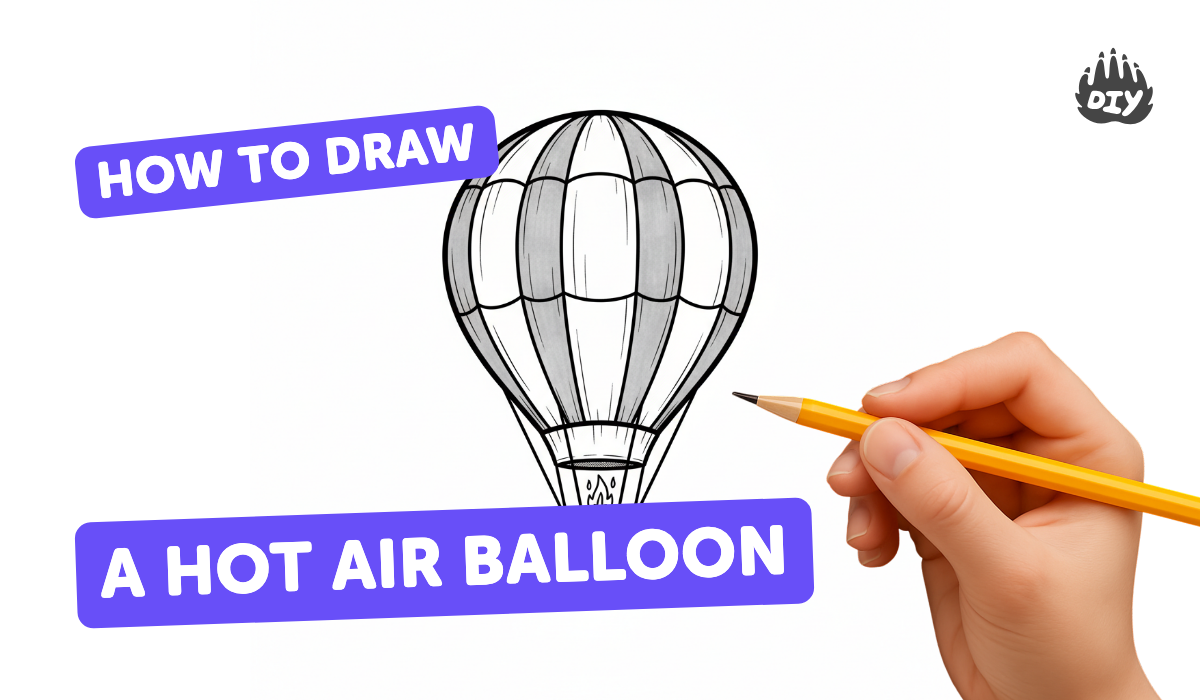
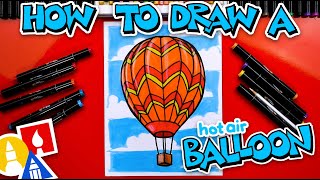
Step-by-step guide to draw a hot air balloon
How to Draw a Hot Air Balloon Simple & Easy Step by Step for Kids | Hot Air Balloon Drawing
Step 1
Gather your materials and place the paper on a flat surface so you can draw comfortably.
Step 2
Lightly draw a large oval in the middle of the page for the hot air balloon’s main shape.
Step 3
Draw a short vertical line from the bottom center of the oval downward to mark where the basket will hang.
Step 4
Draw a small rectangle or trapezoid at the end of the vertical line to make the basket.
Step 5
Draw two to four straight lines from the top edges of the basket up to the bottom of the oval to create the ropes.
Step 6
Divide the oval into panels by drawing evenly spaced curved vertical lines from the top to the bottom of the oval.
Step 7
Add fun patterns inside each panel like stripes dots or zigzags using simple shapes and lines.
Step 8
Lightly shade one side of the oval with your pencil to show the balloon is round.
Step 9
Trace over the lines you want to keep with a black marker or pen and wait for the ink to dry.
Step 10
Gently erase the remaining pencil guidelines after the ink is dry.
Step 11
Color the balloon panels and the basket using bright crayons or markers and fill in your patterns.
Step 12
Add a simple background like a few clouds or a sun if you want to make your scene extra cheerful.
Step 13
Share your finished hot air balloon drawing on DIY.org.
Help!?
Can we substitute any materials if we don't have a black marker or crayons?
If you don't have a black marker, use a dark pen or fine-tip permanent marker to trace in step 8, and replace the crayons or markers in step 11 with colored pencils, watercolor paints, or glued tissue-paper pieces.
My balloon looks uneven or my lines smudge — how can I fix it?
To fix an uneven oval from step 2, lightly erase and redraw using short pencil strokes or fold the paper to find the center before tracing, and to prevent smudges let the ink from step 8 dry fully before erasing in step 9.
How can I adapt this activity for younger kids or older kids?
For younger children, skip dividing the oval into panels and detailed patterns in steps 5–6 and let them color large shapes from step 11, while older kids can add many panels, intricate patterns in step 6, shading in step 7, and a detailed background in step 12.
What are fun ways to extend or personalize the finished hot air balloon?
Personalize the balloon by writing a name or drawing a tiny scene on individual panels in step 6, glue on sequins or tissue after tracing in step 8, draw multiple balloons for a sky scene in step 12, and share the finished drawing on DIY.org as suggested in the final step.
Watch videos on how to draw a hot air balloon
Easy Step-by-Step Drawing Hot Air Balloon Tutorial for Kids And Toddlers | Drawing For Baby | Part 1
4 Videos
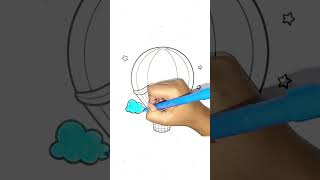
Easy Step-by-Step Drawing Hot Air Balloon Tutorial for Kids And Toddlers | Drawing For Baby | Part 1
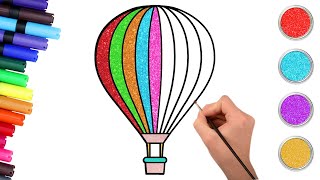
✏️How to Draw And Color Hot Air Balloon🪂🎈 | EASY Step By Step Drawing for kids | Chiki Doodle
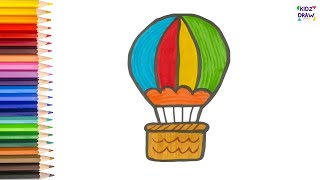
How to Draw Hot Air Balloon for Kids 🎈 | Easy Drawing Step by Step
How To Draw A Hot Air Balloon Challenge
Facts about drawing and coloring for kids
🎈 The first manned hot air balloons were launched by the Montgolfier brothers in France in 1783, and an early test flight carried a sheep, a duck, and a rooster!
🌬️ Balloon pilots don't have steering wheels — they steer by rising or descending to catch winds going different directions.
🎨 Start with simple shapes (ovals for the envelope, a rectangle or trapezoid for the basket) to make drawing a hot air balloon super easy.
🖍️ Crayons and markers come in thousands of shades worldwide, so you can mix colors and patterns to make your balloon one-of-a-kind.
🎆 The Albuquerque International Balloon Fiesta is one of the largest balloon festivals, often launching hundreds of balloons into the sky at once.
How do I draw a hot air balloon step by step?
What materials do I need to draw a hot air balloon with my child?
What ages is this hot air balloon drawing activity suitable for?
What are the benefits of drawing hot air balloons with children?
