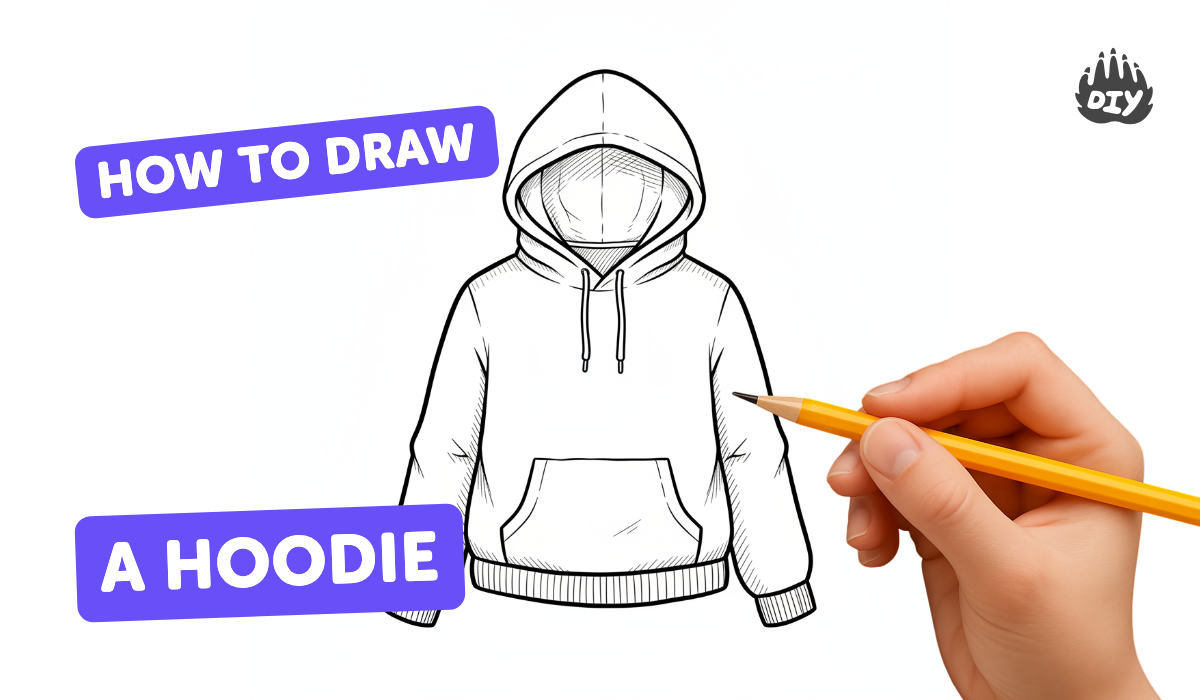
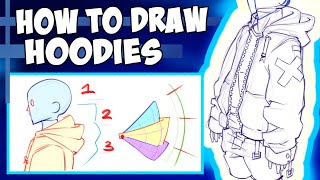
How to draw a hoodie - a free hoodie drawing guide
Draw a hoodie step-by-step: sketch the torso, sleeves, hood, pocket, and zipper, then add proportions, folds, and simple shading to finish.

Drawing Apps
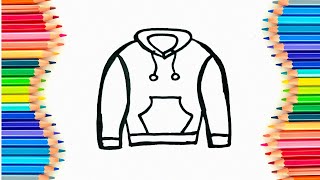
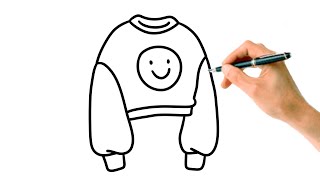
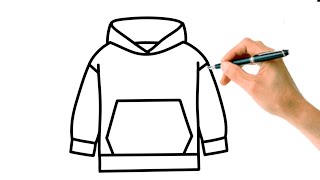
Photos of hoodie drawing examples


Step-by-step guide to draw a hoodie
Draw a Hoodie in 6 Simple Steps - Easy Tutorial for Kids & Beginners
Step 1
Lightly draw a vertical center line and a horizontal waist line to map the hoodie’s middle and length.
Step 2
Sketch a soft rounded rectangle around the guidelines to make the torso shape of the hoodie.
Step 3
Add short slanted shoulder lines at the top corners of the torso to mark where the sleeves will start.
Step 4
From each shoulder line draw long tube shapes for the sleeves and end them with slightly tapered cuff lines.
Step 5
Draw a small curved neckline opening at the top center of the torso where the hood will attach.
Step 6
Around the neckline sketch the hood by drawing two curved lines that meet at the back to form the hood’s outer edge.
Step 7
Draw a straight vertical line down the middle of the torso from the neckline to make the zipper guide.
Step 8
Sketch a wide rounded rectangle or U-shape on the lower front of the torso to create the kangaroo pocket.
Step 9
Check proportions by comparing sleeve length and body width and lightly erase and redraw any lines to balance them.
Step 10
Add zipper details by drawing small short parallel marks along the centerline for teeth and a small rectangle for the zipper pull.
Step 11
Draw the pocket opening and add stitching lines by tracing a thin line along the top of the pocket and little stitch marks.
Step 12
Add simple folds and creases by drawing short curved lines near the underarms sleeve bends pocket edges and hem.
Step 13
Trace over the final lines with firmer pencil strokes to darken and define the hoodie outline.
Step 14
Gently shade one side of the hood sleeve pocket and the creases with soft pencil strokes to give your drawing depth.
Step 15
Take a photo and share your finished hoodie drawing on DIY.org.
Help!?
I don't have different pencil types or a smartphone—what can I use instead?
Use any regular or mechanical pencil for both light sketching and firmer final strokes by varying pressure, use a clean eraser to correct your center and waist guidelines, and if you can't take a photo to share, scan the drawing or ask an adult to photograph it for DIY.org (final step).
My hoodie looks lopsided—how can I fix proportions and sleeve length?
Follow step 9 and compare sleeve length and body width against your vertical center and horizontal waist guidelines, then lightly erase and redraw the sleeves or torso so the sleeve ends and shoulder lines sit symmetrically with the torso.
How can I change this activity for different ages?
For younger children, simplify to the soft rounded rectangle torso, short slanted shoulder lines and tube sleeves and skip zipper teeth and shading, while older kids can follow steps 7–14 to add the zipper guide, zipper teeth, pocket stitching, folds, and shading and even try perspective or fabric texture.
How can I personalize or improve my hoodie drawing after finishing?
After tracing your final lines in step 13, add color or patterns with markers or colored pencils, alter the hood or pocket shape, draw logos or extra stitching along the kangaroo pocket (step 11), and then photograph and share the result on DIY.org (final step).
Watch videos on how to draw a hoodie
How to Draw a Hoodie Step by Step for Beginners
4 Videos
How to Draw a Hoodie Step by Step for Beginners
How To Draw Cute Hoodie 🙂 EASY STEP BY STEP TUTORIAL FOR KIDS
How to Draw a Hoodie (TUTORIAL)
How to Draw Hoodies Easily!
Facts about drawing clothing
🧥 The hoodie we wear today was popularized in the 1930s by Champion as warm workwear for factory workers and athletes.
✏️ Fashion sketches often use head-based proportions (like 8 heads tall); making the torso a bit wider helps a hoodie look comfy and relaxed.
🎨 Cloth folds usually radiate from anchor points (shoulders, cuffs, pocket edges) — drawing a few curved lines there makes fabric look real.
🔩 The modern zipper was improved by inventor Gideon Sundback in the early 1900s — tiny teeth and a pull tab make zippers recognizable in drawings.
🧵 The kangaroo pocket (popular on hoodies) is named for its pouch-like shape — add slight bulges and seam lines to show it holding hands or small items.
How do you draw a hoodie step-by-step?
What materials do I need to draw a hoodie?
What ages is drawing a hoodie suitable for?
What are the benefits of drawing hoodies with kids?


