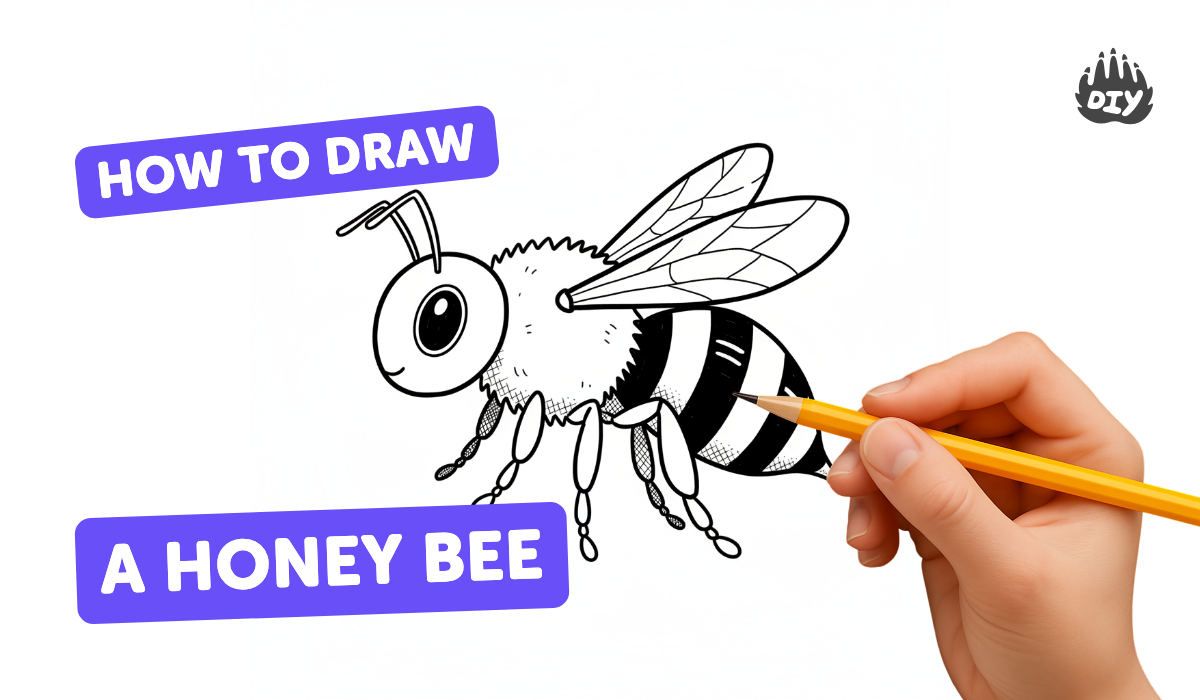
How to draw a honey bee - a free honey bee drawing guide
Draw a honey bee step-by-step using basic shapes, pencil lines, and color. Practice observation, proportion, and simple shading to create a realistic insect.

Drawing Apps
Photos of honey bee drawing examples


Step-by-step guide to draw a honey bee
How to Draw a Honey Bee Step by Step | Easy Drawing Tutorial for Kids | Very easy for kids
Step 1
Place your paper on a flat surface and put your pencil and eraser nearby so you can reach them easily.
Step 2
Lightly draw a small circle near the top of the paper for the bee's head.
Step 3
Draw a larger oval attached behind the head for the bee's body.
Step 4
Add a slightly narrower oval between the head and body to show the thorax where the wings will sit.
Step 5
Sketch two teardrop-shaped wings on top of the body one on each side.
Step 6
Draw two curved antennae coming out from the top of the head.
Step 7
Draw two large round eyes on the head using simple circles.
Step 8
Draw six thin curved legs three on each side of the body starting from the thorax area.
Step 9
Add three or four curved bands across the abdomen to make the bee's stripes.
Step 10
Gently erase any extra guideline lines to clean up your drawing.
Step 11
Add soft pencil shading along the underside of the body and near the wing bases to show shadow.
Step 12
Gently blend the shaded areas with a cotton swab or tissue to make the shading smooth.
Step 13
Trace the main outlines with a black fine-tip marker and wait a moment for the ink to dry.
Step 14
Color your bee using your coloring materials and keep the stripes alternating for a realistic look.
Step 15
Take a photo or upload your finished honey bee drawing and share it on DIY.org
Help!?
What can I use if I don't have a black fine-tip marker, cotton swab, or certain coloring materials?
Use a black ballpoint pen or thin permanent marker to trace the main outlines, a folded tissue or your fingertip to blend the pencil shading instead of a cotton swab, and crayons or colored pencils for coloring while keeping the alternating stripes.
My wings look uneven and my legs are too long—how do I fix these problems?
Lightly sketch the small head circle, larger body oval and thorax first, erase and adjust wing placement and leg length using the eraser before tracing with the black fine-tip marker, and if shading smudges wait for the ink to dry then gently blend with a tissue.
How can I adapt this bee drawing for younger or older kids?
For younger children simplify by tracing pre-drawn circle and oval templates and using thick crayons for bold stripes, while older kids can add detailed thorax and six legs, soft pencil shading blended with a cotton swab, and a fine-tip marker outline for a polished finish.
What are easy ways to extend or personalize the honey bee drawing activity?
Add a background of flowers or a honeycomb, label the head, thorax and abdomen, decorate the wings with metallic gel pens or glitter glue, and then take a photo to upload your customized bee to DIY.org.
Watch videos on how to draw a honey bee
How To Draw a Cute Honey Bee | Easy Step by Step Tutorial | Bright Art Haven
4 Videos

How To Draw a Cute Honey Bee | Easy Step by Step Tutorial | Bright Art Haven
How to draw a Bee Step by step Drawing for kids 💛🐝
✏️ How To Draw A Honey Bee🐝 EASY DRAWING #howtodraw #drawingforkids #chikidoodle #chikiart
How to draw a honey bee easy step by step
Facts about drawing insects for kids
🐝 Honey bees beat their wings about 200 times per second — that's the buzz you hear!
🧭 Bees perform a waggle dance to tell hive mates the direction and distance to good flowers.
👀 Honey bees have five eyes: two big compound eyes and three tiny simple eyes (ocelli).
🌸 A single honey bee can visit hundreds of flowers in a day, making them superstar pollinators.
🍯 A worker honey bee produces only about 1/12 teaspoon of honey in her entire lifetime.
How do I draw a honey bee step by step?
What materials do I need to draw a realistic honey bee?
What ages is drawing a honey bee suitable for?
What are the benefits of drawing honey bees for kids?
