How to draw a highland cow - a free highland cow drawing guide
Draw a Highland cow step by step using simple shapes, shaggy fur lines, and color shading. Practice observation, proportions, and texture techniques.

Drawing Apps
Photos of Highland cow drawings


Step-by-step guide to draw a Highland cow
Draw a Highland cow | Easy Step by Step Guide for Kids
Step 1
Gather your materials and place them on a clean flat surface so everything is easy to reach.
Step 2
Lightly draw a medium oval for the highland cow’s head near the top of the paper.
Step 3
Lightly draw a larger rounded oval for the body slightly overlapping the head at one side.
Step 4
Draw a light vertical centerline down the head to help place the face features evenly.
Step 5
Draw a light horizontal eye-line across the head at about the middle to mark the eye level.
Step 6
Sketch two curved horns on the top sides of the head using long gentle arches.
Step 7
Draw two small circles for the eyes on the eye-line and a rounded rectangle for the muzzle below them.
Step 8
Draw four simple straight legs under the body using narrow rectangles ending in small rounded hooves.
Step 9
Add shaggy bangs over the forehead using lots of short curved lines that fall over the eyes.
Step 10
Add long shaggy fur along the body with flowing curved strokes that follow the body shape.
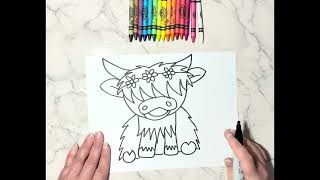
Step 11
Carefully trace the final outlines with a black pen or darker pencil to make the drawing stand out.
Step 12
Erase the light guidelines and extra pencil marks so only the clean drawing remains.
Step 13
Fill the cow’s coat with a base color using your coloring materials.
Step 14
Add darker strokes under the belly behind the legs and under the chin to create simple shading and texture.
Step 15
Take a photo or scan your finished highland cow and share your creation on DIY.org
Help!?
What can we use if we don't have a black pen, darker pencil, or a scanner?
Trace the final outlines with a dark felt-tip marker or fine-tip permanent marker in place of a black pen or darker pencil, and use a smartphone camera or tablet to take a photo instead of a scanner.
My head and horns look crooked—what step might I have missed and how do I fix it?
Check that you drew the medium oval for the head and the larger rounded body oval with a slight overlap, then use the light vertical centerline and horizontal eye-line to reposition the horns and facial features before retracing the final outlines.
How can I change the activity for younger kids or make it more challenging for older kids?
For younger children, pre-draw the head and body ovals for them to trace and use crayons for the coat, while older kids can add detailed shaggy fur strokes, layered shading under the belly and chin, and finer horn texture with colored pencils.
What are simple ways to personalize or extend the finished highland cow drawing?
After filling the coat with a base color and adding darker strokes for shading, personalize the drawing by adding a patterned background, name tag, extra accessories like a flower crown, or create a mini gallery to photograph and share on DIY.org.
Watch videos on how to draw a Highland cow
How To Draw A Highland Cow - EASY Tutorial
4 Videos
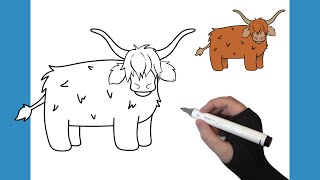
How To Draw A Highland Cow - EASY Tutorial
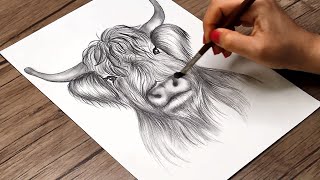
How to Draw a Highland Cow Step by Step | Highland Cow Head Sketch
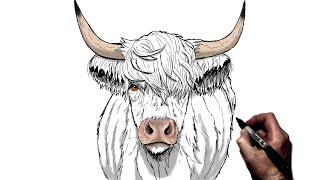
How To Draw A Highland Cow | Step By Step
Cute and Easy Highland Cow Step by Step Directed Drawing
Facts about animal drawing for kids
🐮 Highland cattle have a double coat — long outer hair and a soft undercoat — that keeps them warm and dry in cold, rainy weather.
🎨 Many artists begin by blocking in big shapes (circles, ovals, rectangles) to get proportions right before adding details.
✂️ A Highland cow's horns can curve forwards or upwards, which is a fun detail to practice drawing in different styles.
🖌️ Shaggy fur is often suggested with layered quick strokes rather than drawing every hair, which makes shading look natural.
👀 Practicing observational drawing for just 10–15 minutes a day can noticeably improve proportion and texture skills.
How do I teach my child to draw a Highland cow step by step?
What materials do I need to draw a Highland cow with my child?
What ages is drawing a Highland cow suitable for?
What are the benefits and safe variations of drawing a Highland cow?
