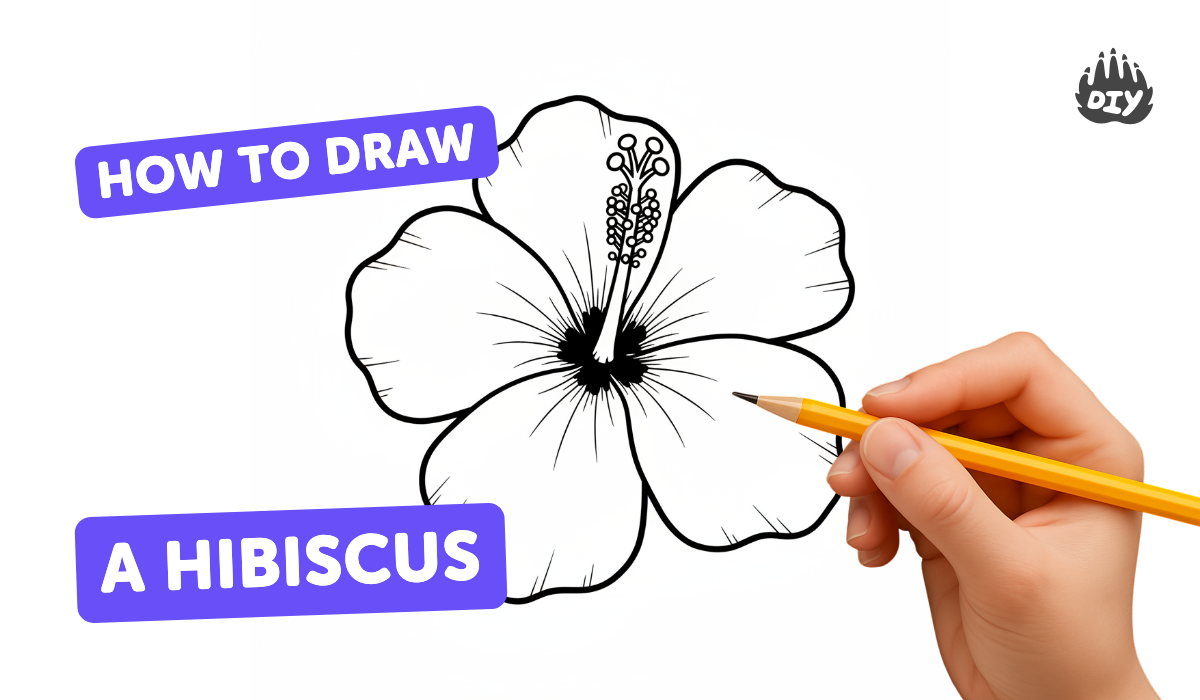
How to draw a hibiscus - a free hibiscus drawing guide
Draw a detailed hibiscus flower step-by-step using pencil and colored pencils; practice observing petal shapes, proportions, shading, and drawing the central stamen accurately.

Drawing Apps
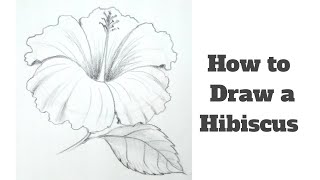
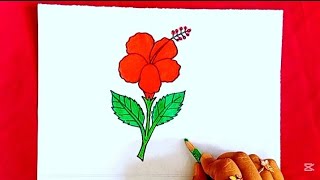
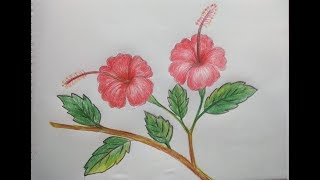
Photos of hibiscus drawing examples


Step-by-step guide to draw a hibiscus flower
How To Draw A Hibiscus Flower 🌺
Step 1
Place your paper and a clear reference photo of a hibiscus where you can see them both easily.
Step 2
Lightly draw a small circle near the center of the paper for the flower center.
Step 3
Lightly draw a larger circle around the small circle to mark the overall size of the flower.
Step 4
Draw five evenly spaced light lines radiating from the center to show the direction of each petal.
Step 5
Sketch the rough shape of each petal along the guide lines making them overlap slightly.
Step 6
Refine the edges of each petal with gentle wavy lines and add a small notch at each petal tip to match a hibiscus shape.
Step 7
Erase the extra guide lines carefully so only the clean petal shapes and center remain.
Step 8
Draw the long central stamen tube from the center outward and add a little bulb and tiny dots at the tip for pollen.
Step 9
Add light curved veins on each petal starting near the base and moving toward the tip.
Step 10
Shade the petal bases and areas under overlaps with pencil to create depth and form.
Step 11
Choose a main petal color and lightly fill each petal with a smooth base layer of colored pencil.
Step 12
Layer a deeper shade near the petal bases and folds and gently blend with the tissue or blending stump.
Step 13
Color the stamen and pollen with bright colors and add any final small details you see in your reference.
Step 14
Take a photo or scan your finished hibiscus and share your creation on DIY.org.
Help!?
I don't have a blending stump—what can I use to blend the colored-pencil layers when you say 'gently blend with the tissue or blending stump'?
Use a folded tissue, a cotton swab, or a clean fingertip to gently blend the deeper shade near the petal bases and folds after layering colored pencil as an alternative to a blending stump.
My petals look uneven when I 'draw five evenly spaced light lines'—how can I make them more symmetrical?
Lightly mark five equal angles by using a protractor, measuring with a ruler, or folding the paper into five sections from the small center circle before sketching so the radiating guide lines and overlapping petal shapes are evenly spaced.
How can I adapt this activity for different ages?
For toddlers give a pre-drawn large flower outline to color and skip shading, for younger children keep the small and large guide circles and practice wavy edges and veins, and for older kids focus on layered shading, blending with a stump, and adding tiny pollen dots and realistic veins from the reference photo.
How can we extend or personalize the finished hibiscus before sharing on DIY.org?
Add leaves and a stem, try different color blends on each petal, create a soft background wash or textured paper before coloring, and write your name and date near the base before photographing or scanning to personalize the uploaded piece.
Watch videos on how to draw a hibiscus flower
How to draw a hibiscus flower step by step for kids
4 Videos
How to draw a hibiscus flower step by step for kids

How to draw structure of Hibiscus flower-step by step / Draw & label Parts of flower/Hibiscus flower
"How to Draw a Hibiscus Flower 🌺 | Easy Step by Step Drawing Tutorial for Beginners
Haw to draw hibiscus flower for beginners ( very easy)
Facts about flower anatomy and drawing
🌺 There are over 200 species of hibiscus, and they bloom in bright colors like red, pink, yellow, and white.
⏳ Many hibiscus flowers open and fade within a single day, so artists often use photos or quick sketches from life.
🔬 Hibiscus flowers have a distinctive staminal column (fused stamens) that protrudes from the center—great detail to practice drawing!
✏️ Artists use light construction lines and a simple value scale (light to dark) to get petal shapes, proportions, and shading right.
🎨 Colored pencils layer and blend well—build color with light layers, then burnish or use a white pencil to smooth transitions.
How do I teach my child to draw a detailed hibiscus step-by-step?
What materials do I need to draw a hibiscus with pencils and colored pencils?
What ages is drawing a detailed hibiscus suitable for?
What are the benefits of drawing a hibiscus and safe variations to try?
