How to draw a guinea pig - a free guinea pig drawing guide
Draw a guinea pig step by step using basic shapes, fur texture, facial details, and shading to make a finished colored picture. Practice careful observation.

Drawing Apps
Photos of guinea pig drawing examples


Step-by-step guide to draw a guinea pig
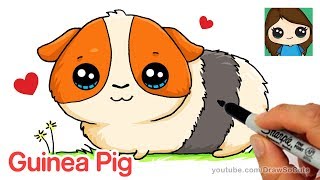
How To Draw A Guinea Pig
Step 1
Gather your materials and find a clear photo of a guinea pig to look at while you draw.
Step 2
Look closely at the photo and notice the big simple shapes that make up the guinea pig like the round body and round head.
Step 3
Lightly sketch a large rounded oval for the guinea pig's body using soft pencil lines.
Step 4
Draw a slightly smaller circle overlapping the front of the oval to make the head.
Step 5
Add two small rounded ears on top of the head with soft curved lines.
Step 6
Draw a small rounded triangle or oval for the nose at the front of the head.
Step 7
Draw a short curved line under the nose to make the mouth.
Step 8
Draw one round eye on the head and leave a tiny white circle inside it for a highlight.
Step 9
Sketch two tiny front feet under the body and a small back foot peeking out from behind.
Step 10
Add short pencil strokes along the body following its curve to show fur texture.
Step 11
Trace the lines you like with your black pen or marker and let the ink dry.
Step 12
Erase the extra pencil lines gently so only your clean outline and fur marks remain.
Step 13
Color the guinea pig with light base colors matching your reference photo.
Step 14
Add darker strokes for shading under the chin belly and behind the legs to make your guinea pig look rounder.
Step 15
Share a photo of your finished colored guinea pig drawing on DIY.org
Help!?
What can I use if I don't have a soft pencil or a black pen/marker?
If you don't have a soft pencil use a regular HB pencil pressed lightly for the initial large rounded oval and overlapping head circle, and replace the black pen with a fine-tip washable marker or dark colored crayon when you trace the lines you like.
My guinea pig's head and body don't look right after I sketch them—what should I do?
If the proportions feel off, lightly erase and redraw the large rounded oval for the body and the slightly smaller overlapping circle for the head until the overlap looks like your reference photo before you trace with your black pen.
How can I adapt this drawing activity for younger or older kids?
For preschoolers, use pre-cut oval and circle templates and sticker eyes so they can skip fine sketching, while older kids can follow every step including adding short pencil fur strokes and darker shading under the chin and belly for extra realism.
How can we extend or personalize the guinea pig drawing after coloring?
Personalize it by changing the fur pattern and colors when you add the light base colors and darker strokes for shading, sketching a simple grassy or cage background, and then photograph the finished colored guinea pig to share on DIY.org.
Watch videos on how to draw a guinea pig
How to Draw a Guinea Pig: Step-By-Step Drawing with Candice and Theo
4 Videos
How to Draw a Guinea Pig: Step-By-Step Drawing with Candice and Theo
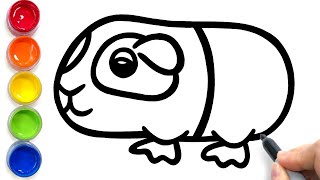
How to Draw a Guinea Pig | Guinea Pig Drawing and Coloring for Children | Learn Colors for Kids
How to Draw a Guinea Pig - Easy Step-by-Step Tutorial for Beginners
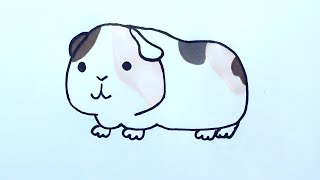
How to Draw a Guinea Pig Easy and Cute
Facts about drawing animals for kids
🐹 Guinea pigs were domesticated in the Andes more than 3,000 years ago — they’ve been human pals for a long time!
🎨 Many artists start with simple shapes like circles and ovals — perfect for a guinea pig’s chubby body and round head.
✏️ Guinea pigs have continuously growing front teeth, so little incisors are a tiny but important drawing detail.
🐾 There are many coat types (smooth, rosette, long-haired), so changing fur texture instantly creates different-looking guinea pigs.
👀 Guinea pigs have wide-set eyes and small ears — those proportions help make their faces look especially cute on paper.
How do I teach my child to draw a guinea pig step by step?
What materials do I need to draw a guinea pig?
What ages is this drawing activity suitable for?
What are the benefits and fun variations of drawing guinea pigs?
