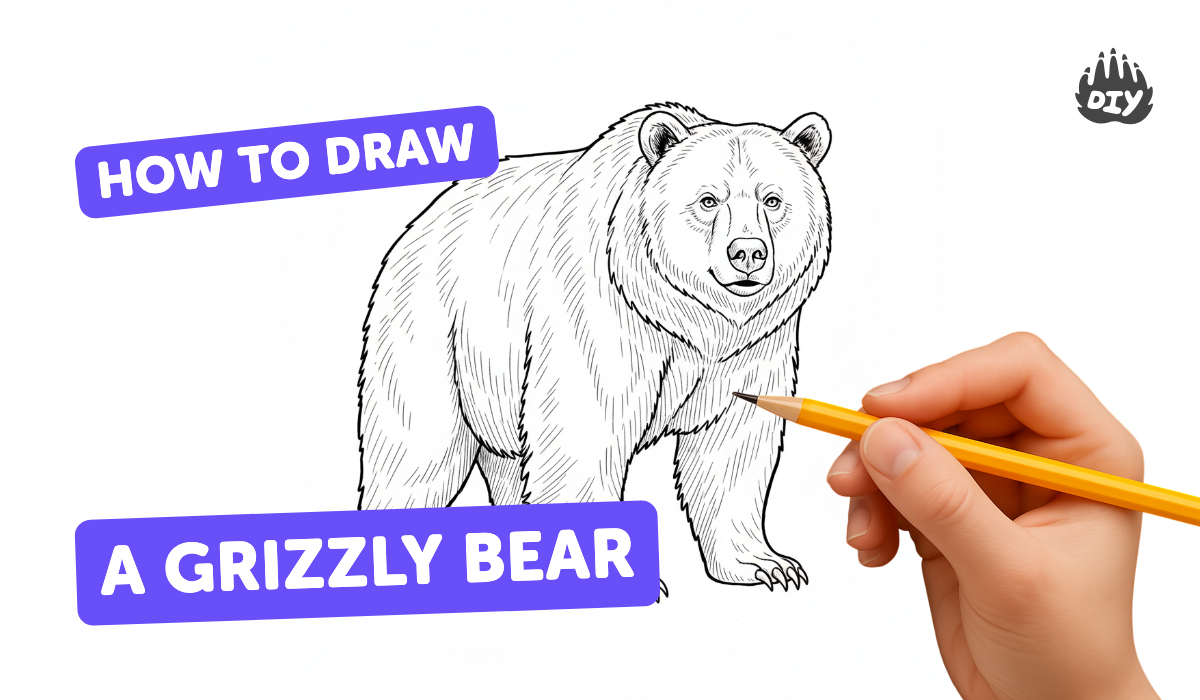
How to draw a grizzly bear - a free grizzly bear drawing guide
Draw a grizzly bear step-by-step using simple shapes, outlines, and shading with pencil. Practice proportions, fur texture, and observing reference images.

Drawing Apps
Photos of grizzly bear drawings


Step-by-step guide to draw a grizzly bear
How To Draw A Grizzly Bear (realistic)
Step 1
Lightly draw a large oval in the middle of the paper for the bear's body.
Step 2
Draw a smaller circle overlapping the top front of the oval for the bear's head.
Step 3
Add one vertical and one horizontal guideline inside the head circle to mark eye and nose placement.
Step 4
Sketch two rounded ears on top of the head circle.
Step 5
Draw an elongated oval sticking out from the front of the head circle for the snout.
Step 6
Place a small rounded triangle at the tip of the snout for the nose.
Step 7
Draw two small circles on the horizontal guideline for the eyes.
Step 8
Draw four thick rounded shapes under the body to make the bear's legs.
Step 9
Add oval shapes at the ends of each leg to make the paws.
Step 10
Draw three short curved lines on each paw to show claws.
Step 11
Lightly erase any extra construction lines you no longer need.
Step 12
Go over the final outer shapes with firmer pencil strokes to darken the outline you want to keep.
Step 13
Use short quick pencil strokes that follow the curve of the body to create fur texture all over the bear.
Step 14
Shade under the belly under the chin and inside the legs with softer pressure and gently blend with a tissue or blending stump.
Step 15
Take a photo of your finished grizzly and share your drawing on DIY.org.
Help!?
What can we use instead of a blending stump or a special eraser?
If you don't have a blending stump, use a folded tissue or cotton swab to blend the shading under the belly, chin, and inside the legs, and use a clean regular eraser to gently lift construction lines before darkening the final outline.
My shading keeps smudging and the paws look messy—what should I do?
Use lighter pressure when shading under the belly, chin, and inside the legs and blend gently with a tissue or stump while resting your hand on scrap paper to avoid smudges, then redraw the three short curved claw lines on each paw after blending.
How can I adapt this grizzly drawing for different ages?
For preschoolers pre-draw the large oval body, head circle, and four thick leg shapes and have them add simple ears and paws, for elementary kids follow all steps but simplify fur texture and claws, and for older kids focus on short curved pencil strokes for fur, deeper shading under the belly/chin/inside legs, and using reference photos to refine proportions.
How can we make the finished grizzly more creative or challenging?
After you complete the fur texture and shading under the belly and chin, personalize the scene by adding a forest background (trees, rocks, river), color with colored pencils or watercolor, draw a family of bears at different sizes using the same steps, and photograph the finished piece with a title before sharing on DIY.org.
Watch videos on how to draw a grizzly bear
How to Draw Grizzly Bear Step by Step for Kids Easy
4 Videos
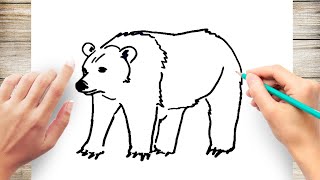
How to Draw Grizzly Bear Step by Step for Kids Easy
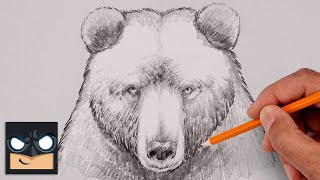
How To Draw a Grizzly Bear | 15 Minute Sketch Tutorial
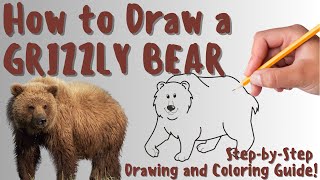
HOW TO DRAW A GRIZZLY BEAR - Fun & Easy Step-by-Step Drawing and Coloring Guide
How to Draw Grizzly | We Bare Bears
Facts about animal drawing for kids
🐻 Grizzly bears are a North American form of brown bear, recognizable by a muscular shoulder hump used for digging.
🧾 The name “grizzly” comes from “grizzled” — many have silver-tipped guard hairs that give a frosted look.
✏️ Pencil grades matter: B pencils (2B–6B) give darker, smoother shading, while H pencils make lighter, precise construction lines.
🔍 Professional artists start with simple shapes (circles, ovals, lines) to block in correct animal proportions quickly.
🖼️ Using several reference photos from different angles and lighting helps you capture realistic fur direction and posture.
How do I teach my child to draw a grizzly bear step-by-step?
What materials do I need to draw a grizzly bear with pencil?
What ages is drawing a grizzly bear suitable for?
What are the benefits of drawing a grizzly bear and how can I vary the activity?
