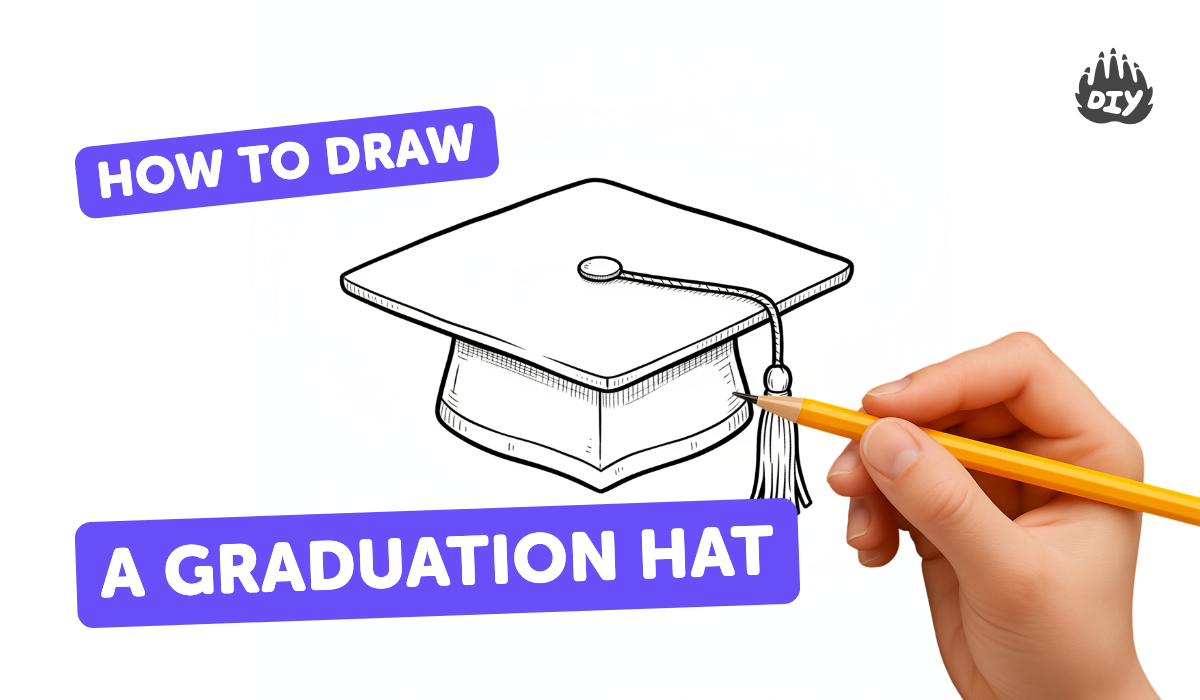
How to draw a graduation hat - a free graduation hat drawing guide
Draw a graduation hat step-by-step, sketching the square mortarboard, cap base, and tassel. Practice proportions, shading, and adding color confidently.

Drawing Apps
Photos of graduation hat drawing examples


Step-by-step guide to draw a graduation hat
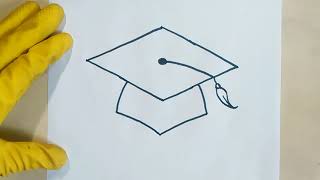
How to Draw a Graduation Cap Step by Step Easy for Beginners/Kids - Simple Caps Drawing Tutorial
Step 1
Put your paper on a flat surface and lay out your pencil eraser ruler and colouring materials.
Step 2
Lightly draw a horizontal guideline near the top third of the paper where the hat will sit.
Step 3
Draw a slightly curved band on the guideline to make the cap base using light pencil lines.
Step 4
Use your ruler to draw a diamond shape centered above the band for the mortarboard.
Step 5
Darken the outer lines of the mortarboard so the shape is clear.
Step 6
Draw a small circle at the center of the mortarboard to mark the button.
Step 7
Draw a straight line from the button down the side to make the tassel cord.
Step 8
Draw a cluster of short curved lines at the end of the cord to form the tassel fringe.
Step 9
Look at your drawing to see if the mortarboard sits evenly on the band.
Step 10
Erase and lightly redraw any part that seems too big or too small to balance the hat.
Step 11
Shade the underside of the mortarboard and the lower edge of the band with light pencil strokes to show shadow.
Step 12
Add small shading lines to the tassel to give it texture.
Step 13
Use your colouring materials to fill the mortarboard and tassel and leave a tiny light spot for a highlight.
Step 14
Share your finished graduation hat drawing on DIY.org
Help!?
If I don't have a ruler or special colouring materials listed in step 1, what can I use instead to draw the diamond in step 4 and color the hat?
Use the straight edge of a hardcover book or a piece of cardboard instead of the ruler to draw the diamond in step 4, and substitute crayons, markers, or colored pencils for the colouring materials when filling the mortarboard in the final step.
My mortarboard looks lopsided after step 8 — how can I fix it without ruining the drawing?
Lightly erase the side of the band or the diamond as suggested in step 9 and redraw using your pencil and ruler so the mortarboard sits evenly on the band.
How can I adapt this activity for younger children or make it more challenging for older kids?
For younger children skip the ruler in step 4 and have them trace a premade diamond to color, while older kids can add perspective and extra shading under the mortarboard and along the lower edge (step 11) and add textured tassel shading (step 12) before coloring.
What are some ways to personalize or extend the graduation hat drawing after coloring in step 13?
Add a school logo or graduation year on the mortarboard, use a metallic pen for the tiny highlight spot mentioned in step 13, decorate the band with patterns, and then share your finished graduation hat on DIY.org as in step 15.
Watch videos on how to draw a graduation hat
How to Draw a Graduation Hat | Easy Step by Step Drawing Tutorial
4 Videos

How to Draw a Graduation Hat | Easy Step by Step Drawing Tutorial

How to DRAW GRADUATION CAP Easy Drawing Tutorials
how to draw a Graduation Cap 🎓 Hat Step By Step Easy Instructions scroll Middle High School College

How to Draw a Graduation Cap and Diploma Step by Step
Facts about drawing and sketching for kids
🎓 The mortarboard evolved from medieval scholar and clerical hats in European universities around the 15th century.
✏️ Artists often sketch the square first to lock in the mortarboard's perspective and proportions before adding the cap base and tassel.
🎒 At many graduation ceremonies, graduates move the tassel from the right side to the left to show they've officially graduated.
🏅 Some schools use gold or special-colored tassels to indicate advanced degrees or academic honors.
🔢 Many graduation tassels have a tiny charm with the graduation year — a popular keepsake for grads.
How do I draw a graduation hat step-by-step?
What materials do I need to draw a graduation hat with my child?
What ages is drawing a graduation hat suitable for?
What are some fun variations for drawing a graduation hat?
