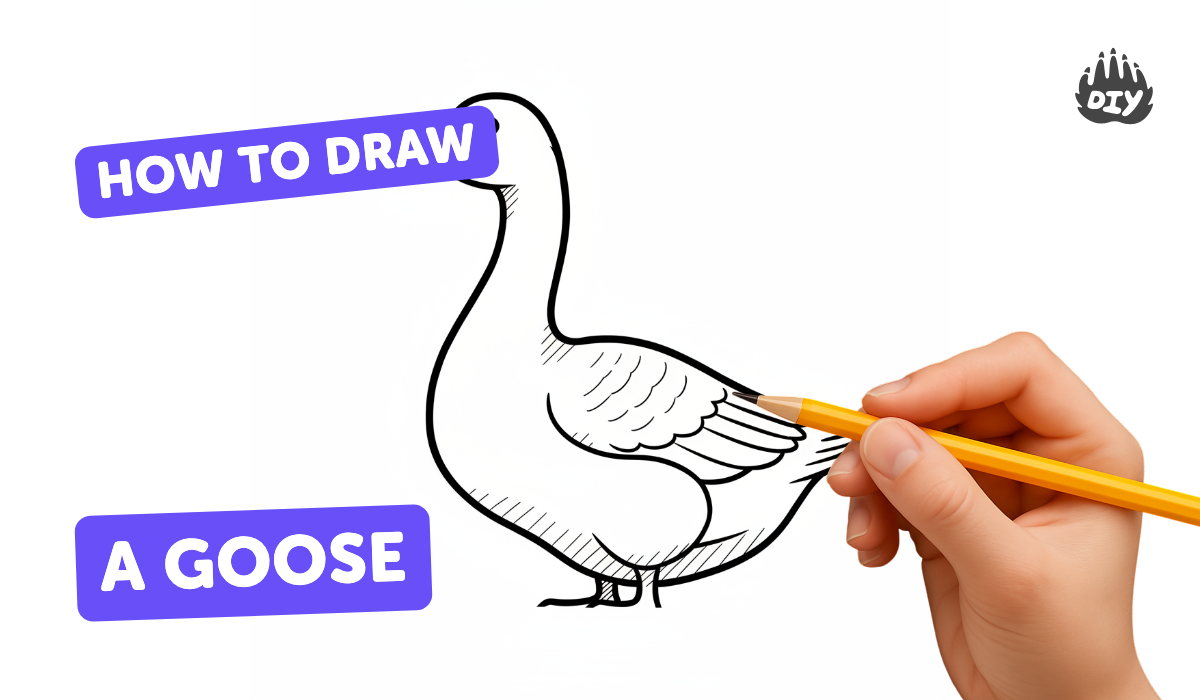
How to draw a goose - a free goose drawing guide
Draw a realistic goose using simple shapes, lines, and shading. Practice observation, proportion, and adding texture for feathers and beak details.

Drawing Apps
Photos of realistic goose drawings


Step-by-step guide to draw a realistic goose
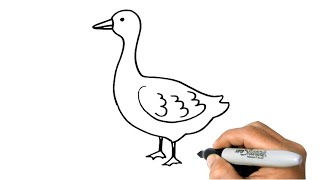
How to Draw a Goose for Kids | Easy Step-by-Step Drawing Tutorial
Step 1
Find a clear photo or picture of a goose to look at while you draw.
Step 2
Lightly draw a large oval for the body and a smaller circle for the head.
Step 3
Draw an S-shaped line to connect the head and body to make the neck.
Step 4
Sketch a long slim triangle for the beak pointing away from the head.
Step 5
Draw a small circle for the eye and a tiny dot inside it for the highlight.
Step 6
Outline the wing on the body with a curved teardrop shape.
Step 7
Add short pointed shapes at the back of the body for tail feathers.
Step 8
Draw two straight legs down from the body and add webbed feet with curved lines.
Step 9
Add feather texture by drawing short curved strokes over the body and wing.
Step 10
Decide where the light is coming from and shade the opposite side with gentle pencil strokes.
Step 11
Blend the shading lightly with a tissue or cotton swab to make it smooth.
Step 12
Erase extra construction lines and darken the final outline you want to keep.
Step 13
Color your goose if you like and then share your finished creation on DIY.org.
Help!?
What can I use instead of a tissue or cotton swab for blending if I don't have one?
If you don't have a tissue or cotton swab to 'Blend the shading lightly with a tissue or cotton swab', gently rub the shading with a clean fingertip, a rolled-up corner of a soft paper towel, or a paper blending stump (tortillon).
My goose's neck looks awkward — how can I fix the S-shaped connection between the head and body?
If the 'Draw an S-shaped line to connect the head and body' step looks wrong, lightly erase the S-curve, check the placement of the head circle and body oval against your reference photo, then redraw the neck with soft, confident strokes until it flows naturally.
How can I adapt this drawing for younger or older children?
For younger kids simplify to the big oval body, small head circle, triangle beak and bold crayons and skip shading, while older kids can follow all steps including feather texture, careful shading and blending, neat webbed feet, and coloring before sharing on DIY.org.
How can we extend or personalize the finished goose drawing?
To enhance the 'Color your goose' step, add a painted pond or sky background, decorate the wing with collage or patterns, draw a family of geese with varied poses, and then photograph the group to share on DIY.org.
Watch videos on how to draw a realistic goose
How to DRAW a GOOSE Easy Step by Step
4 Videos
How to DRAW a GOOSE Easy Step by Step
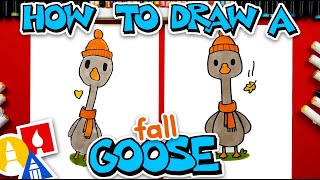
How To Draw A Fall Goose
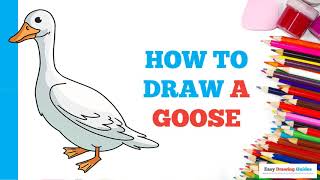
How to Draw a Goose in a Few Easy Steps: Drawing Tutorial for Beginner Artists

How To Draw A Cute Parakeet
Facts about drawing birds for kids
🪿 Geese are waterfowl in the Anatidae family — they're cousins of ducks and swans!
🪶 Geese have fluffy down for warmth and outer feathers that they preen with oil to stay waterproof.
✏️ Artists often start drawings of animals with simple shapes: an oval for the body, a circle for the head, and a curved line for the neck.
📏 To get realistic proportions, artists use sighting — hold your pencil at arm's length to compare angles and sizes.
🕊️ Geese fly in a V-formation to save energy, and they take turns leading so no one gets too tired.
How do I draw a realistic goose using simple shapes, lines, and shading?
What materials do I need to draw a realistic goose?
What ages is drawing a realistic goose suitable for?
What are the benefits of drawing a realistic goose and variations to try?
