How to draw a golf ball - a free golf ball drawing guide
Draw a realistic golf ball by sketching a circle, adding dimples, shading for depth, and practicing light sources to improve drawing skills.

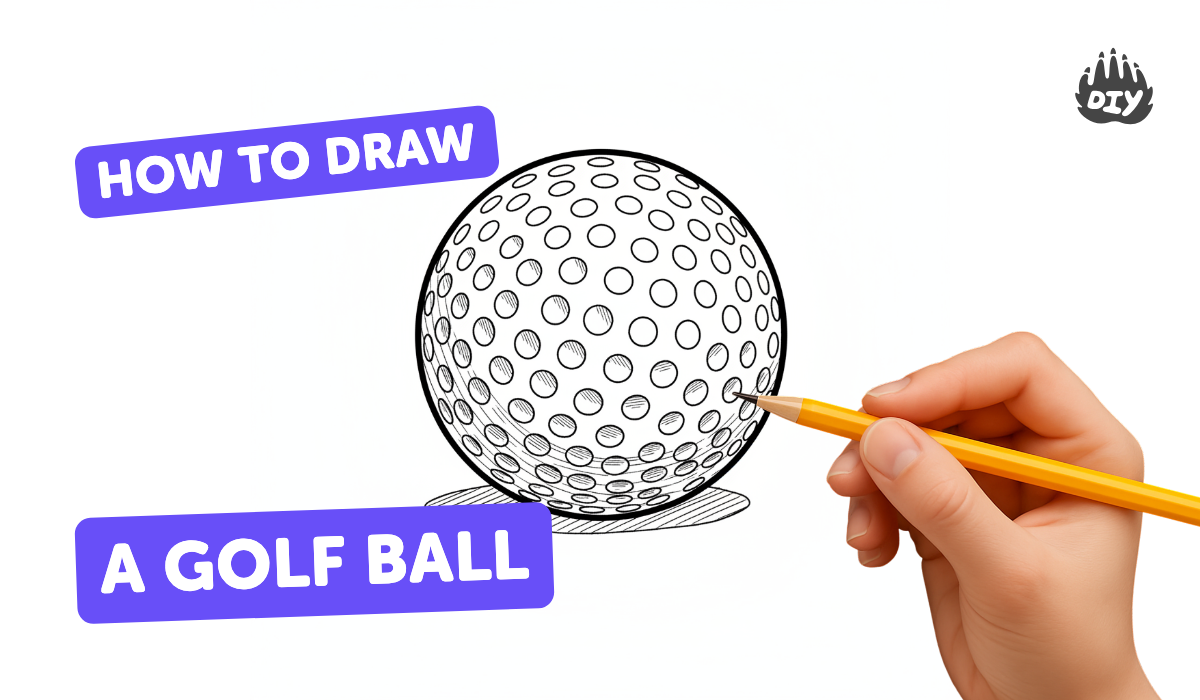
Step-by-step guide to draw a realistic golf ball
How to Draw a Golf Ball in a Few Easy Steps: Drawing Tutorial for Beginner Artists
Step 1
Place the round object on the paper and trace around it to make a neat circle for your golf ball.
Step 2
Lightly draw a small dot outside the circle to mark where the light is coming from.
Step 3
Draw one faint curved guideline across the circle to help place dimples.
Step 4
Draw a second faint curved guideline perpendicular to the first to make a simple grid for dimple spacing.
Step 5
Start filling the circle with small evenly spaced round dimples following the curved guidelines in a staggered pattern.
Step 6
Darken the lower edge of each dimple a little on the side away from the light source to show depth in the dimples.
Step 7
Shade the side of the entire ball opposite the light source with light pencil strokes to create roundness.
Step 8
Use the blending stump or a tissue to gently smudge the shading and make the surface look smooth.
Step 9
Leave a small bright spot on the ball where the light hits by keeping it white or erasing a tiny area to form a highlight.
Step 10
Draw a soft shadow on the paper under the ball on the side opposite the light source to ground it.
Step 11
Erase the faint guide lines and any stray marks to clean up your drawing.
Step 12
Share your finished realistic golf ball drawing on DIY.org.
Help!?
What can we use if we don't have a round object to trace or a blending stump?
Use a cup, jar lid, or tape roll to trace the circle and substitute the blending stump with a folded tissue, cotton swab, or soft fingertip to gently smudge the shading.
My dimples look uneven or too dark—how can I fix them?
If dimples are uneven, erase and redraw them following the faint curved guidelines, and if they're too dark, lift graphite with an eraser then darken only the lower edge of each dimple away from the light source before smudging with your blending stump or tissue.
How do I change this activity for kids of different ages?
For younger children use a larger round object, fewer bigger dimples and skip subtle shading, while older kids can draw tighter staggered dimples using both curved guidelines and refine shading and highlights with a blending stump for realism.
How can we make the golf ball drawing more interesting or personal?
Personalize the ball by drawing a tiny logo or number, adding scuff marks, arranging multiple balls with overlapping soft shadows for a more complex composition, or adding color before sharing your finished realistic golf ball drawing on DIY.org.
Watch videos on how to draw a realistic golf ball
How to Draw a Golf Ball Step by Step for Kids
4 Videos
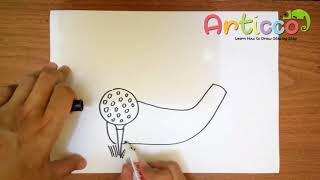
How to Draw a Golf Ball Step by Step for Kids

THE CORRECT WAY TO DRAW THE GOLF BALL
How to Draw a Ball Step by Step | Easy and Trending Ball Drawing for Beginners

How to Draw a Golf Ball - Full Guide
Facts about drawing and shading for kids
🏌️♀️ Modern golf balls often have about 336 dimples — those tiny dents help them fly farther and straighter.
⭕️ Start with a clean circle: your eye reads a circle plus shading as a round 3D sphere.
🌗 To make a ball look realistic, artists use a highlight, midtones, a core shadow, reflected light, and a cast shadow.
💡 Move the light source and the highlight and shadow shift — experimenting with lamp positions teaches lighting fast.
✏️ Quick daily practice (drawing lots of circles and shading them) noticeably improves hand control and shading skill.
How do I teach my child to draw a realistic golf ball?
What materials do we need to draw a realistic golf ball?
What ages is drawing a realistic golf ball suitable for?
What are the benefits of drawing a realistic golf ball for kids?
