How to draw a goldfish - a free goldfish drawing guide
Draw a colorful goldfish step by step using simple shapes, lines, and shading. Practice observation, proportions, and mixing orange tones to create scales.

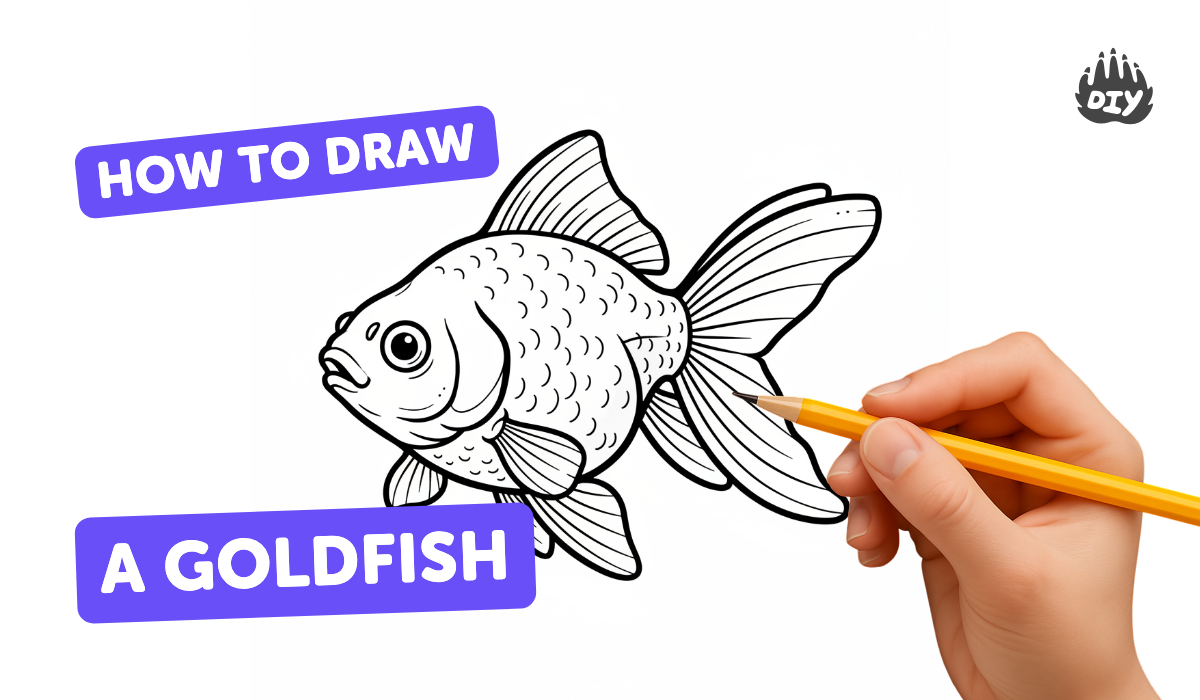
Step-by-step guide to draw a colorful goldfish
Easy Step-by-Step Goldfish Drawing Tutorial for Kids (Part 1)
Step 1
Draw a large rounded oval for the goldfish body and a smaller circle overlapping at the front for the head.
Step 2
Add a gentle curved line where the head meets the body to mark the face area.
Step 3
Draw a big fan shaped tail attached to the back of the oval.
Step 4
Draw a wavy top fin and a wavy bottom fin on the body.
Step 5
Draw a round eye and a small curved smile on the head.
Step 6
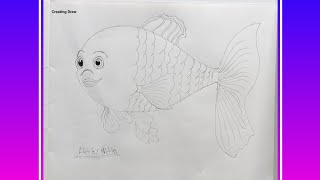
Trace a smooth outer outline of the whole fish over your shapes so it looks like one clean fish.
Step 7
Erase the extra construction shapes so only the fish outline remains.
Step 8
Fill the body with rows of simple curved scale shapes like little upside down U's.
Step 9
Add thin flowing lines inside the tail and fins from base to edge to show texture.
Step 10
On scrap paper make three orange tones by layering yellow and red and adding a tiny bit of brown for the darkest tone.
Step 11
Color the scales row by row using the light medium and dark orange tones you made.
Step 12
Shade under the belly and behind the fins with the darkest tone to make a shadow.
Step 13
Add tiny white highlights on some scales and near the eye with a white pencil or by leaving small white spots.
Step 14
Share your finished colorful goldfish on DIY.org
Help!?
I don’t have a white pencil or brown colored pencil—what can I use instead for the white highlights and the darkest orange tone?
Use a white gel pen, a tiny dab of white acrylic or correction fluid for the highlights near the eye and on scales, and make the darkest orange by mixing a bit of red with a touch of black or using burnt sienna/crimson or a dark orange marker on your scrap paper instead of brown.
My fish outline looks messy after erasing the construction shapes—how can I fix that?
Before you erase, trace a smooth continuous outer outline over the oval and head with light confident strokes or a fine black marker so when you erase the overlapping circle and oval the fish already looks like one clean shape.
How can I adapt this activity for different ages (toddlers, early elementary, older kids)?
For toddlers skip the rows of upside-down U scales and thin fin lines and have them draw the large rounded oval, circle head, big fan tail and color with crayons; for early elementary (6–8) keep the scales row by row and simple shading under the belly using the darkest tone mixed on scrap paper; for older kids (10–13) encourage refining the smooth outer outline, adding thin flowing lines inside fins and tiny white highlights with a white pencil or gel pen and experimenting with three orange tones.
What are creative ways to extend or personalize the goldfish drawing once it’s finished?
Add an underwater background with plants and bubbles, use metallic or glitter gel pens for extra scale highlights, create a group of goldfish in different poses using the same steps, or mount and photograph your favorites to share on DIY.org.
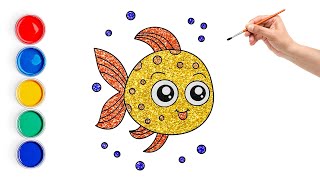
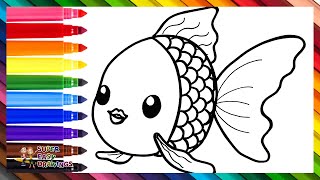
Watch videos on how to draw a colorful goldfish
Learn How to Draw Goldfish | Easy Step by Step Tutorial For Kids
4 Videos
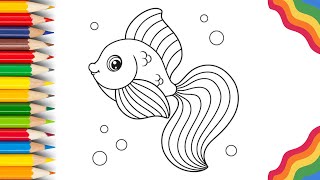
Learn How to Draw Goldfish | Easy Step by Step Tutorial For Kids
How to Draw a Goldfish for Kids Easy & Fun Underwater Art
Draw and Color a Cute Goldfish 🌟🐠🌊🌟🌈 Drawings for Kids
How to Draw a Cute Goldfish for Kids | Easy Step by Step Sea Animal Drawing | Creating Draw
Facts about drawing and color mixing for kids
🐟 Goldfish can learn simple tasks and remember them for months — they're smarter than people often think!
🎨 Red + yellow make orange; add a little white for a lighter tint or a touch of blue/brown to deepen the shade.
✏️ Many artists begin drawings with simple shapes (ovals for the body, triangles for fins) to get proportions right.
✨ Goldfish scales reflect light like tiny mirrors — small white highlights make scales look sparkly on paper.
🧠 Practicing observational drawing 10–15 minutes a day helps your eye learn proportions and improves drawing skills fast.
How do I draw a colorful goldfish step by step?
What materials do I need to draw and color a goldfish?
What ages is this goldfish drawing activity suitable for?
What are the benefits of drawing a goldfish for kids?
