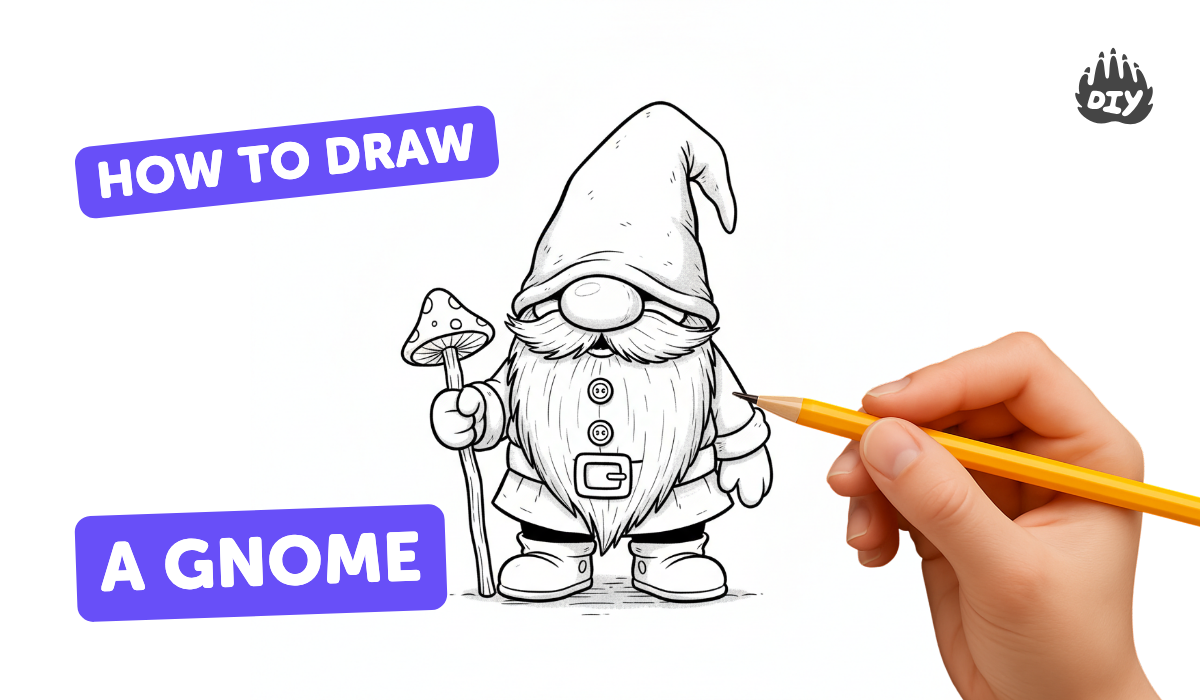
How to draw a gnome - a free gnome drawing guide
Draw a gnome step by step using simple shapes, lines, and color. Practice proportions, hat details, and shading to build drawing skills.

Drawing Apps
Photos of gnome drawing examples


Step-by-step guide to draw a gnome
How to Draw a Gnome Easy
Step 1
Place your paper in front of you and lightly draw a large rounded oval near the bottom center for the gnome's body.
Step 2
Lightly draw a smaller circle overlapping the top of the oval for the gnome's head.
Step 3
Draw a tall pointy hat on top of the head using a curved triangle shape that leans a little to one side.
Step 4
Draw a small round nose where the head meets the hat so it slightly overlaps both shapes.
Step 5
Draw a fluffy beard under the nose using a row of scalloped curves or one big wavy shape.
Step 6
Draw two short curved arms on each side of the body and tiny mitten shapes at the ends for hands.
Step 7
Draw two rounded boots at the bottom of the body with a short line to show where the feet sit.
Step 8
Draw two small eyes as dots or tiny curved lines on either side of the nose.
Step 9
Add a hat cuff by drawing a band across the base of the hat.
Step 10
Add simple hat patterns like stripes or stars by drawing straight or curved lines and small shapes on the hat.
Step 11
Lightly shade under the hat brim under the nose and along one side of the body with your pencil to show shadow.
Step 12
Trace your favorite final lines with a black marker or a darker pencil to make your gnome stand out.
Step 13
Erase any extra pencil guidelines that you do not want to keep.
Step 14
Color your gnome with your coloring materials choosing bright fun colors for the hat beard clothes and boots.
Step 15
Share your finished gnome drawing on DIY.org.
Help!?
What can we use if we don't have a black marker or certain coloring materials?
If you don't have a black marker, trace your favorite final lines with a darker pencil or a fine-tip pen and swap in crayons or washable markers for the coloring materials when coloring the hat, beard, clothes, and boots.
My gnome looks lopsided or the hat/nose aren't in the right place—how can I fix it?
If the body or hat look lopsided, lightly erase and redraw the large rounded oval near the bottom center and the curved triangle hat (leaning a little to one side) using very light pencil strokes so the small circle head and nose can be repositioned before you retrace final lines.
How can I change the steps for younger or older children?
For younger kids, simplify by using pre-cut or traced ovals and circles, sticker eyes, and crayons for coloring, while older children can add detailed hat patterns, scalloped beard curves, shading under the hat brim, and trace final lines with a black marker.
How can we extend or personalize the gnome drawing?
Personalize your gnome by adding accessories like a lantern or mushroom, extra hat cuff designs and patterns, a background scene, experimenting with watercolor or colored pencils for beard texture and shading under the hat brim, and then share the finished gnome drawing on DIY.org.
Watch videos on how to draw a gnome
Want to Learn the Secrets of Drawing?
4 Videos
Want to Learn the Secrets of Drawing?
How To Draw A Cute Girl Gnome
How To Learn Drawing Lizard
How To Draw A Fall Gnome
Facts about drawing for kids
🧙♂️ Gnomes come from European folklore and have been part of stories and myths for hundreds of years.
🏡 Garden gnomes became popular decorative figures in 19th-century Germany and spread across Europe.
📏 For a cute cartoon gnome, make the hat about half the total height so the hat becomes the star of the design.
🎩 Traditional gnome outfits often include a big pointy red hat and a round nose that peek out from a long beard.
🖌️ Simple shading trick: pick one light source and darken the side opposite the light to make your gnome look 3D.
How do you draw a gnome step by step?
What materials do I need to draw a gnome?
What ages is drawing a gnome suitable for?
What are some fun variations to try when drawing gnomes?
