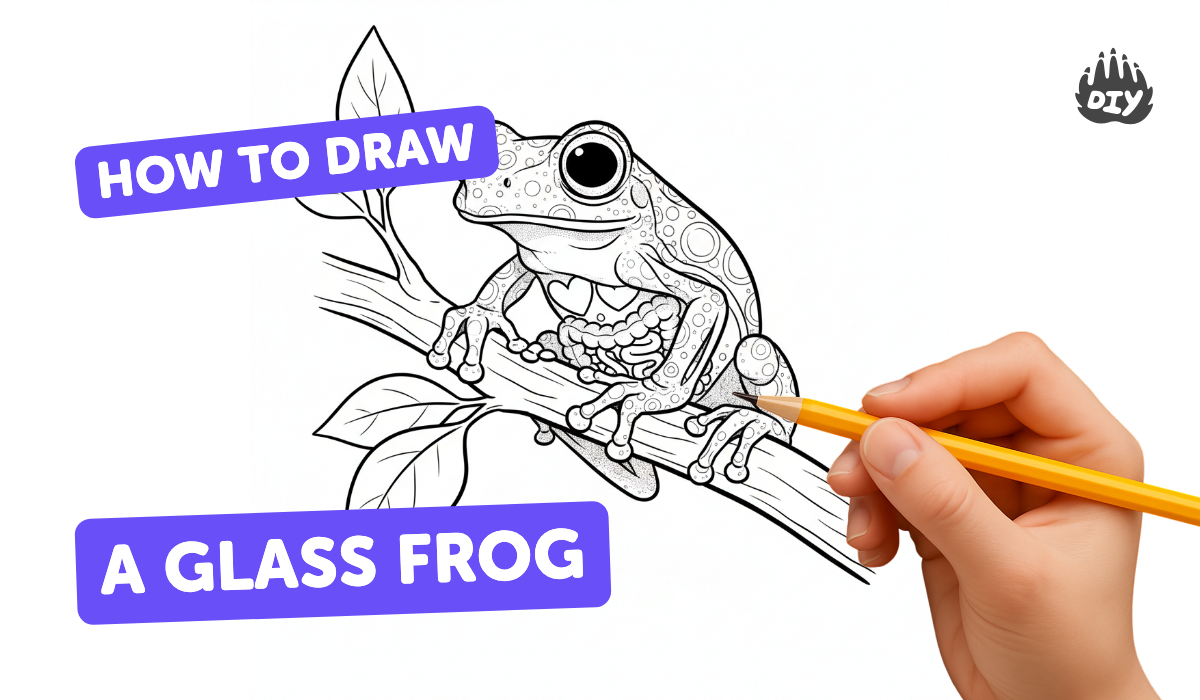
How to draw a glass frog - a free glass frog drawing guide
Draw a detailed glass frog using pencil, ink, and colored pencils. Learn to sketch shapes, add transparent shading, and finalize with highlights and habitat details.

Drawing Apps
Photos of glass frog drawing examples


Step-by-step guide to draw a glass frog
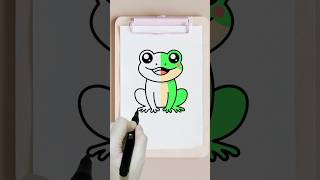
How to draw a Frog step by step / Frog Drawing for kids / Simple Frog Drawing easy way
Step 1
Lightly sketch the frog’s basic shapes: draw an oval for the body and a smaller circle for the head with faint guidelines for leg placement.
Step 2
Refine the outline by connecting the shapes into a smooth frog silhouette and erase extra overlapping lines.
Step 3
Draw the frog’s legs and webbed toes with gentle curved lines showing bend and placement.
Step 4
Add the eyes on top of the head by sketching large rounded eye shapes and mark pupil positions lightly.
Step 5
Draw a soft oval on the frog’s belly to show the transparent area and sketch very light simple shapes inside for the hint of internal forms.
Step 6
Sketch a leaf or branch underneath the frog to place it in its habitat using simple curved lines.
Step 7
Ink only the final outer lines and important details with your fine liner pen and keep the pen steady for smooth strokes.
Step 8
Wait a few minutes for the ink to dry completely.
Step 9
Gently erase the pencil guide lines so only your inked drawing and light belly shapes remain.
Step 10
Lay down a light base of colored pencil on the frog’s skin using soft layers to build color gradually.
Step 11
Add transparent shading by layering more light color over the body while keeping the belly area paler so it looks see-through.
Step 12
Use a white gel pen or white colored pencil to add bright highlights on the eyes the belly and dew drops then share your finished creation on DIY.org
Help!?
What can we use if we don't have a fine liner pen or a white gel pen?
If you don't have a fine liner pen, use a sharp mechanical pencil or a thin-tipped ballpoint to ink only the final outer lines, and substitute a tiny dab of white acrylic paint or a soft white pastel for highlights on the eyes, belly, and dew drops instead of a white gel pen or white colored pencil.
My ink smudges or pencil guide lines won't erase cleanly — what should I do?
To avoid smudging and hard-to-erase marks, wait the recommended few minutes for the ink to dry fully, blot excess ink with scrap paper if needed, and then gently erase the light pencil guidelines with a soft eraser as instructed so only your inked drawing and light belly shapes remain.
How can this activity be adjusted for younger or older kids?
For younger children, simplify by sketching large ovals and circles and coloring with crayons without inking, while older kids can refine the silhouette, carefully draw webbed toes, add hintsof internal shapes in the belly, layer colored pencils for transparent shading, and finish with white gel-pen highlights as described.
How can we extend or personalize the glass frog drawing?
Extend and personalize the project by adding a detailed leaf or branch habitat, experimenting with a light watercolor wash under the colored pencil to emphasize the see-through belly, creating unique color patterns or extra internal shapes inside the belly, and then share your finished creation on DIY.org as the instructions suggest.
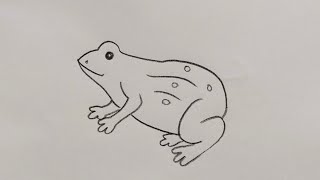
Watch videos on how to draw a glass frog
How to Draw a Frog - A Step-by-Step Guide 🐸
4 Videos
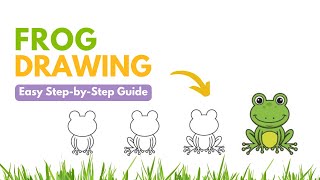
How to Draw a Frog - A Step-by-Step Guide 🐸
How to draw a frog easy | Step by step Drawing for kids🐸
how to draw frog drawing easy step by step@DrawingTalent
Easy Frog drawing tutorial | Drawing tutorial
Facts about wildlife drawing for kids
🐸 Glass frogs have translucent belly skin so you can sometimes see their organs from underneath!
🌿 Glass frogs mostly live on leaves over streams in Central and South American rainforests—perfect places for tadpoles to drop into water.
✨ Some amphibians (including certain glass frogs) have green bones that help them blend into leafy habitats.
🖍️ Colored pencils are excellent for building up light, transparent layers to mimic see-through skin and subtle shading.
🖊️ Fine ink lines or pens make crisp details like tiny veins, eye rims, and texture that bring a frog drawing to life.
How do I draw a detailed glass frog using pencil, ink, and colored pencils?
What materials do I need to draw a glass frog?
What ages is drawing a glass frog suitable for?
What are the benefits of drawing a glass frog?
