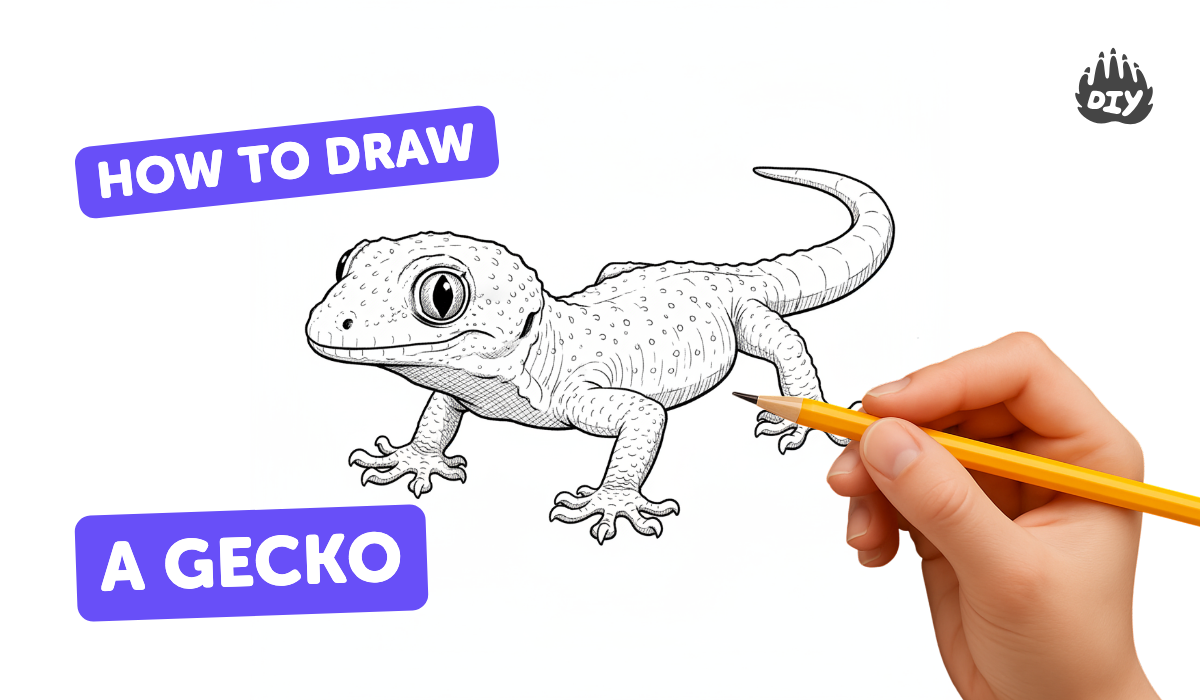
How to draw a gecko - a free gecko drawing guide
Draw a colorful gecko step by step using simple shapes, pattern techniques, and basic shading. Practice observation and proportion to improve drawing skills.

Drawing Apps
Photos of colorful gecko drawings


Step-by-step guide to draw a colorful gecko
How to Draw a GECKO Easy Step by Step Drawing Animals
Step 1
Find a comfortable spot and place your paper and tools where you can reach them easily.
Step 2
Lightly draw a small oval near the top of the paper for the gecko’s head.
Step 3
Lightly draw a larger oval behind the head for the gecko’s body.
Step 4
Draw a long curved tail coming out from the back of the body.
Step 5
Draw four simple limbs as short lines coming out of the body with a small circle at each end for toes.
Step 6
Turn each toe circle into rounded toe pads by drawing little ovals around them.
Step 7
Draw two round eyes on the head.
Step 8
Draw a small curved line for a smiling mouth and a tiny dot for a nostril.
Step 9
Add fun pattern shapes on the body like spots stripes or wavy lines.
Step 10
Lightly shade the underside of the body and tail with your pencil using soft short strokes.
Step 11
Trace the gecko’s final outline and patterns with your black pen or fine liner.
Step 12
Gently erase the pencil sketch lines that are left over.
Step 13
Color your gecko with bright colors and fill in the patterns you drew.
Step 14
Add little highlights by leaving tiny spots uncolored or using a white pencil to show shiny skin.
Step 15
Take a photo of your colorful gecko and share your finished creation on DIY.org
Help!?
What can I use instead of a fine liner or a white pencil if I don't have them?
If you don't have a black pen/fine liner to trace in step 12, use a sharp dark marker or a well-sharpened graphite pencil for the outline, and for the white pencil highlights in step 15 use a white gel pen, a tiny dab of white acrylic paint, or leave tiny uncolored spots when coloring in step 14.
My initial sketch lines are too dark and smudge—how can I fix that before tracing?
If your light ovals and toe circles from steps 2–6 are too dark or smudged, redraw them with very light pencil pressure, gently lift excess graphite with a kneaded eraser, and clean remaining smudges before you trace in step 12.
How can I adapt this gecko drawing for younger or older kids?
For preschoolers simplify steps 2–6 to big ovals and single-line limbs, for elementary kids follow all steps including rounded toe pads and simple shading in step 11, and for teens add detailed scale patterns, layered shading, and ink textures before tracing in step 12.
What are some fun ways to extend or personalize the finished gecko?
To enhance the project, add a leafy background and painted branch, invent unique body patterns in step 10, experiment with mixed media for shiny skin highlights in step 15, and photograph the final piece in step 16 to share on DIY.org.
Watch videos on how to draw a colorful gecko
How to Draw a Gecko in a Few Easy Steps: Drawing Tutorial for Beginner Artists
4 Videos
How to Draw a Gecko in a Few Easy Steps: Drawing Tutorial for Beginner Artists
How To Draw A Gecko (Easy Drawing Tutorial)
🦎 How to draw a cute gecko? Easily and simply! A drawing for kids step by step 🦎
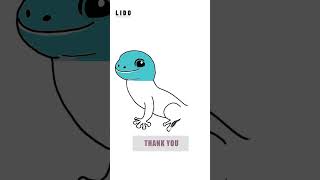
How to Draw a Gecko - Step-by-Step Tutorial for Beginners #lidoartworks
Facts about drawing and sketching
🦎 Geckos include over 1,700 species—plenty of different shapes and patterns to inspire your drawing!
👅 Many geckos lack eyelids and clean their eyes with their tongues—small details that make drawings feel real.
🖐️ Gecko toes have tiny hair-like structures (setae) that let them stick to walls and ceilings—try drawing a gecko hanging upside down!
🎨 Some gecko species have bright patterns or subtle color shifts for camouflage—use bold patterns and contrasts when coloring.
📏 Artists often use simple shapes (circles, ovals, lines) and measure with a pencil to keep proportions correct—great for step-by-step drawing.
How do I teach my child to draw a gecko step by step?
What materials do we need to draw a colorful gecko?
What ages is drawing a gecko suitable for?
What are the benefits and fun variations of drawing geckos?
