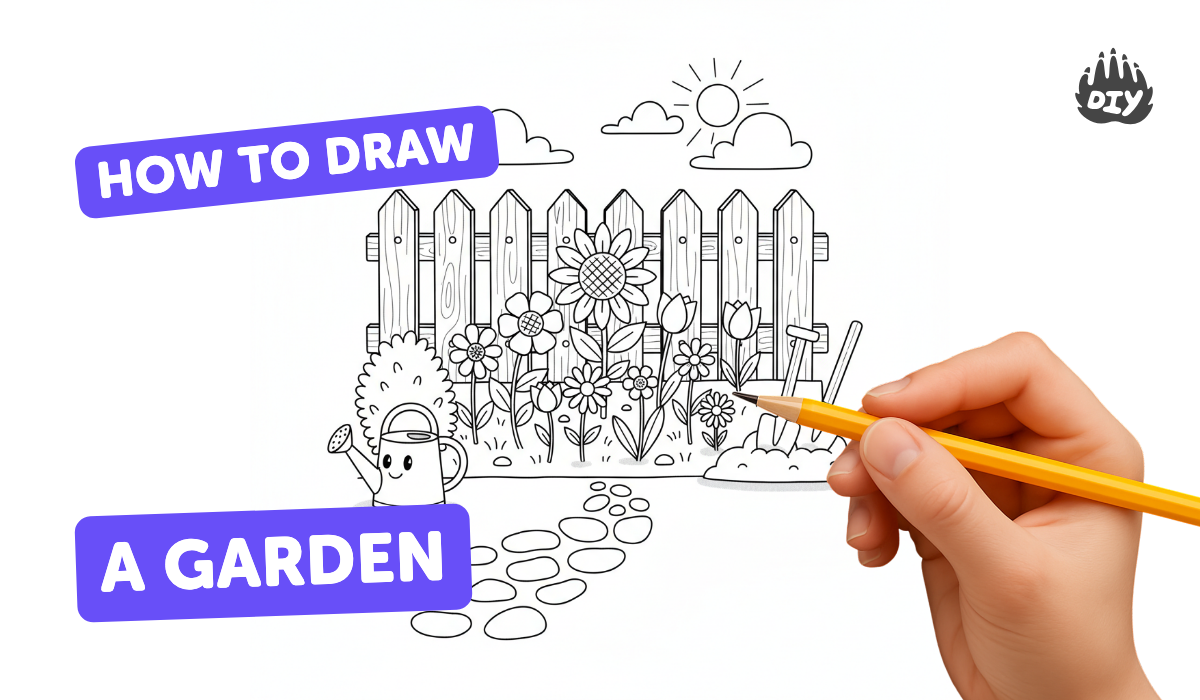
How to draw a garden - a free garden drawing guide
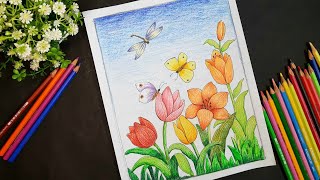
Draw a colorful garden scene by sketching paths, flower beds, trees, and a fence, then add details and color to bring it to life.

Step-by-step guide to draw a garden scene
Easy Spring Drawing: How to Draw a Garden with Flowers & Bees 🐝
Step 1
Gather your materials.
Step 2
Place your paper on the table in either landscape or portrait position.
Step 3
Lightly draw a horizon line about one third from the top of the page.
Step 4
Sketch a wide path starting at the bottom and narrowing toward the horizon.
Step 5
Draw flower bed shapes along both sides of the path.
Step 6
Add two or three tree shapes toward the back or sides of the garden.
Step 7
Draw a picket fence along the back or down one side with repeated slats.
Step 8
Fill the flower beds with simple flower shapes like circles with petals or tulips.
Step 9
Draw small details such as grass tufts stones butterflies or a sun in the sky.
Step 10
Trace the lines you want to keep with a black pen or darker pencil.
Step 11
Erase the light pencil sketch marks you no longer need.
Step 12
Color your garden with bright cheerful colors using your colouring materials.
Step 13
Add tiny finishing touches like shadows under trees and patterns on petals.
Step 14
Write your name and the date in one corner of your picture.
Step 15
Share your finished garden scene on DIY.org.
Help!?
What can I use if I don't have the exact materials like coloured pencils, black pen, or drawing paper?
If you don't have the suggested colouring materials, use markers, crayons, or diluted poster paint on scrap paper or cardboard, and if you lack a black pen trace the lines you want to keep with a darker pencil or fine-tipped marker before erasing the light pencil sketch marks.
My path doesn't look like it's narrowing toward the horizon—how can I fix the perspective and avoid smudging when I finish?
Redraw the path sides to meet near the horizon line you lightly drew about one third from the top using a ruler for straight edges, and prevent smudges by letting ink dry fully before you erase the light pencil sketch marks.
How can I adapt this garden drawing for different ages or skill levels?
For younger children simplify by drawing big flower circles and tree ovals and colouring with crayons, for early school ages follow each step and add stickers for flower details, and for older kids (10+) encourage tracing with a black pen and adding tiny finishing touches like shadows under trees and patterns on petals.
What are some ways to extend or personalize the finished garden drawing?
Personalize and extend the activity by adding tissue‑paper or fabric petals to the flower beds, painting shadows under trees as in the finishing touches step, writing your name and the date in one corner, and photographing the scene to share on DIY.org.
Watch videos on how to draw a garden scene
How To Draw A Spring Landscape
4 Videos
How To Draw A Spring Landscape
How To Draw Garden Scenery Drawing Step-by-step/ Flower Garden Drawing Easy For Beginners
Easy Garden Scene Drawing | Step by Step Tutorial | How to draw a garden | The Kid Next Door
How To Learn Flower Garden Drawing Step By Step For Beginners
Facts about drawing and coloring for kids
🌼 Honeybees can visit thousands of flowers in a single day — add a tiny bee to your garden to show activity!
🎨 Warm colors (reds, oranges, yellows) appear closer while cool colors (blues, greens) seem farther — use this to create depth.
🌳 There are roughly 60,000 known tree species worldwide — mix shapes and sizes for a more interesting scene.
🌈 Complementary colors (like purple and yellow) make each other look brighter — great for making flowers pop.
🏡 The Royal Botanic Gardens, Kew covers over 300 acres — gardens can be tiny backyard scenes or huge adventures.
How do I help my child draw a colorful garden scene step by step?
What materials do I need to draw a garden with my child?
What ages is this garden drawing activity suitable for?
What are the benefits of drawing a garden with my child and how can we vary the activity?
