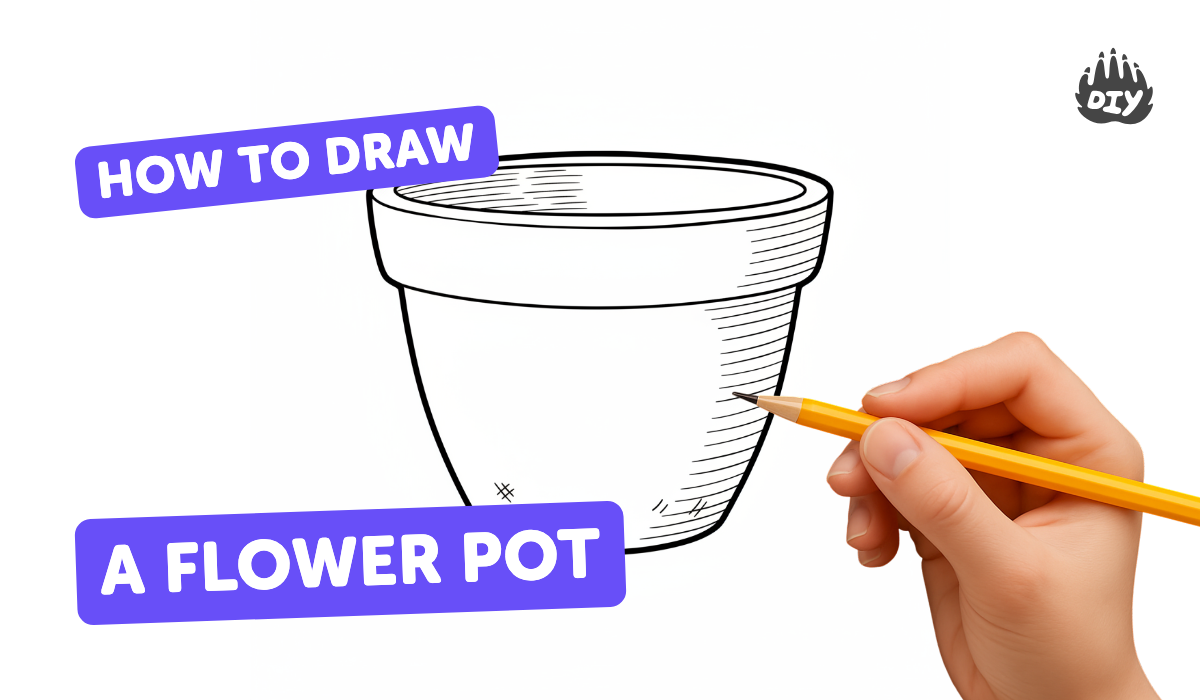
How to draw a flower pot - a free flower pot drawing guide
Draw a flower pot and blooming flower using simple shapes, lines, and shading. Practice step-by-step observation and basic drawing skills.

Drawing Apps
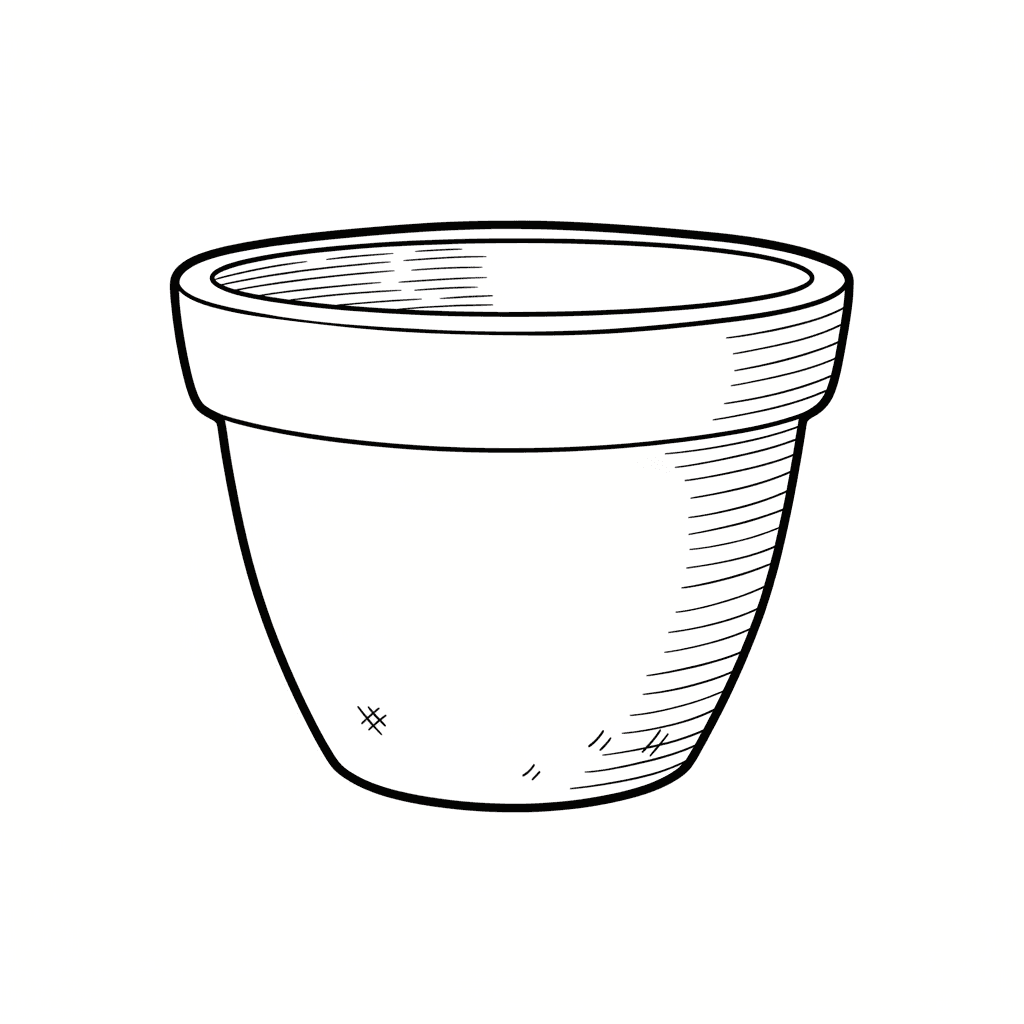
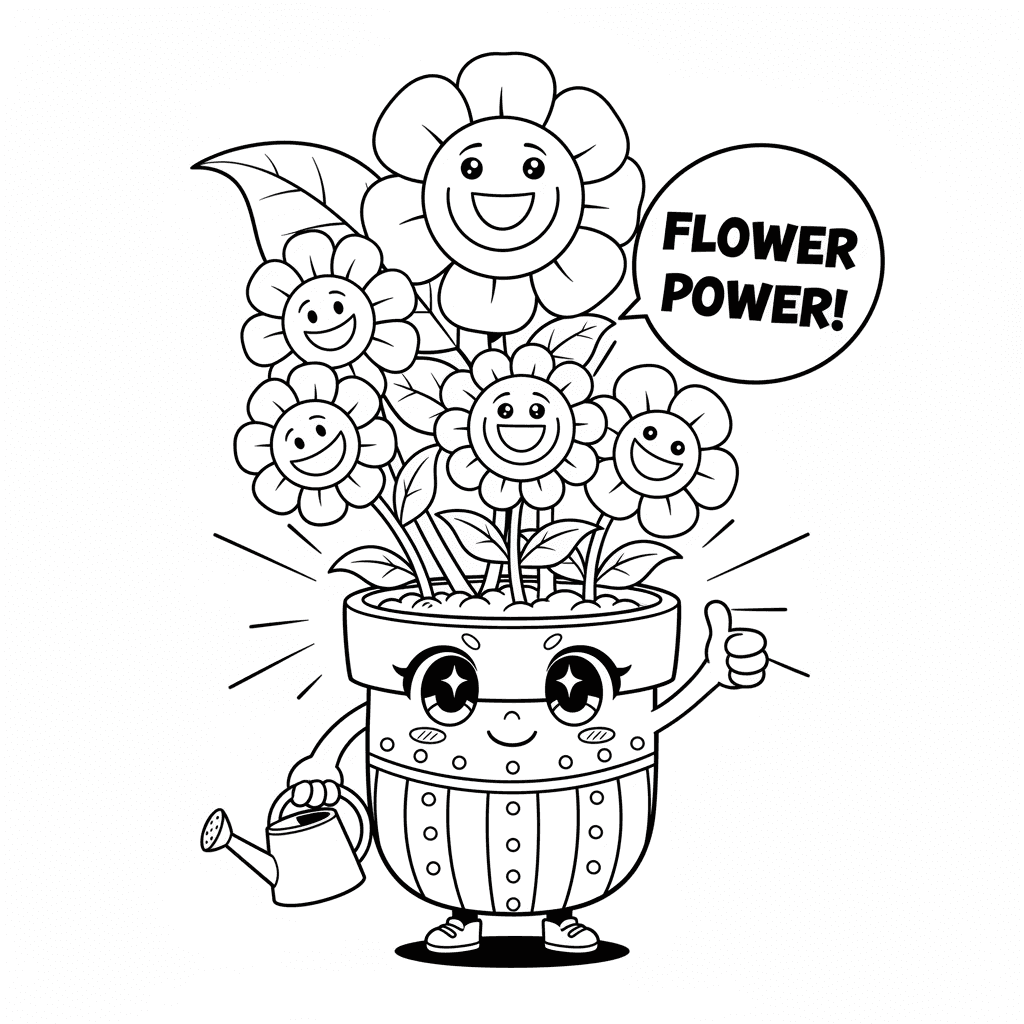
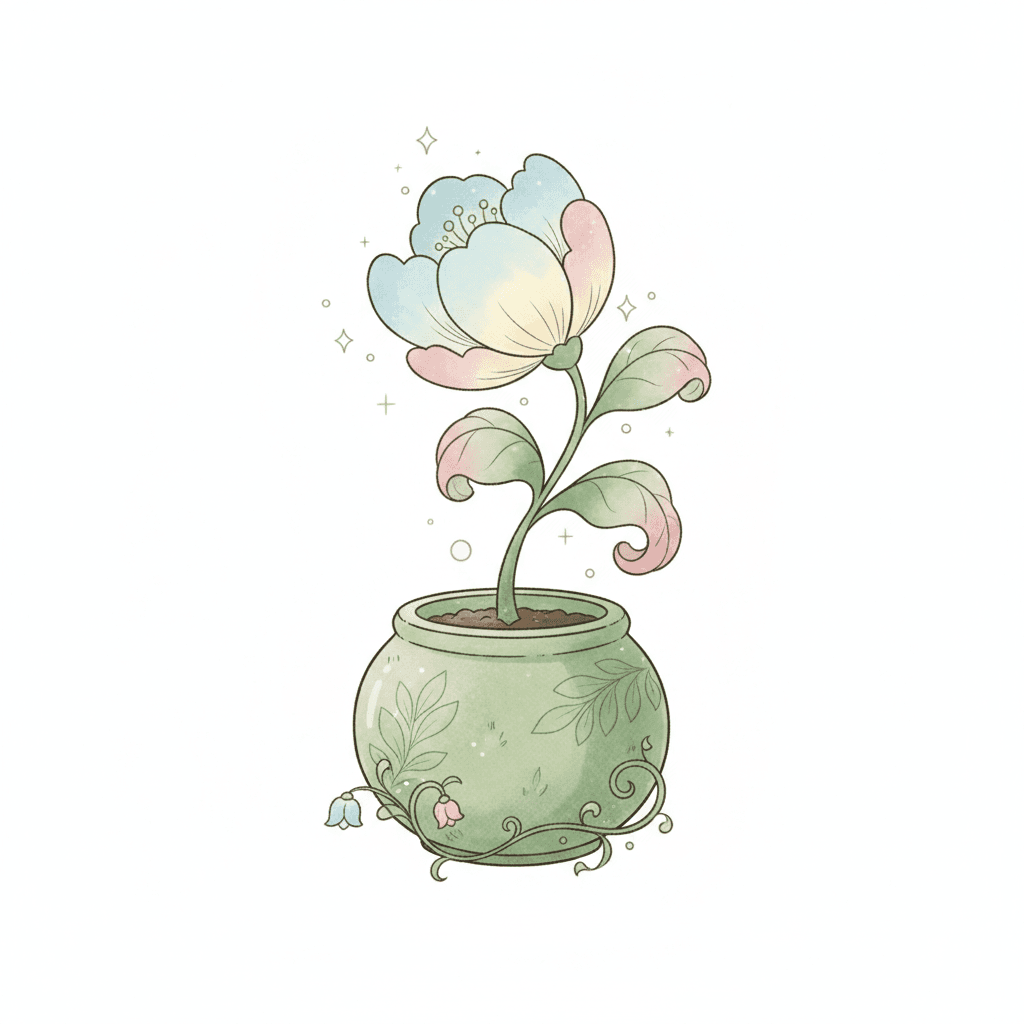
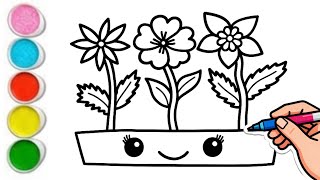
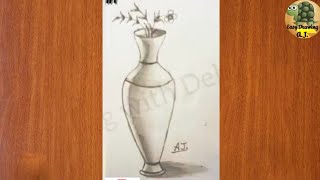
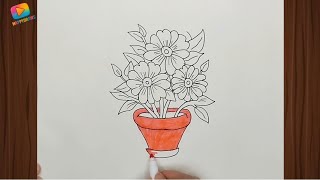
Photos of flower pot and blooming flower drawings


Step-by-step guide to draw a flower pot and blooming flower
How to Draw a SUPER Cute Flower Pot (Easy for Kids!)
Step 1
Gather your paper pencil eraser and colouring materials so everything is ready.
Step 2
Pick a portrait or landscape paper orientation and place the paper flat on the table.
Step 3
Lightly draw a short horizontal line near the bottom of the paper to be the table edge.
Step 4
Lightly sketch the pot shape as a wide trapezoid with slightly curved sides above the table line.
Step 5
Draw a shallow oval at the top of the trapezoid to make the pot rim.
Step 6
Lightly draw a vertical guideline from inside the pot upward to mark where the stem will go.
Step 7
Draw a small circle at the top of the guideline for the flower center.
Step 8
Add rounded petals all around the circle to make the flower head.
Step 9
Draw a straight or slightly curved stem from the flower center down along the guideline into the pot.
Step 10
Draw two simple leaf shapes on either side of the stem using almond shapes.
Step 11
Erase the light construction lines and guidelines you no longer need.
Step 12
Trace over the pot flower stem and leaves with darker pencil lines to finish the outline.
Step 13
Add gentle shading to one side of the pot and under the petals using light pencil strokes or a tissue to smudge.
Step 14
Colour your flower pot and petals using your colouring materials.
Step 15
Share your finished drawing on DIY.org to show everyone your blooming creation.
Help!?
What can we use if we don't have the listed pencil, eraser, or colouring materials?
If you don't have colouring materials use crayons, markers, or glued colored paper for a collage, and if you lack an eraser try a kneaded eraser or soft putty to lift pencil marks while still using your paper and pencil.
My stem doesn't line up with the pot and the flower looks off—what should I fix?
If your stem doesn't meet the pot or the flower looks off-center, redraw the vertical guideline (step 6) and lightly adjust the pot trapezoid (step 4) before erasing so the stem aligns through the pot rim (step 5).
How can I adapt this drawing activity for younger or older kids?
For toddlers pre-draw the pot and rim (steps 4–5) for them to color and stick pre-cut petals, while older kids can add detailed shading (step 13), leaf veins, and a patterned pot before tracing the final lines (step 12).
How can we extend or personalize the finished flower pot drawing?
To personalize the project, embellish the pot with painted patterns or glued sequins while colouring (step 14), draw extra flowers with different petal shapes (step 8), add a background scene, and then share the finished drawing on DIY.org (step 15).
Watch videos on how to draw a flower pot and blooming flower
HOW TO DRAW A FLOWER POT 💐Easy drawings | Easy Flower Pot Drawing for Kids Step by Step | #drawing
4 Videos
HOW TO DRAW A FLOWER POT 💐Easy drawings | Easy Flower Pot Drawing for Kids Step by Step | #drawing
How to Draw a Beautiful Flower Pot | Easy Flower Pot Drawing for Kids & Beginners
How to Draw a Flower Pot with Flowers | Easy Step-by-Step Tutorial | HAPPYDRAWS for Kids & Beginners
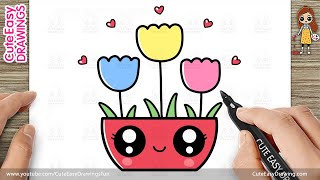
How to Draw a Cute Tulip Flower Pot - Easy Step-by-Step for Kids
Facts about observational drawing and shading for kids
🌸 Over 300,000 species of flowering plants (angiosperms) make up most of the plants you’ll see in gardens and parks!
🖊️ Artists often begin by sketching simple shapes (circles, ovals, rectangles) to build up more complex drawings like pots and flowers.
🎨 Shading techniques such as hatching and smooth blending can make a flat pencil sketch look three-dimensional.
🪴 Terracotta and clay pots have been used for growing plants for thousands of years—archaeologists find ancient pots in old garden sites.
👁️ Practicing quick observational sketches for just 10 minutes a day noticeably improves your ability to capture proportions and details.
How do you draw a flower pot and blooming flower step by step?
What materials do I need to draw a flower pot with my child?
What ages is drawing a flower pot suitable for?
What are the benefits and variations of drawing a flower pot?
