How to draw a flower - a free flower drawing guide
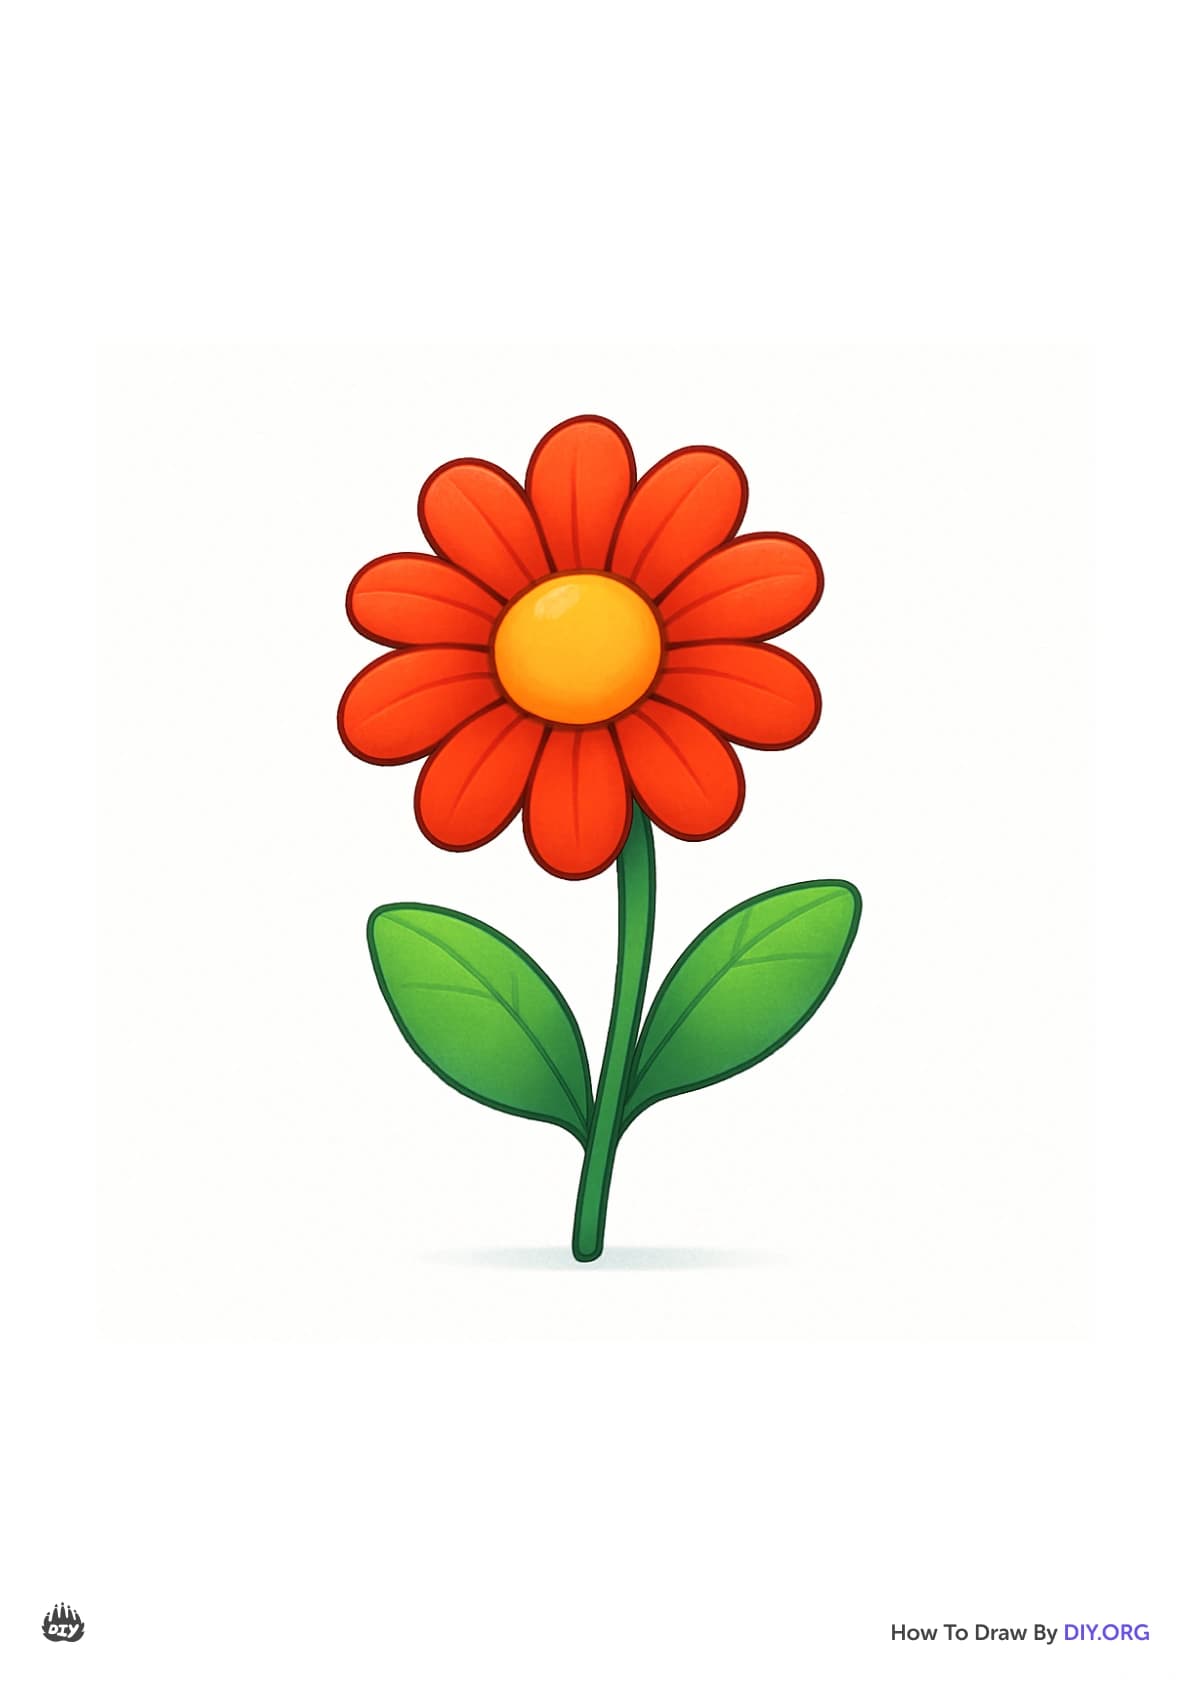
Draw a realistic flower step by step using simple shapes, learn petal symmetry, stem perspective, and color techniques to create a finished colored flower drawing.

Drawing Apps
Get inspired with these
Instructions
How to Draw Flowers | Simple Drawing Lesson for Kids | Step By Step
Step 1
Place a clean sheet of paper on a flat surface and sit comfortably.
Step 2
Put your pencil eraser colored pencils and sharpener next to the paper within easy reach.
Step 3
Set your real flower or printed photo where you can see it clearly as your reference.
Step 4
Lightly draw a small circle near the top center of the page to mark the flower’s center.
Step 5
Lightly draw a larger faint circle around the center to set the flower’s overall size.
Step 6
Draw several light curved guideline lines radiating from the center to show where each petal will go.
Step 7
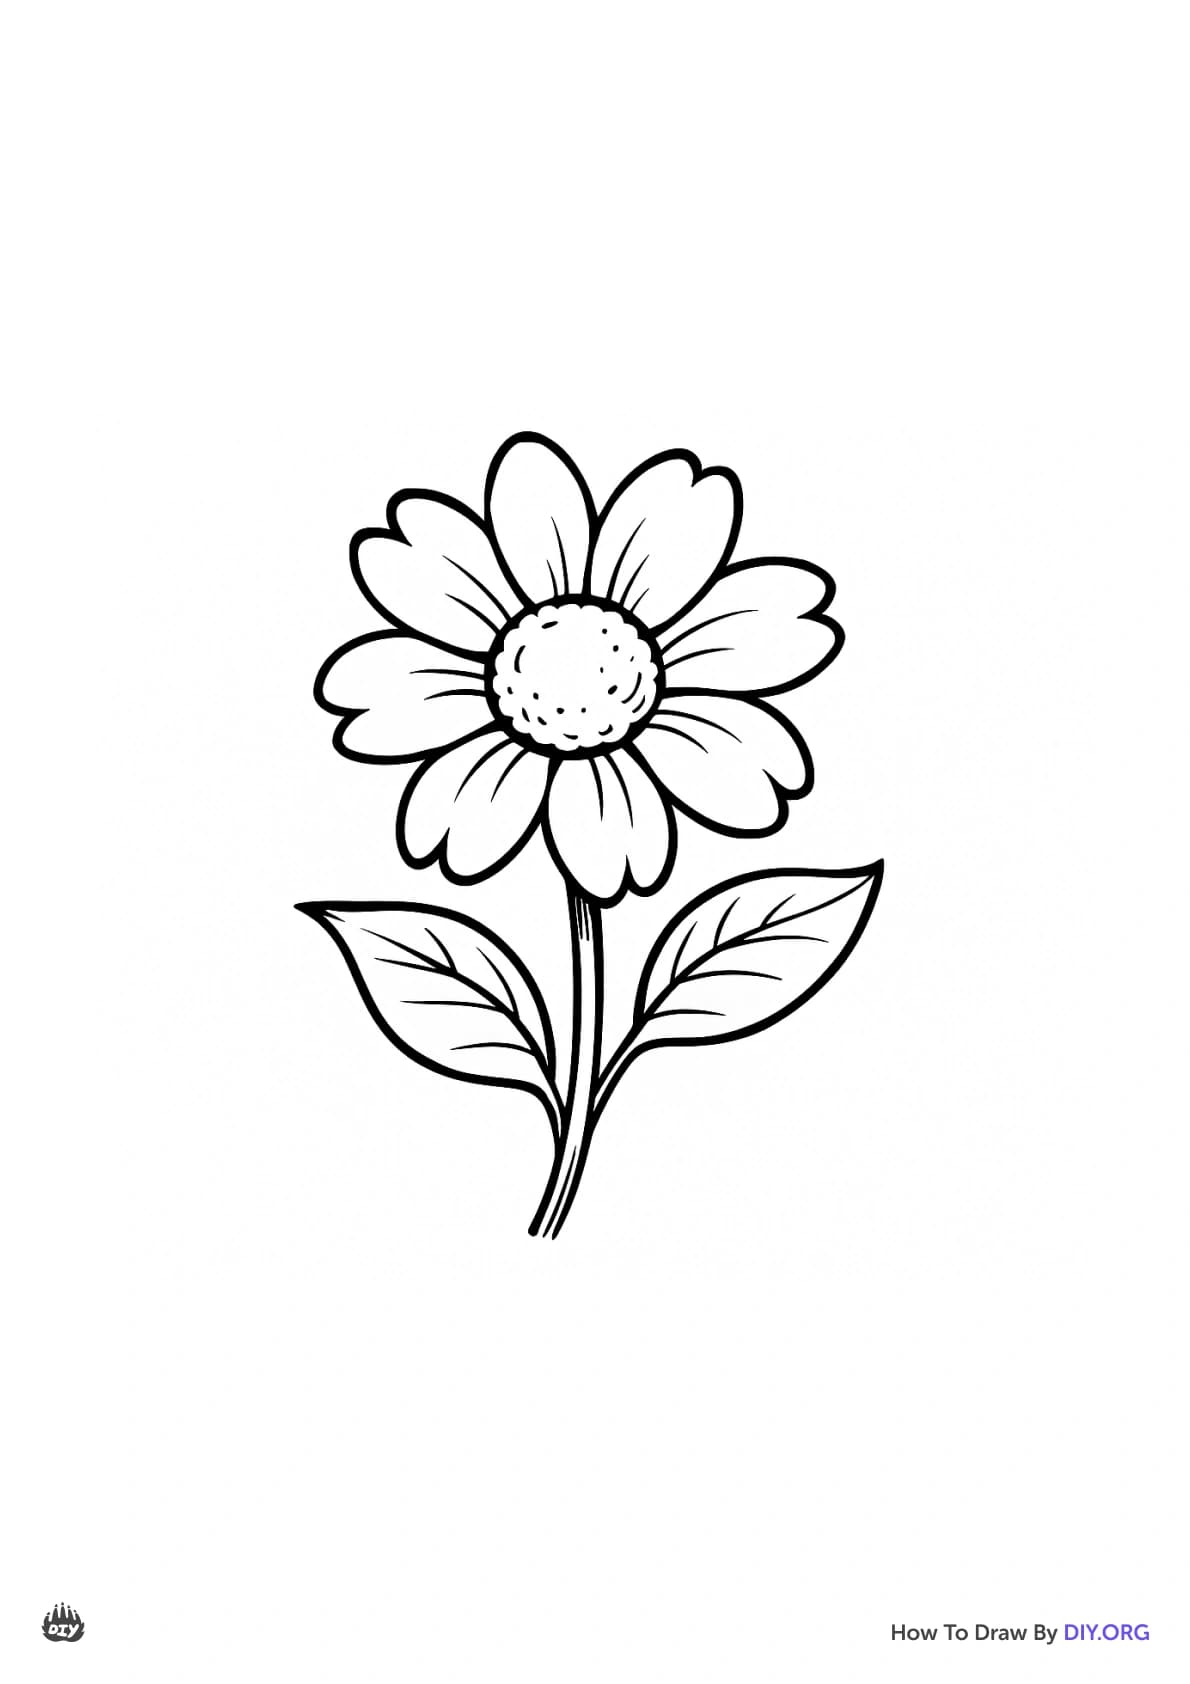
Use the guidelines to draw each petal shape one by one making some petals overlap and vary a bit.
Step 8
Add a second inner layer of smaller petals where you see them in your reference.
Step 9
Draw the stem below the flower using two slightly curved parallel lines.
Step 10
Draw two or three leaves on the stem with pointed oval shapes.
Step 11
Add veins and small texture lines on the petals and leaves to match your reference.
Step 12
Gently erase the faint guideline circles and stray marks to tidy your drawing.
Step 13
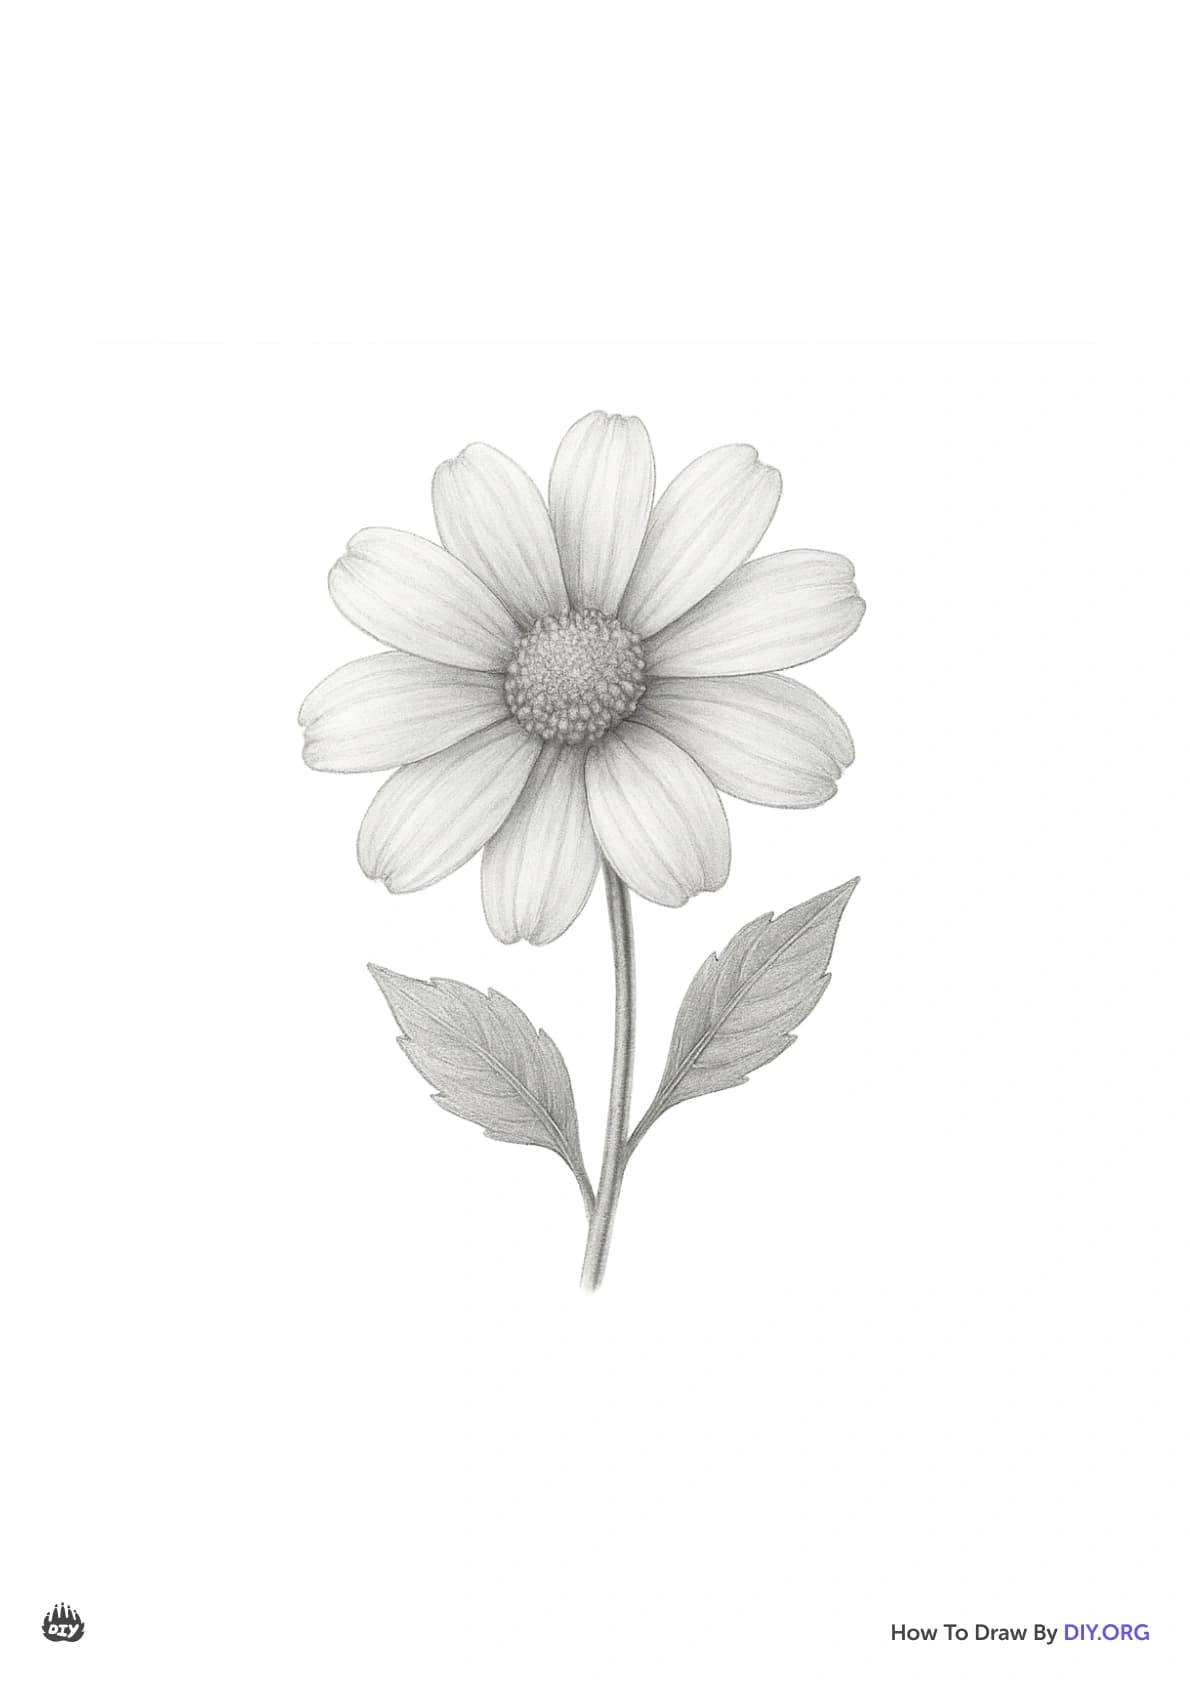
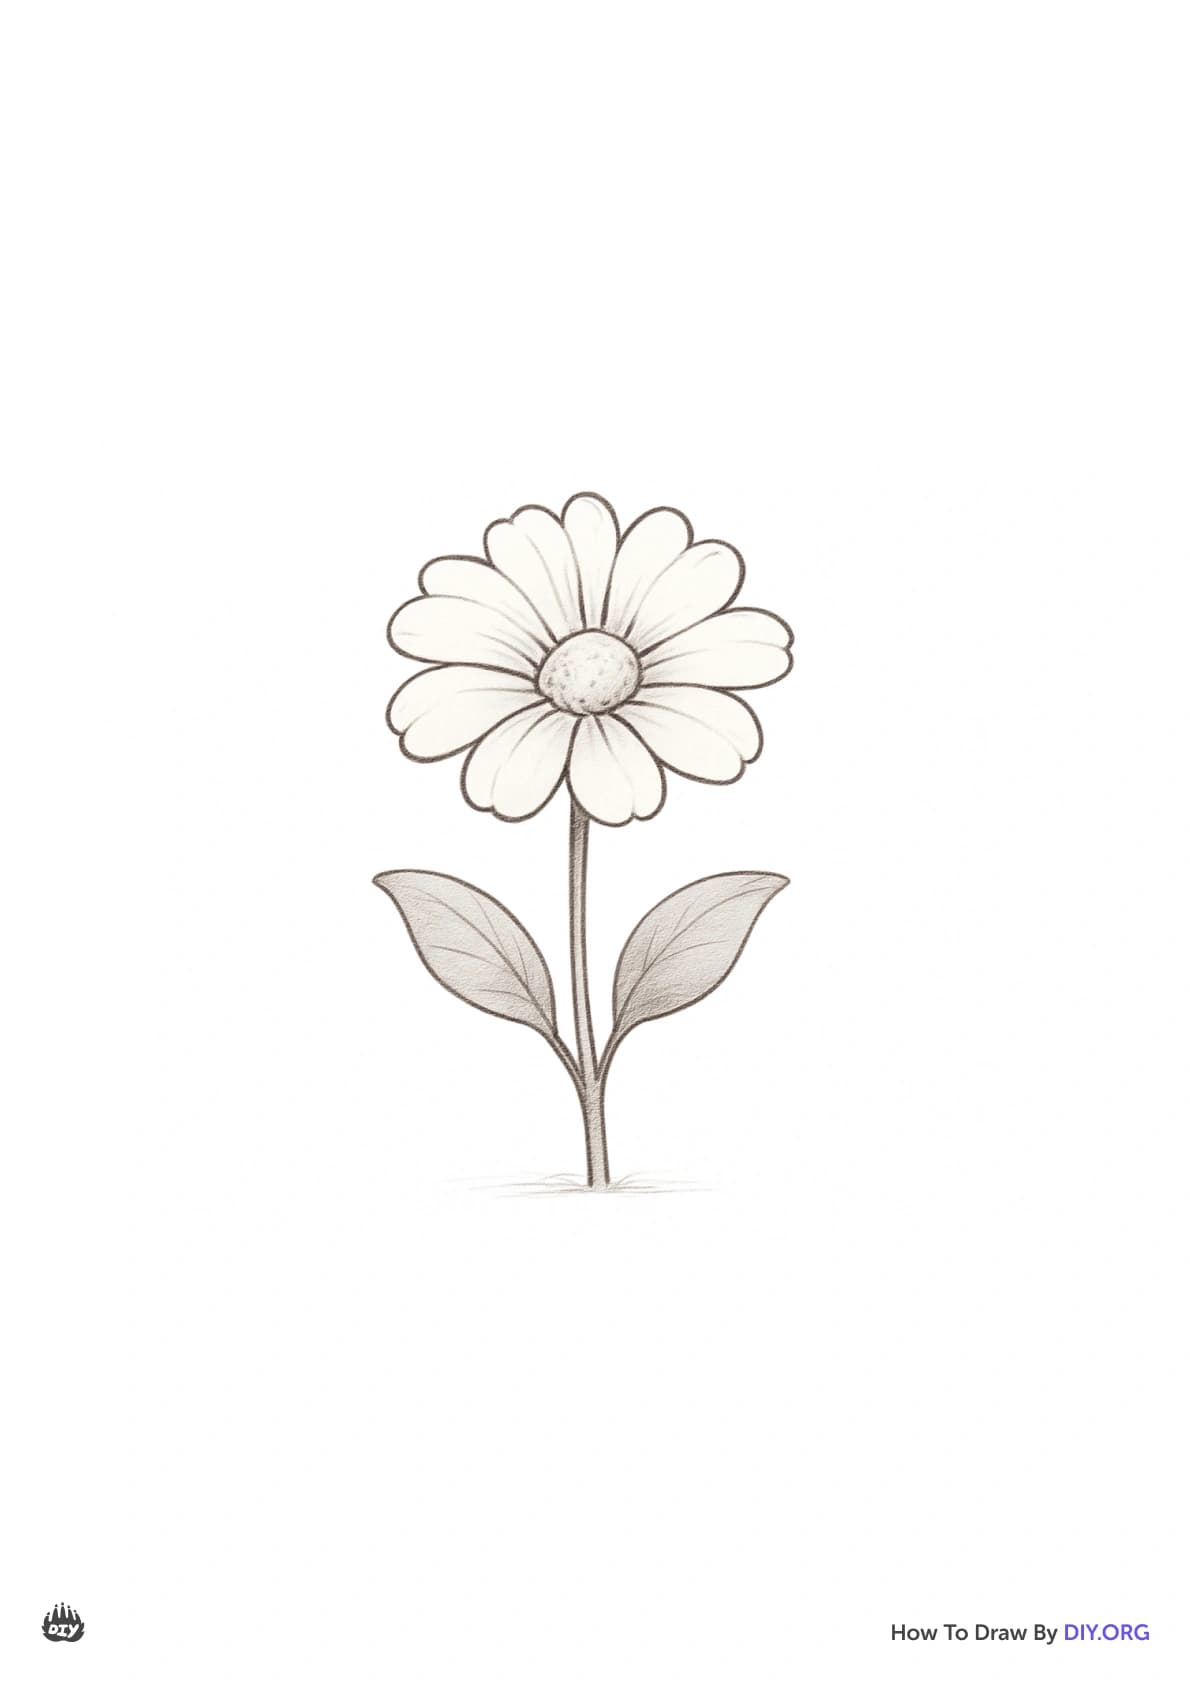
Lightly shade the areas that are away from the light source on the petals and center to add depth.
Step 14
Color the petals with a base color then layer a darker color along shadows and a lighter color for highlights.
Step 15
Share your finished flower drawing on DIY.org.
Help!?
What can we use instead of colored pencils, a sharpener, or a real flower if we don't have them?
If you don't have colored pencils use crayons or markers for the 'Color the petals...' step, use a mechanical pencil or carefully sharpen with a knife under adult supervision instead of a sharpener, and use a printed photo as your reference when a real flower isn't available.
My guideline circles and petals are too dark and messy—how can I fix that?
Press very lightly when you 'Lightly draw a small circle' and the radiating guideline lines so you can 'Gently erase the faint guideline circles and stray marks' later, and use a clean or kneaded eraser before adding shading.
How should I change the activity for a 4-year-old versus a 10-year-old?
For a 4-year-old simplify to one layer of big petals and broad crayons on a flat surface, while a 10-year-old should follow all steps including the 'second inner layer of smaller petals,' veins, shading, and color layering for more realism.
What are some ways to enhance or personalize the finished flower drawing?
Personalize and extend the activity by adding a painted background, gluing a pressed petal or collage elements onto the page, experimenting with watercolor washes before you 'Color the petals,' or photographing the final work to 'Share your finished flower drawing on DIY.org.'
Related videos
How to draw a flower | flower drawing for kids easy step by step
4 Videos
How to draw a flower | flower drawing for kids easy step by step
How To Draw A Flower (Tulip)- Preschool
Flower Drawing | How to Draw a Flower Step by Step | Easy Drawing
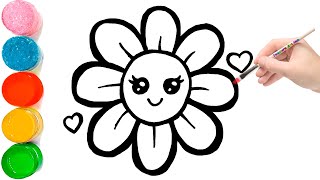
How to Draw a Cute Rainbow Flower Simple & Easy for Kids
Fun Facts
🌸 Many flowers arrange their petals or seeds following Fibonacci-number patterns, which makes spirals look naturally pleasing.
✏️ Artists often use a harder pencil (2H/H) for light construction lines and switch to softer pencils (B/2B) for rich shading.
🎨 Colored pencils can be layered and burnished to create smooth, paint-like blends without any water.
🔍 Historic botanical illustrators worked from live specimens and tiny magnifying lenses to capture exact petal shapes and textures.
🧠 Practicing observational drawing improves kids' concentration, hand-eye coordination, and ability to notice small details.
How do I draw a detailed flower step-by-step?
What materials do I need to draw a realistic flower?
What ages is this flower drawing activity suitable for?
What are the benefits of drawing realistic flowers for kids?
