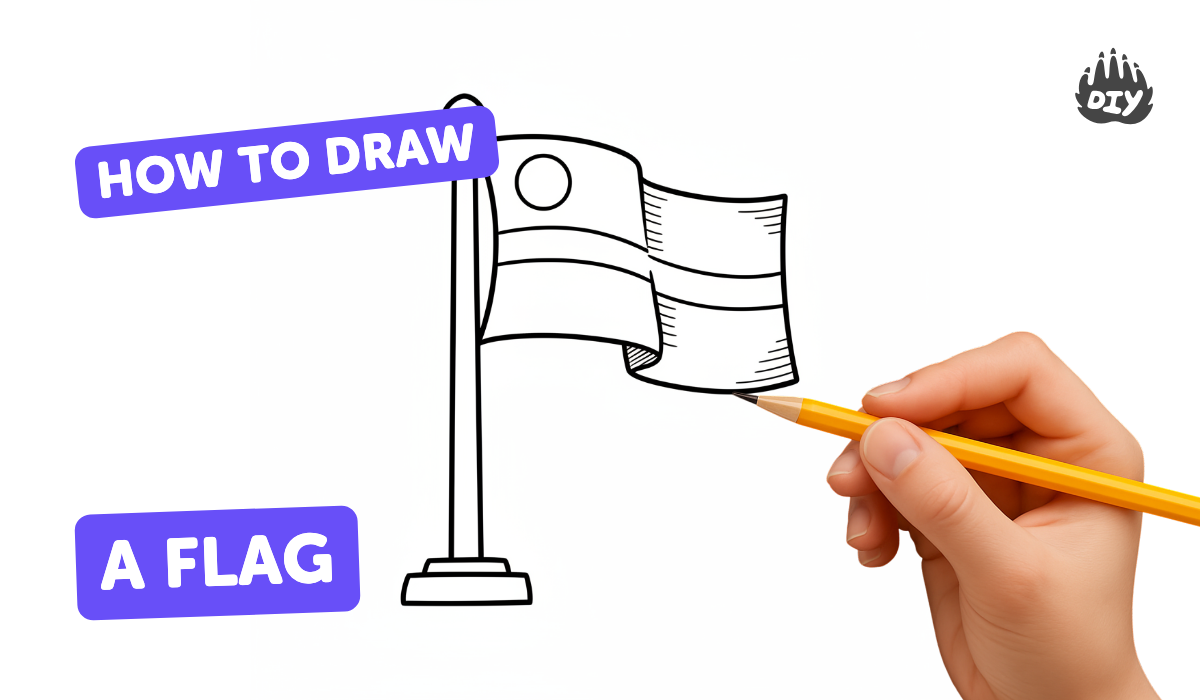
How to draw a flag - a free flag drawing guide
Draw a simple national or custom flag using pencils, rulers, and colors; learn about proportions, symmetry, and symbolic designs while practicing precise lines.

Drawing Apps
Photos of flag drawing examples


Step-by-step guide to draw a flag
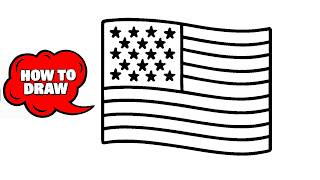
How to Draw the American Flag 🇺🇸 | Optical Illusion for Kids
Step 1
Gather your materials and place them on a flat table.
Step 2
Decide whether you will copy a national flag or design your own new flag.
Step 3
Choose a rectangle ratio for the flag such as 2 by 3 or 1 by 2.
Step 4
Use the ruler to measure the width and height on the paper according to your chosen ratio.
Step 5
Draw a light rectangle by connecting the measured points with your pencil and ruler.
Step 6
Lightly draw a vertical and a horizontal guide line through the rectangle center to help with symmetry.
Step 7
Mark where stripes or color blocks will go by drawing light dividing lines inside the rectangle.
Step 8
Sketch any symbols or emblems in pencil inside their area using simple shapes like circles stars or triangles.
Step 9
Compare your sketch to your idea and erase or redraw any parts that look uneven.
Step 10
Trace the final outlines with a darker pencil or a fine marker to make clean edges.
Step 11
Color each area carefully staying inside the outlines and using the colors you chose.
Step 12
Wait until any marker or wet color is completely dry before touching the paper.
Step 13
Gently erase leftover pencil guide lines to clean up the flag.
Step 14
Add small precise details like tiny stars stripes or letters with colored pencils for neatness.
Step 15
Share your finished flag creation on DIY.org.
Help!?
What can we use if we don't have a ruler, fine marker, or colored pencils?
Use a straight book edge or a piece of cardboard as a ruler to measure and draw the rectangle in step 4, trace final outlines with a sharpened pencil or ballpoint pen in step 9, and substitute crayons or washable markers for colored pencils when coloring in step 11.
My stripes look uneven or my colors bled — what should I do?
Measure twice and use light pencil guide lines (steps 4–6), practice stripe spacing on scrap paper, wait for markers or wet color to dry completely before touching (step 12), then gently erase pencil guides and retrace clean outlines (steps 10–11).
How can I adapt this flag activity for different ages?
For ages 3–5, use pre-drawn rectangle templates and stickers for symbols instead of freehand sketching (steps 4, 8), for ages 6–9 simplify shapes and use thicker markers to color (steps 8, 11), and for ages 10+ encourage precise ratios, ruler measurements, fine marker outlining, and detailed emblems (steps 3–4, 9, 13).
How can we make the flag project more creative or personal?
Personalize your flag by gluing small fabric swatches or textured paper into color blocks while coloring (step 11), adding metallic pens or tiny precise details with colored pencils (step 13), and mounting or scanning the finished flag to share on DIY.org (last step).
Watch videos on how to draw a flag
How To Draw The American Flag Pixel Art
4 Videos
How To Draw The American Flag Pixel Art
World 🌎 64 Countries Flag drawing 😱 Flag drawing easy tutorial/Step by step
How to Draw the American Flag - Realistic and Easy
🎨🇺🇸 Draw the American Flag QUICK & EASY! (Perfect Stars!) - Step-by-Step Tutorial
Facts about flag design and drawing
🏳️ Vexillology is the official name for the study of flags — people who collect or study flags are called vexillologists!
🔺 Nepal's flag is the only national flag that isn't a rectangle — it's made of two stacked triangles.
📏 Many national flags follow fixed proportions like 2:3 or 1:2 so their shapes look balanced when flown.
🎨 Red is the most common color on national flags; colors often carry meanings (e.g., green for land or hope).
📐 The top-left corner of a flag is called the 'canton' — that's where important symbols, like stars, often sit.
How do I teach my child to draw a simple national or custom flag step-by-step?
What materials do I need to draw a flag with my child?
What ages is flag-drawing suitable for?
What are the benefits, safety tips, and variations for a flag-drawing activity?
