How to draw a fishing pole - a free fishing pole drawing guide
Draw a fishing pole step-by-step using simple shapes, pencil, eraser, and markers. Practice straight lines, curved rod shape, reel, and hook details.

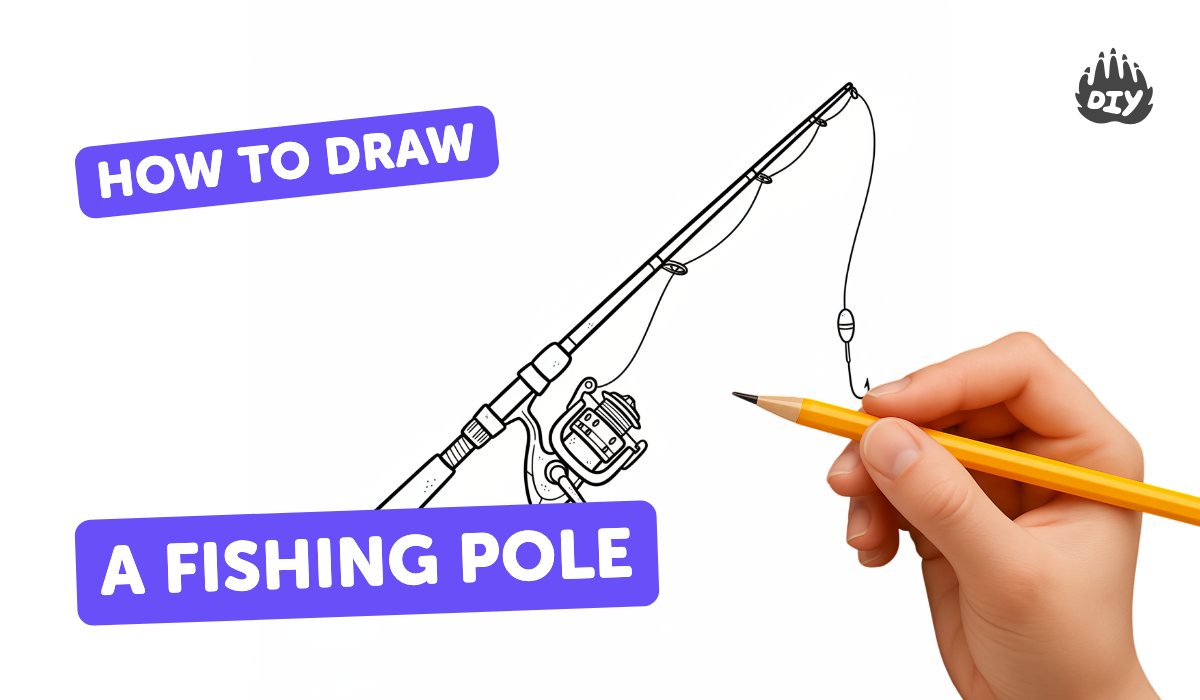
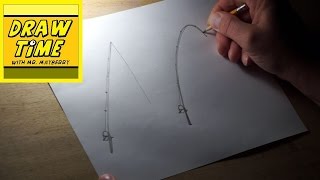
Step-by-step guide to draw a fishing pole
How To Draw A Fishing Rod Step By Step 🎣 Fishing Rod Drawing Easy
Step 1
Place your paper on a flat surface and have your pencil, ruler, eraser, and markers ready.
Step 2
Use your pencil and ruler to draw one long straight diagonal line across the paper for the fishing pole spine.
Step 3
Draw a second line next to the first one and make it curve gently near the top to show the rod bending.
Step 4
Draw a small oval or rectangle at the bottom end of the rod to make the handle grip.
Step 5
Sketch a circle near the lower third of the rod to mark where the reel will go.
Step 6
Draw a smaller circle inside the reel circle to make the reel face.
Step 7
Add a little rectangle or arm coming out from the reel and a tiny circle at its end for the reel handle.
Step 8
Lightly draw a thin curved line from the very tip of the rod downward to show the fishing line.
Step 9
Draw a small J-shaped hook at the end of the fishing line.
Step 10
Trace the lines you want to keep with a marker to make your drawing bold.
Step 11
Erase any pencil guidelines that you don’t want to show anymore.
Step 12
Color the rod handle reel and hook with your markers.
Step 13
Add fun details like water waves a fish or tiny guide rings along the rod if you want.
Step 14
Take a photo or scan your finished fishing pole drawing and share it on DIY.org.
Help!?
What can we use if we don't have a ruler or markers?
Use the straight edge of a book or a piece of cardboard for the long straight diagonal line and color the rod, handle, reel, and hook with colored pencils or crayons instead of markers.
My rod looks wobbly or the pencil guidelines are still visible—how do I fix that?
Lightly erase the wobble and redraw the long straight diagonal line with a ruler, reshape the gentle curve near the top until you like it, then trace with marker and erase any remaining pencil guidelines.
How can I change the activity for different ages?
For younger children pre-draw the long diagonal line and the reel circle for them to trace and color, while older kids can add tiny guide rings along the rod, detailed fish and water waves, and photograph their finished drawing to share on DIY.org.
What are some ways to make the drawing more creative or personal?
Personalize your drawing by wrapping a real piece of string along the thin curved fishing line, gluing a small paper reel over the reel circle, or using metallic markers when you trace the lines before scanning and sharing.
Watch videos on how to draw a fishing pole
How To Draw A Fishing Rod Step By Step 🎣 Fishing Rod Drawing Easy
4 Videos
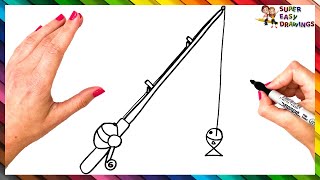
How To Draw A Fishing Rod Step By Step 🎣 Fishing Rod Drawing Easy
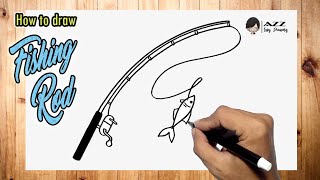
How to draw Fishing Rod step by step
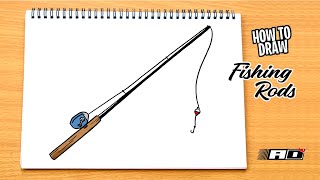
How to draw Fishing Rods
How to Draw a Fishing Pole
Facts about drawing basics for kids
🎣 People have been using fishing poles for thousands of years — it's one of the oldest ways to catch fish.
🪝 Early fishing hooks were often carved from bone, shell, or wood before metal hooks became common.
🎯 Practicing straight lines and gentle curves helps both anglers and artists — accuracy matters in casting and drawing!
🎨 A reel is basically a wheel that winds line; drawing it uses simple circles and ovals.
🐟 Adding a bobber, lure, or tiny fish to your picture makes the scene more playful and tells a little story.
How do you draw a fishing pole step-by-step?
What materials do I need to draw a fishing pole with my child?
What ages is drawing a fishing pole suitable for?
What are the benefits of drawing a fishing pole?
