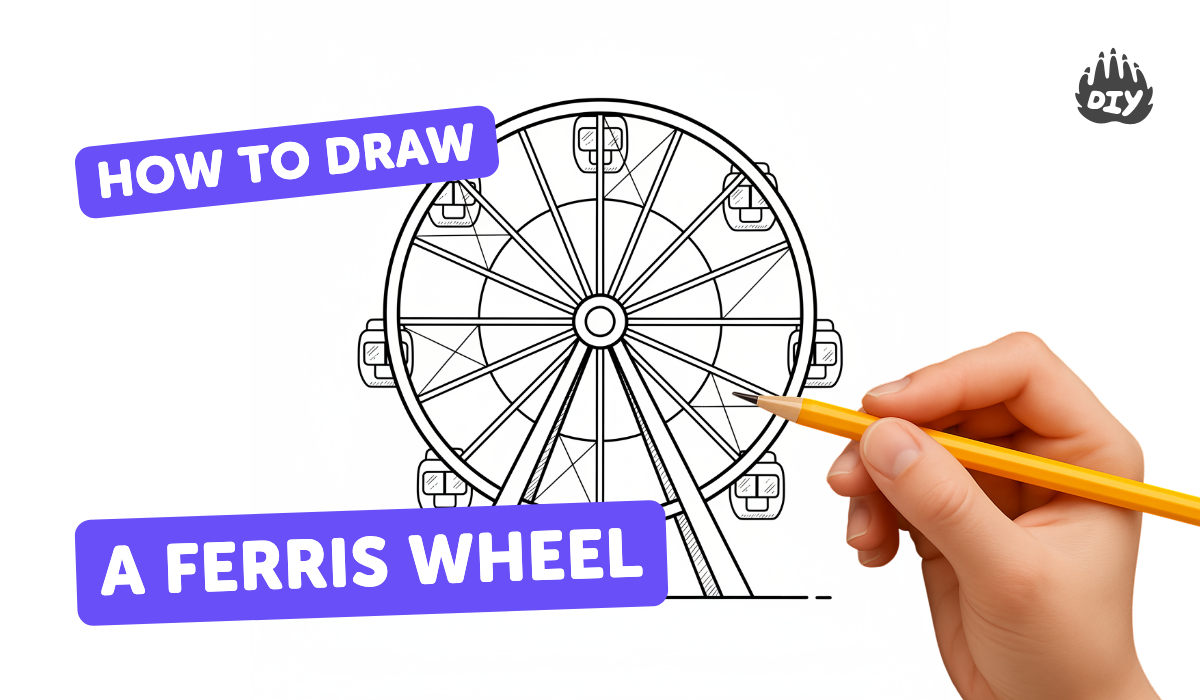
How to draw a ferris wheel - a free ferris wheel drawing guide
Draw a Ferris wheel step-by-step: sketch the central circle, add spokes and supports, attach gondolas, then add details and color.

Drawing Apps
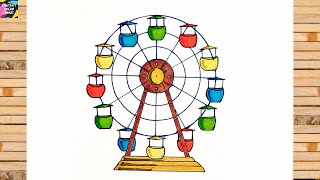
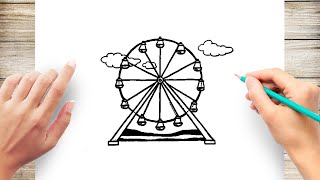
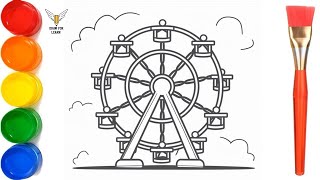
Photos of Ferris wheel drawing examples


Step-by-step guide to draw a Ferris wheel
How To Draw A Ferris Wheel
Step 1
Gather your materials and sit at a flat table so you can draw comfortably.
Step 2
Put your paper in front of you and make a small dot near the center for the wheel's middle.
Step 3
Draw a small circle around the dot to make the central hub of the Ferris wheel.
Step 4
Use a compass or trace a round object to draw a larger circle around the hub to make the wheel rim.
Step 5
Draw eight straight spokes from the hub to the rim using your ruler, spacing them evenly around the circle.
Step 6
Draw two angled support legs from the bottom of the rim down to the paper edge to hold the wheel up.
Step 7
At the end of each spoke where it meets the rim draw a small gondola shape like a rectangle or oval hanging down.
Step 8
Add windows doors and little connector lines to each gondola so they look ready for riders.
Step 9
Add decorative details to the hub and rim like bolts flags or patterns to make your wheel fun.
Step 10
Gently erase any extra guide marks and darken the final lines you want to keep.
Step 11
Colour your Ferris wheel with your favourite colours to make it bright and cheerful.
Step 12
Share your finished Ferris wheel drawing on DIY.org
Help!?
What can we use if we don't have a compass, ruler, or tracing object from the materials list?
If you don't have a compass, trace a cup or lid for the wheel rim, use a book edge or a straight piece of cardboard as a ruler for the spokes, and substitute crayons or markers if you don't have coloured pencils.
My spokes look uneven and some gondolas tilt — how can I fix that when following the steps?
Lightly mark eight evenly spaced points around the rim by folding the paper or using a protractor before drawing the spokes, then redraw them with your ruler and gently erase any misplaced guide lines to straighten the gondolas.
How can I adapt this Ferris wheel drawing for different ages or skill levels?
For younger children pre-draw the hub and rim and reduce to four spokes with sticker gondolas, while older kids can add more spokes, detailed windows and perspective and use a compass and ruler for precision.
How can we extend or personalise the Ferris wheel drawing beyond the basic instructions?
Make it interactive by cutting a cardboard rim and attaching it to the drawn supports with a paper fastener so it can spin, add the suggested bolts, flags and patterns for decoration, then colour and share the finished piece on DIY.org.
Watch videos on how to draw a Ferris wheel
How to Draw Ferris Wheel Step by Step | Easy Ferris Wheel Drawing Tutorial
4 Videos
How to Draw Ferris Wheel Step by Step | Easy Ferris Wheel Drawing Tutorial

Drawing Ferris Wheel || How to Draw a Ferries Wheel for kids | Little Kids Art Easy step
How To Draw Ferris Wheel Step by Step
How to Draw Ferris Wheel drawing, Painting and Coloring for Kids & Toddlers | Draw, Paint and Learn
Facts about drawing for kids
🎡 The Ferris wheel was invented for the 1893 World's Columbian Exposition by George Washington Gale Ferris Jr.
🏙️ The tallest observation wheel today is Ain Dubai, standing at about 250 meters tall—almost as tall as a super-tall skyscraper.
🛠️ Ferris wheels use a central hub and many spokes like a giant bicycle wheel, which is why drawing the center circle and spokes first helps your sketch.
🪑 The little passenger cars are called gondolas or capsules; some wheels use open benches, others have enclosed cabins that rotate to keep riders level.
🎨 Drawing a Ferris wheel is great practice for symmetry and perspective: circle, spokes, supports, gondolas, then details and color.
How do you draw a Ferris wheel step-by-step?
What materials do I need to draw a Ferris wheel?
What ages is this activity suitable for?
What are the benefits of drawing a Ferris wheel?
