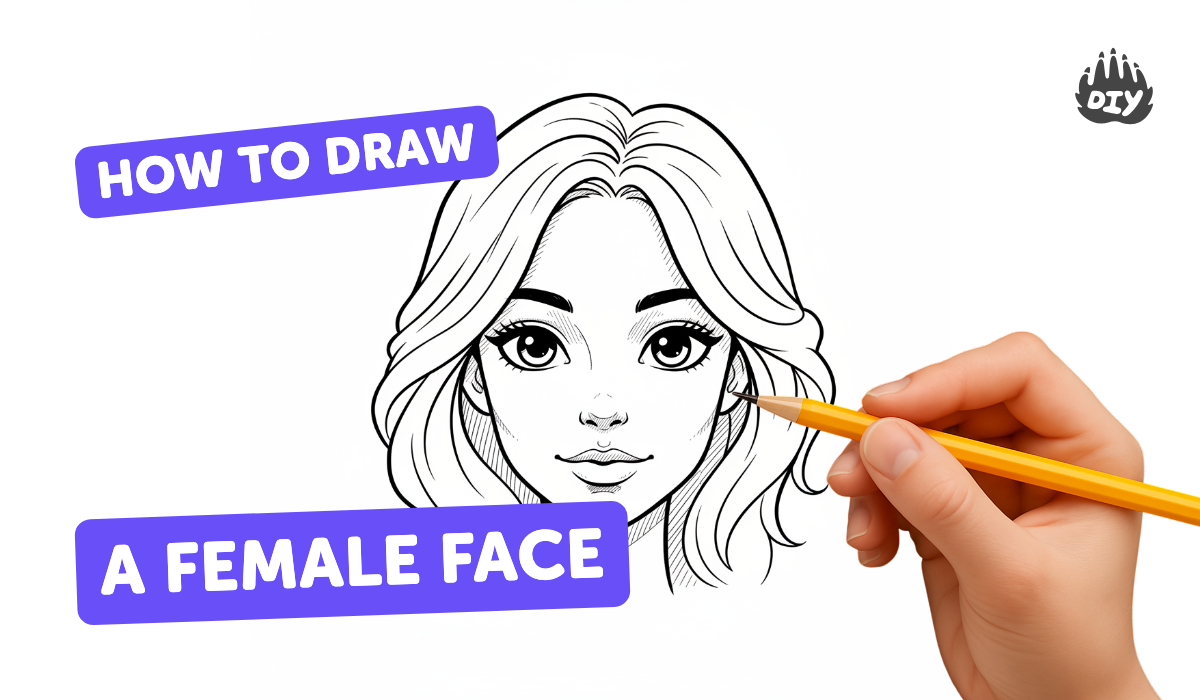
How to draw a female face - a free female face drawing guide
Draw a female face step-by-step, learn facial proportions, sketch eyes, nose, mouth, hair, and add basic shading using pencil and eraser.

Drawing Apps
Photos of female face drawing examples


Step-by-step guide to draw a female face
How to Draw Female Faces Step by Step with the Method | Portrait Drawing Tutorial
Step 1
Draw a light oval shape for the head using your pencil.
Step 2
Draw a light vertical line down the center of the oval to split the face left and right.
Step 3
Draw a light horizontal line across the middle of the oval to mark the eye level.
Step 4
Put small marks on the eye line to show five equal eye-width spaces across the face.
Step 5
Sketch two almond-shaped eyes on the outer eye marks leaving one eye-width space between them.
Step 6
Draw a small horizontal mark halfway between the eye line and the chin to mark the bottom of the nose.
Step 7
Sketch the nose by drawing soft lines from the nose mark up toward the eye line for the bridge and tiny curves for the nostrils.
Step 8
Draw a small horizontal mouth line about one third of the way down from the nose mark to the chin.
Step 9
Sketch the mouth on the mouth line using a curved line for the upper lip and a softer curve for the lower lip.
Step 10
Place the ears by drawing simple ear shapes between the eye line and the nose mark at the sides of the head.
Step 11
Mark a hairline about one quarter down from the top of the oval and draw the hair outline from that hairline around the head to create the hairstyle.
Step 12
Lightly erase extra construction lines that you no longer need to clean up the sketch.
Step 13
Add basic shading by softly shading under the eyebrows under the nose and under the lower lip with your pencil.
Step 14
Gently blend the shaded areas with a tissue or cotton swab and then use your eraser to lift small highlights and tidy stray marks.
Step 15
Share your finished female face drawing on DIY.org.
Help!?
What can I use instead of a cotton swab or blending tissue to softly blend the shaded areas?
Use a clean fingertip, a small piece of folded tissue, or a rolled scrap of paper as a stump to gently blend the shaded areas under the eyebrows, nose, and lower lip.
My eyes look uneven — how can I fix them using the steps in the instructions?
Lightly redraw the vertical center line and the five equal eye-width marks across the eye line, use the tip of your pencil as a spacer to reposition the two almond-shaped eyes on the outer marks, then erase any misplaced construction lines.
How can I adapt this activity for different ages?
For younger children simplify to an oval, two circles for eyes and a simple mouth, for elementary kids follow the full marking steps and light shading, and for older kids add refined nose and lip shaping, detailed hair from the marked hairline, and blended highlights.
How can we extend or personalize the finished face beyond the basic steps?
Customize the portrait by changing the hairstyle drawn from the hairline, altering the mouth line to create different expressions, adding accessories like glasses or earrings, and finishing with colored pencils before sharing your finished female face drawing on DIY.org.
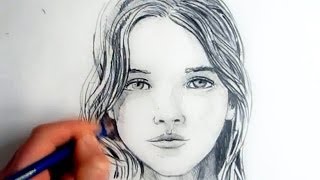
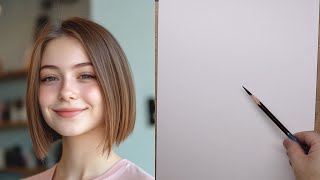
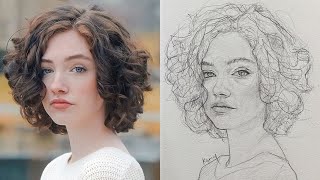
Watch videos on how to draw a female face
Learn to draw a beautiful girl's face step by step using the Loomis method
4 Videos

Learn to draw a beautiful girl's face step by step using the Loomis method
How To Draw A Female Face: Step By Step
How to draw easy girl face for beginners | Portrait Drawing Tutorial
Learn to draw a beautiful girl's face step by step using the Loomis method
Facts about portrait drawing for kids
🎨 Artists often place the eyes halfway down the head — a classic guideline for portrait proportions.
👀 The space between the eyes is roughly the width of one eye, which helps line up features correctly.
✏️ Light construction lines and gentle erasing let you fix proportions without smudging or damage.
💡 A tiny white highlight in the pupil makes an eye look lively and reflective.
🧠 People can recognize faces extremely fast — often in a fraction of a second, which is why small details matter!
How do you draw a female face step-by-step with a child?
What materials do I need to draw a female face with pencil and eraser?
What ages is this step-by-step female face drawing suitable for?
What are the benefits of teaching kids to draw a female face?
