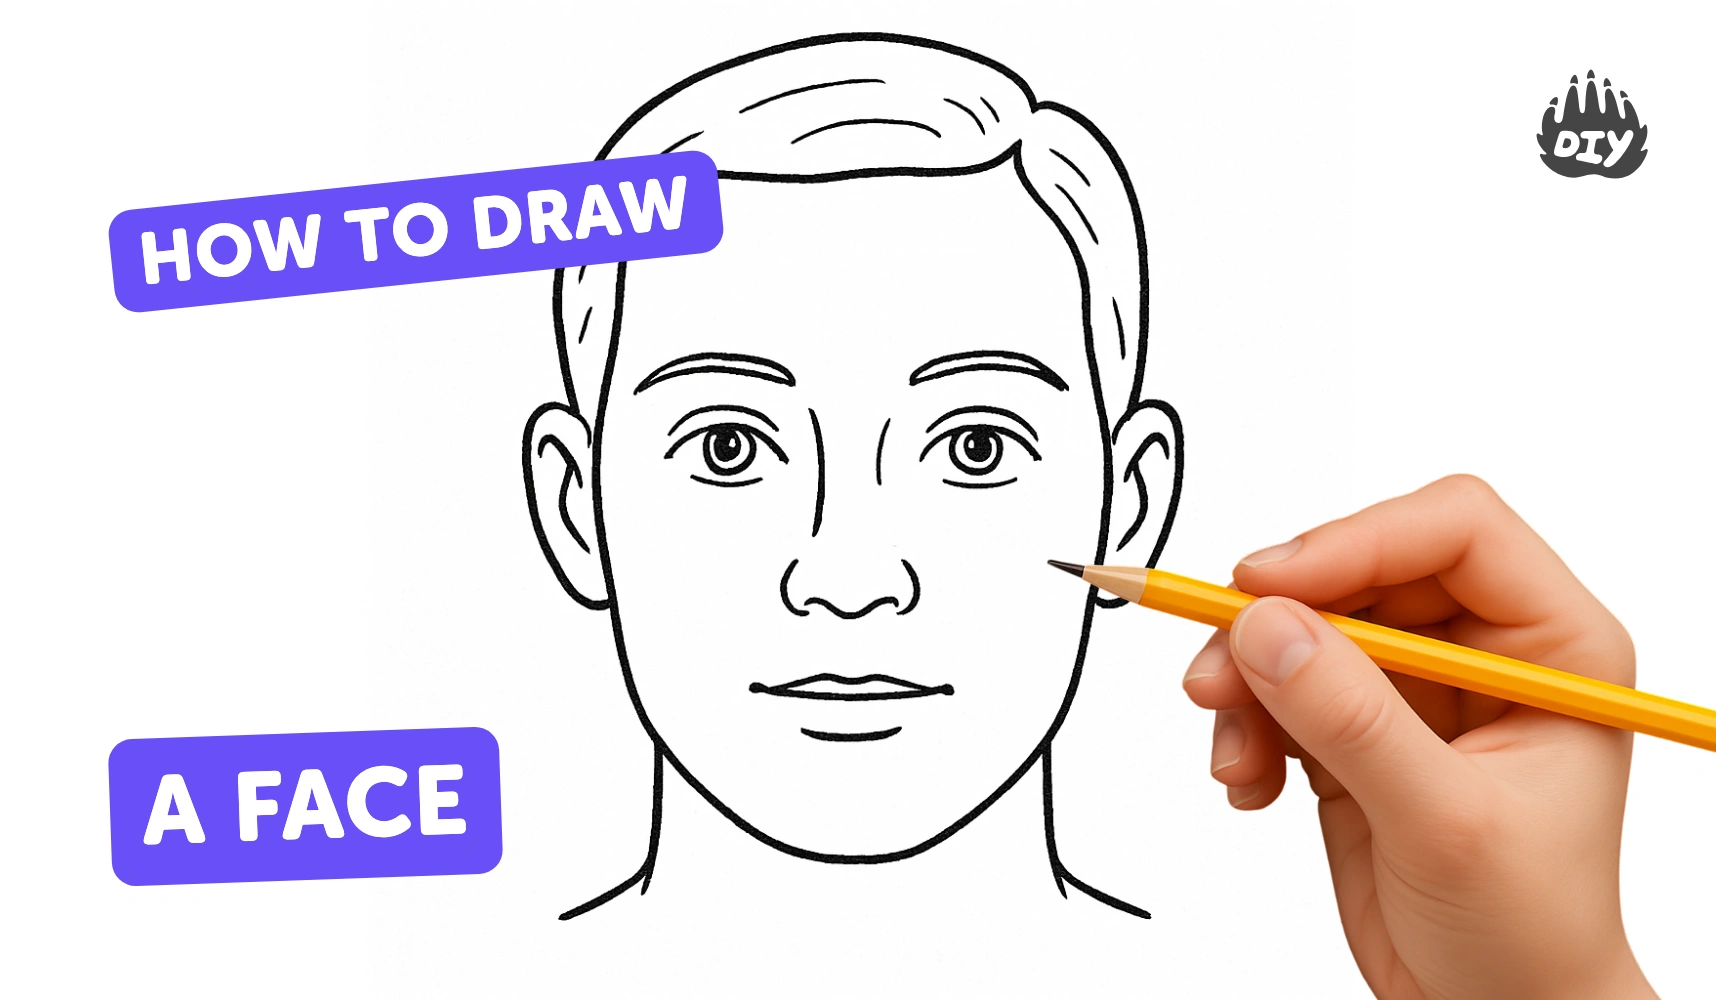
How to draw a face - a free face drawing guide
Draw a realistic face step by step using pencil, guidelines, and shading. Practice proportions, facial features placement, and basic observation and shading techniques.

Drawing Apps
Get inspired with these


Instructions
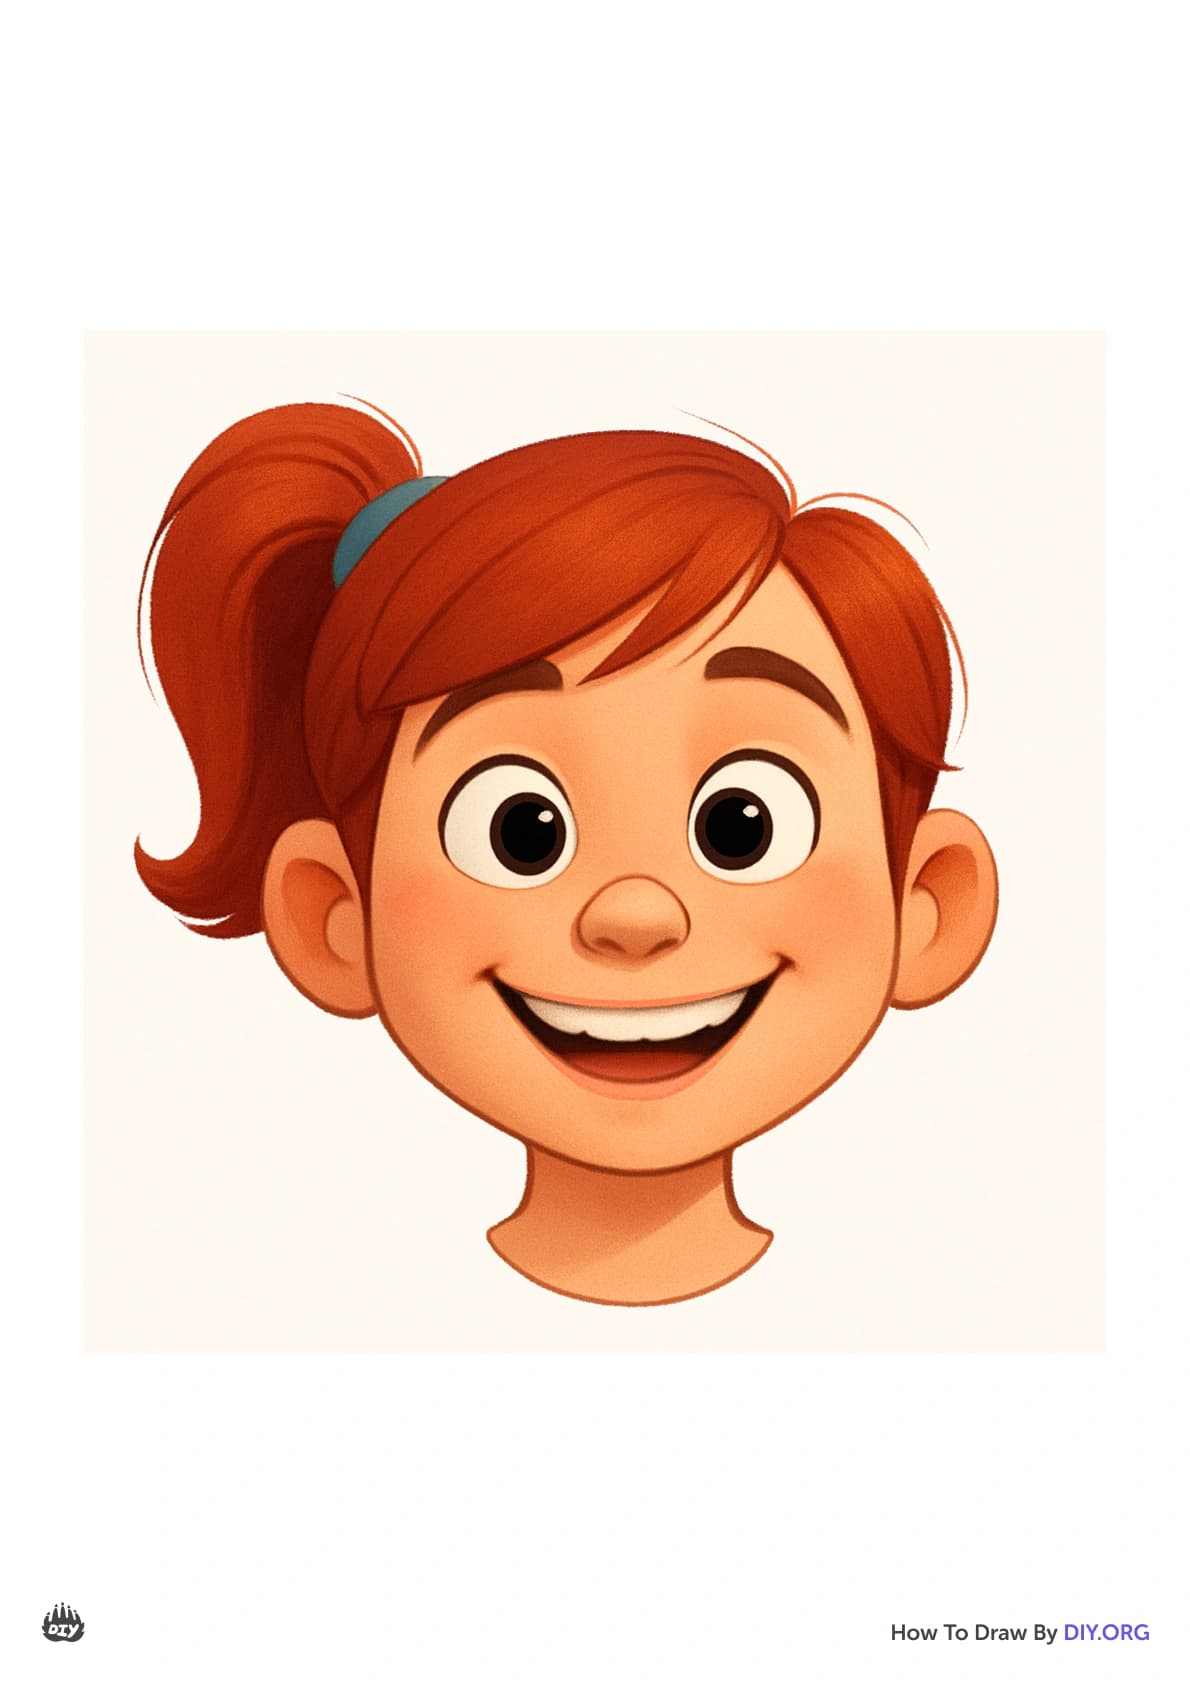
Learn how to draw portraits - How to draw a face step-by-step - Easy tutorial for kids
Step 1
Gather all your materials and find a comfy place to draw.
Step 2
Pick a photo or look in a mirror to use as your reference.
Step 3
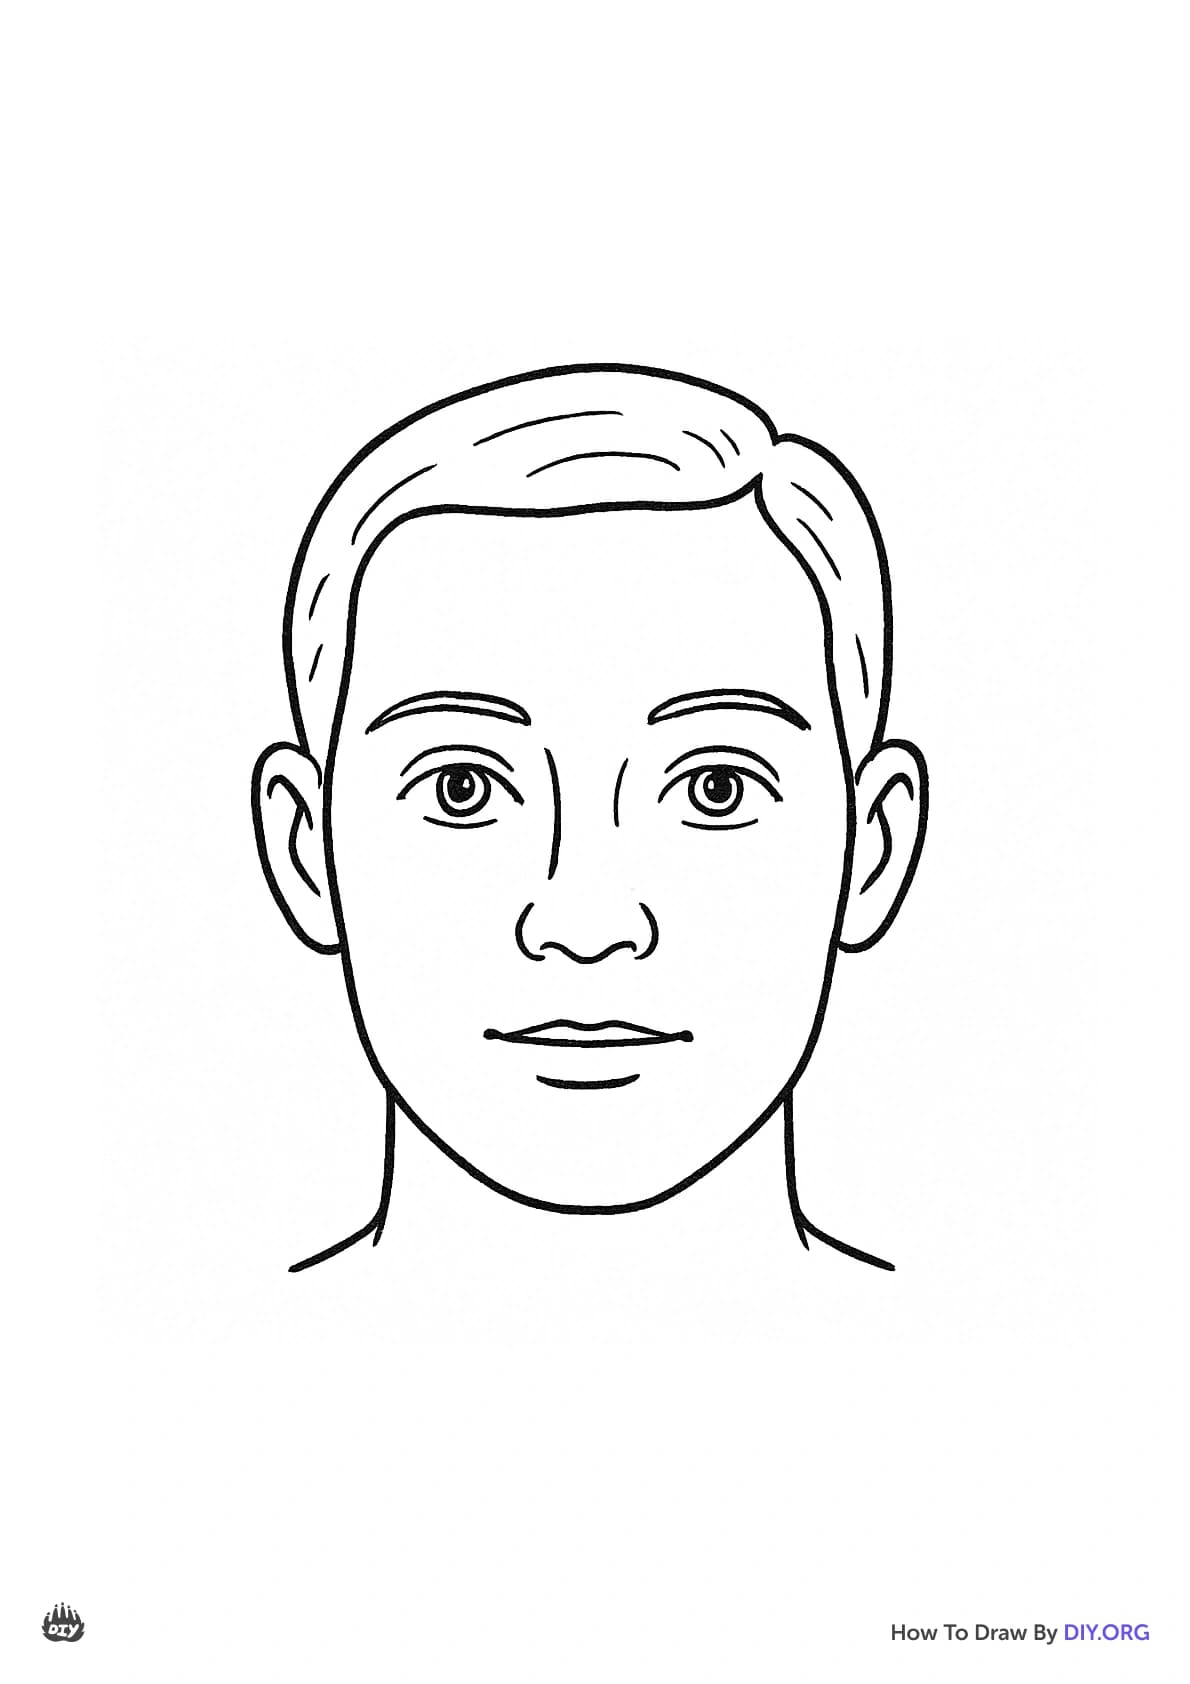
Lightly draw a vertical oval to map the overall head shape.
Step 4
Draw a faint vertical center line down the middle of the oval.
Step 5
Draw a horizontal eye line across the widest part of the oval (about halfway down).
Step 6
Draw two almond-shaped eyes on the eye line with about one eye-width of space between them and add the irises and pupils.
Step 7
Draw a simple nose centered on the vertical line halfway between the eye line and the chin.
Step 8
Draw the mouth centered on the vertical line about one-third of the way between the nose and the chin.
Step 9
Draw the eyebrows above the eyes following the shape of each eye.
Step 10
Draw the ears on each side of the head between the eye line and the bottom of the nose.
Step 11
Draw the hair around the head using simple shapes that start near the top of the oval.
Step 12
Draw the neck and shoulders with two smooth lines down from the jaw.
Step 13
Erase extra construction lines to clean up and refine your face shapes.
Step 14
Shade the face lightly to show where light hits and blend gently with a tissue or your finger.
Step 15
Share your finished face on DIY.org
Help!?
What can we use instead of a tissue or mirror if we don't have them?
If you don't have a tissue for the 'Shade the face lightly...' step, use a clean fingertip, a folded paper towel, or a cotton swab, and if you don't have a mirror use a printed photo or a phone camera as your reference.
My eyes look uneven — how can I fix them while following the instructions?
If the eyes look uneven when you 'Draw two almond-shaped eyes...' lightly mark the one-eye-width gap with your pencil and use the vertical center line and horizontal eye line to check that both eyes align before finishing their irises and pupils.
How should the activity be adjusted for younger kids or older kids?
For younger kids simplify shapes by using circles for eyes and a single curved mouth while older kids can follow the full steps to add 'irises and pupils', detailed 'hair' shapes, and light 'shading' to practice proportions and value.
What are simple ways to extend or personalize the drawing after finishing the basic face?
To enhance the finished face try changing the 'mouth' position and 'eyebrow' angles for different expressions, add color to the 'hair' and clothing, or create a background scene before sharing on DIY.org.
Related videos
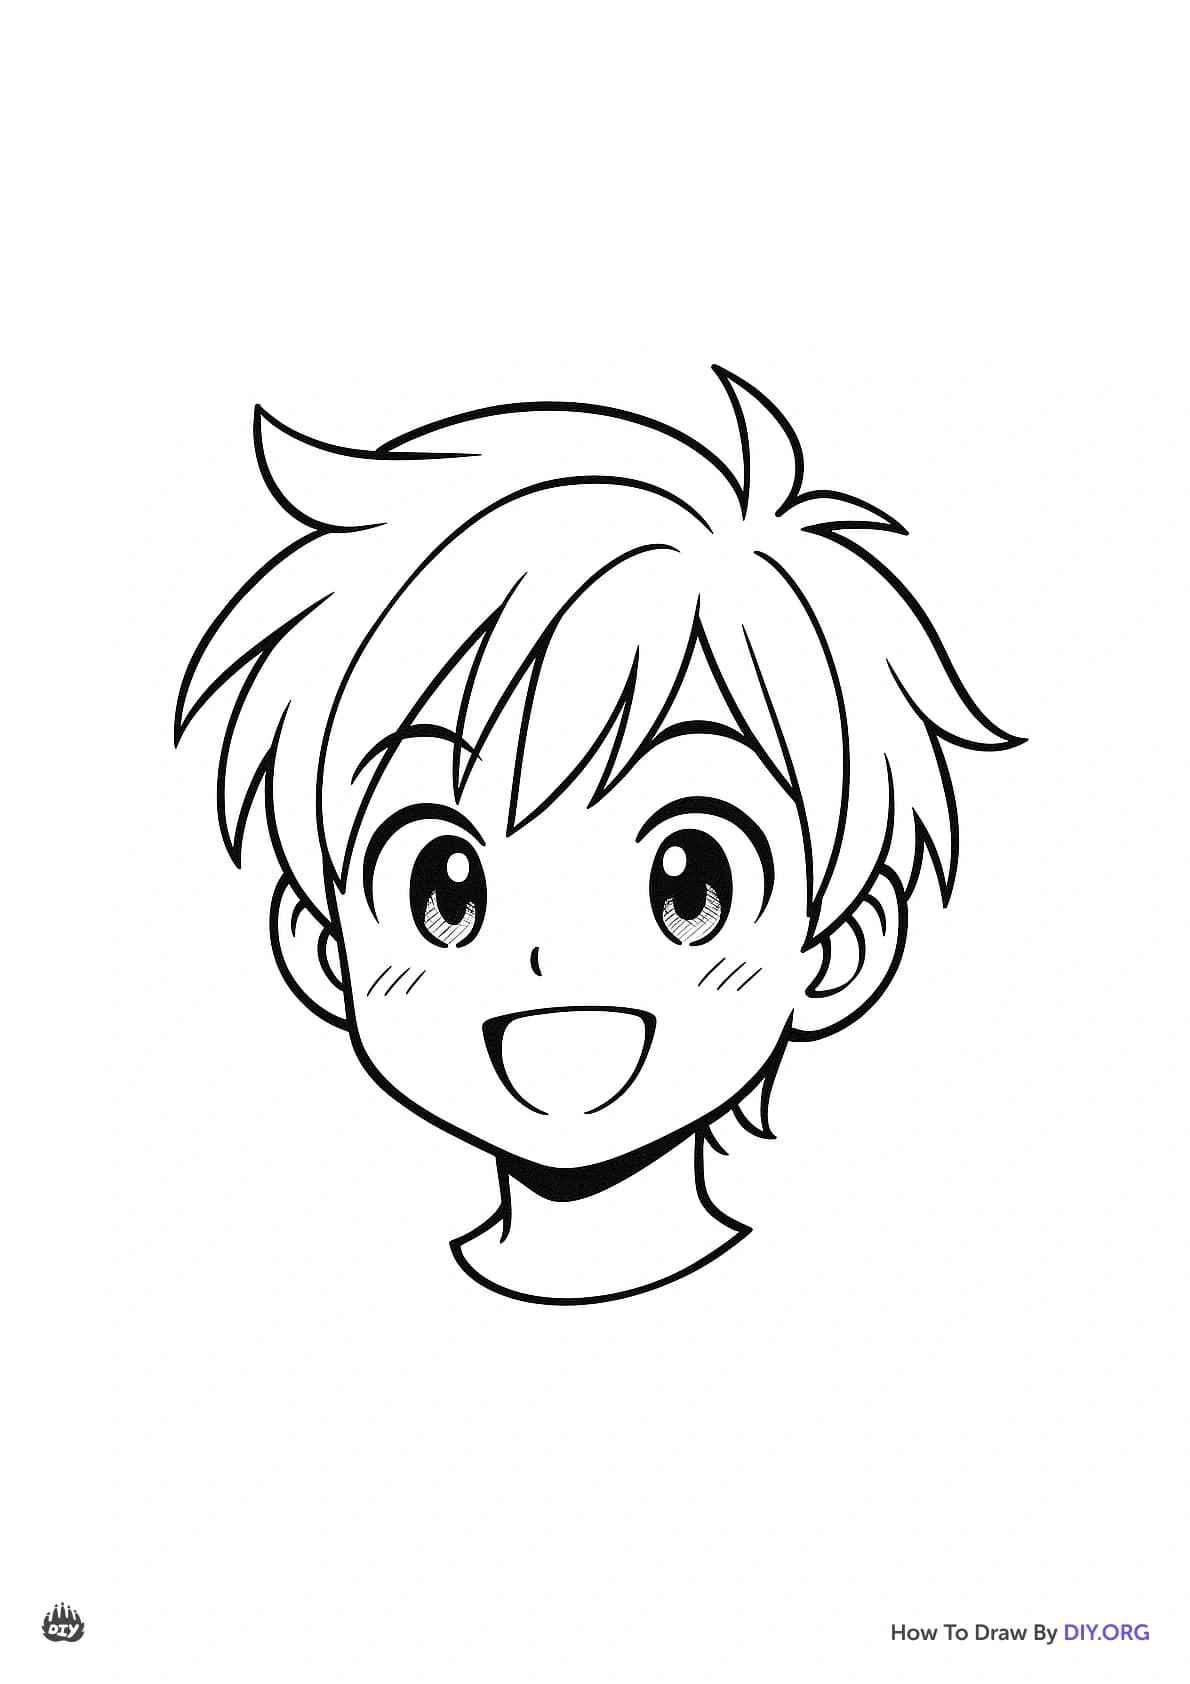
How to Draw a Face for Kids
4 Videos
How to Draw a Face for Kids
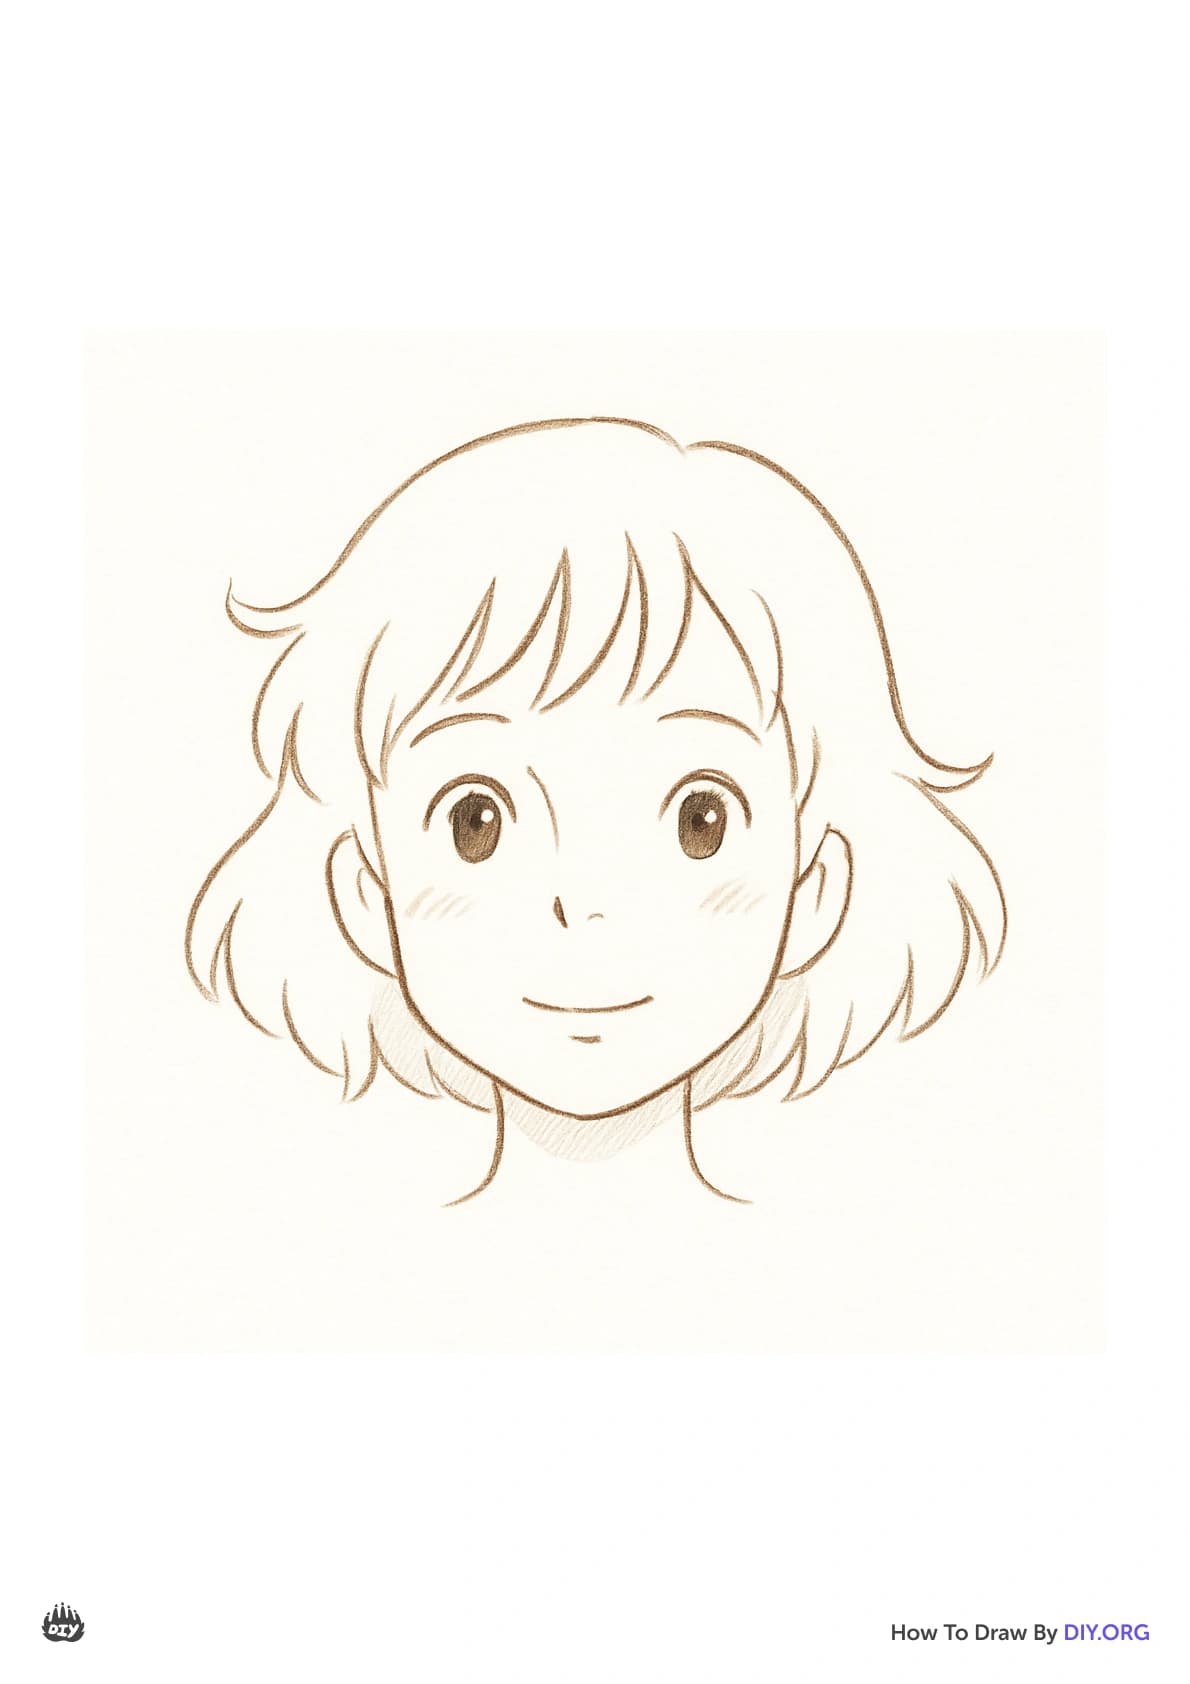
How to Draw a Child's Face and Study Proportions - Narrated
How to Draw Faces for Beginners - Complete Tutorial in 8 Minutes

How to draw a Face easy step by step Face drawing boy tutorial for beginners Basics with pencil easy
Fun Facts
👀 The eyes sit about halfway down the head — a super handy trick for getting face proportions right!
📏 Most faces are about five eye-widths across, so the space between the eyes is roughly one eye wide.
🎨 Artists often start portraits with simple shapes (ovals, circles, lines) to map features before adding detail.
🧠 Newborns prefer face-like patterns within hours of birth — humans are wired to notice faces early!
✏️ Soft hatching and gentle sideways pencil strokes make shading look smooth and help turn flat drawings into round faces.
How do I teach my child to draw a face step by step?
What materials do I need to draw a face with my child?
What ages is this step-by-step face drawing activity suitable for?
What are the benefits of teaching kids to draw faces and any safety tips?
