How to draw a easter bunny - a free easter bunny drawing guide
Draw an Easter bunny using simple shapes, pencil, and color to learn proportions and symmetry. Closing sentence is present and formatted as specified.

Drawing Apps
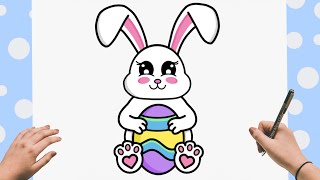
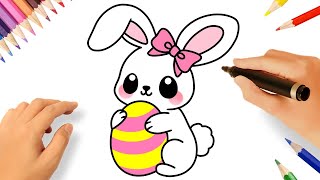
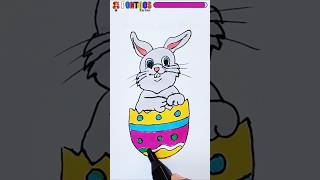
Photos of Easter bunny drawings


Step-by-step guide to draw an Easter bunny
How To Draw An Easter Bunny Holding An Egg
Step 1
Place your paper portrait on the table and put your pencil and eraser beside it.
Step 2
Lightly draw a vertical center line down the middle of the paper to help keep both sides the same.
Step 3
Near the top half of the paper lightly draw a medium circle for the bunny's head centered on the vertical line.
Step 4
Lightly draw a larger oval below the circle, touching it, to make the bunny's body centered on the same line.
Step 5
Draw a light horizontal guideline across the middle of the head circle to mark where the eyes will go.
Step 6
On the top of the head draw two long ovals for ears, one on each side of the center line so they match.
Step 7
Draw two small circles on the horizontal guideline for eyes, placing them the same distance from the center line.
Step 8
Draw a small triangle or oval for the nose right on the center line below the eyes.
Step 9
Draw a short curved line under the nose for the mouth and add three whisker lines on each side.
Step 10
Add two little rounded paws at the top of the body close to the head, mirroring each other across the center line.
Step 11
Draw two small ovals at the bottom of the body for feet, keeping them even on both sides.
Step 12
Erase the center and horizontal guidelines and any extra sketch lines you don't want to keep.
Step 13
Trace over the final bunny lines with a darker pencil so the shape is clear.
Step 14
Color your bunny with the coloring materials using light strokes and matching colors on both sides for symmetry.
Step 15
Share your finished Easter bunny on DIY.org.
Help!?
What can we use if we don't have portrait paper, a pencil, an eraser, or specific coloring materials?
Use plain printer or scrap paper instead of portrait paper, a mechanical pencil, ballpoint pen used lightly, or a light marker instead of a pencil, a kneaded or soft rubber eraser in place of a specific eraser, and crayons, colored pencils, or washable markers for the coloring materials in step 14.
My bunny looks lopsided or the ears and eyes aren't matching — how can I fix that?
If the head, body, ears, or eyes are uneven (steps 2–9), redraw them with very light lines, fold or lightly crease the paper for a perfect vertical center line, measure distances with a fingertip to match both sides, then gently erase stray sketch lines before tracing final lines in step 13.
How can I adapt this activity for different ages or skill levels?
For younger children simplify steps 2–11 by pre-drawing the center line, head circle, and ear ovals for them to trace and use chunky crayons, while older kids can add detailed features, fur texture, and shading during step 14 for a more advanced result.
What are simple ways to extend or personalize the finished Easter bunny?
Before tracing the final lines in step 13, personalize the bunny by adding a hat, patterned bow, decorated egg or basket, experiment with mixed-media coloring in step 14, and then photograph the finished piece to share on DIY.org as the last step.
Watch videos on how to draw an Easter bunny
How to draw an EASTER BUNNY | FOLDING SURPRISE | Art and doodles for kids
4 Videos

How to draw an EASTER BUNNY | FOLDING SURPRISE | Art and doodles for kids
How to Draw an Easy Easter Bunny - Step By Step
HOW TO DRAW A CUTE EASTER BUNNY 🐇
How to draw a easter bunny 🐇 Step by step Easter drawing for kids
Facts about basic drawing techniques
🐰 The Easter Bunny tradition came from German folklore (called the 'Osterhase') who was said to hide eggs for children!
✏️ Many artists begin with simple shapes—circles, ovals, and rectangles—to block in proportions before adding details.
🎨 Light pencil sketching and erasing are pro tricks: they help you experiment with shapes until the bunny looks just right.
🔁 Rabbits are bilaterally symmetrical, so drawing one side as a mirror of the other helps keep your bunny balanced.
👀 Rabbits see fewer colors than humans (they're dichromatic), so some bright reds and pinks may look different to them.
How do I draw an Easter bunny using simple shapes to learn proportions and symmetry?
What materials do I need to draw an Easter bunny with pencil and color?
What ages is drawing a simple Easter bunny suitable for?
What are the benefits and safe variations of drawing an Easter bunny?
