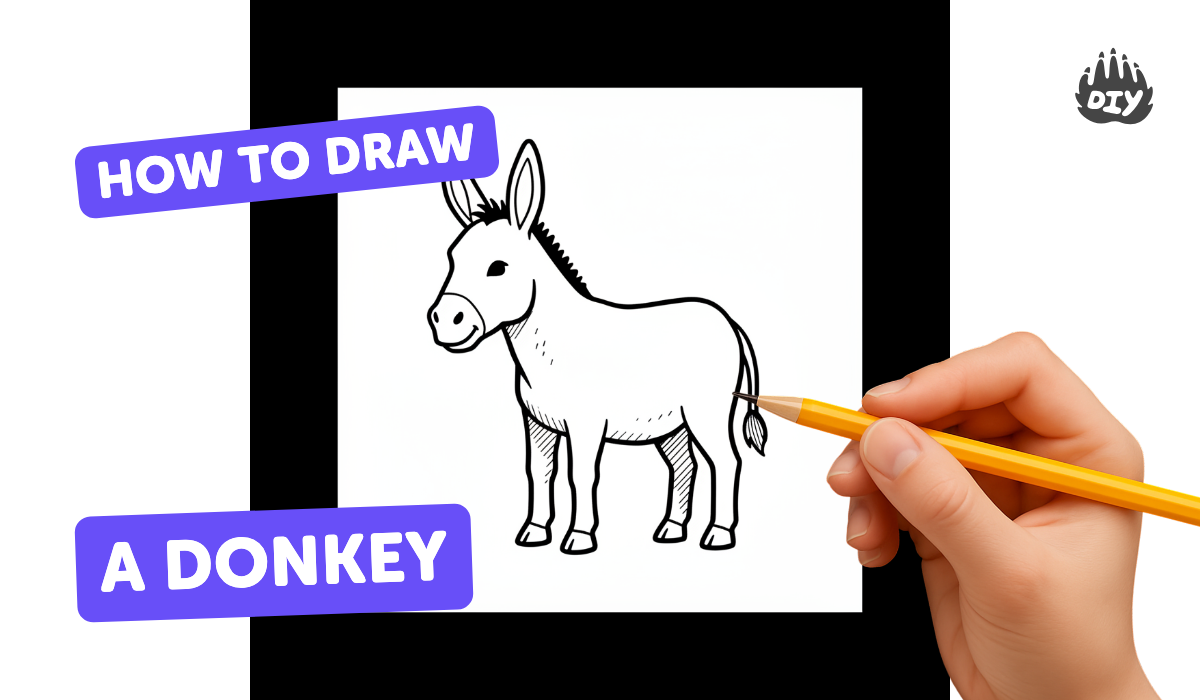
How to draw a donkey - a free donkey drawing guide
Draw a donkey step by step using simple shapes, lines, and shading. Practice proportion, observation, and basic sketching skills while creating a realistic donkey.

Drawing Apps
Photos of donkey drawing examples


Step-by-step guide to draw a donkey
How to Draw a Donkey Step by Step Easy for Beginners/Kids - Simple Donkeys Drawing Tutorial
Step 1
Place a clean sheet of paper on a flat surface so you have lots of room to draw.
Step 2
Sharpen your pencil so you can make light sketch lines and darker details later.
Step 3
Lightly draw a faint center line and a short ground line to help keep your donkey balanced.
Step 4
Draw a large horizontal oval for the donkey’s body using light strokes.
Step 5
Draw a medium circle slightly in front of the oval for the donkey’s head.
Step 6
Draw a short curved line between the head and body to form the neck.
Step 7
Add two long leaf-shaped ears on top of the head to give your donkey its look.
Step 8
Draw a rounded rectangle or oval at the front of the head for the muzzle.
Step 9
Add the facial features by drawing two small circles for the eyes and a simple curved line for the mouth and small dots for the nostrils.
Step 10
Sketch four straight or slightly angled lines under the body to place the donkey’s legs and mark where the knees go.
Step 11
Draw small rounded rectangles at the ends of the legs to make the hooves.
Step 12
Add short hair strokes along the neck and a tufted tail to create the mane and tail texture.
Step 13
Gently erase any dark sketch lines you no longer need so the final shapes are clear.
Step 14
Add shading with light hatch lines where shadows fall and gently smudge with your tissue or blending stump to soften the tones.
Step 15
Share your finished donkey drawing on DIY.org so everyone can see your sketching and shading skills.
Help!?
I don't have a blending stump or a sharpener—what can I use instead?
Use a folded tissue, cotton swab, or your fingertip to gently smudge the light hatch shading from the shading step and, if you don't have a sharpener, carefully sharpen your pencil with a craft knife held by an adult before you make your light sketch lines.
My donkey looks unbalanced or the legs are wrong—how can I fix that?
Lightly erase and reposition the four leg guideline lines using the faint center line and short ground line as guides, then shorten or straighten those leg lines and redraw the small rounded rectangular hooves so the donkey stands evenly.
How can I adapt this drawing for different ages?
Have younger children trace or stamp the large horizontal oval and medium circle for the body and head and draw simple straight legs and hooves, while older kids can add the mane strokes, tufted tail, and more advanced hatch shading with a blending stump to practice values.
How can we extend or personalize the donkey drawing?
After erasing dark sketch lines, add color, a patterned blanket or bridle, background scenery, or extra fur texture during the shading step and then share your personalized donkey on DIY.org.
Watch videos on how to draw a donkey
How to draw a Donkey for Kids | Donkey Easy Draw Tutorial
4 Videos
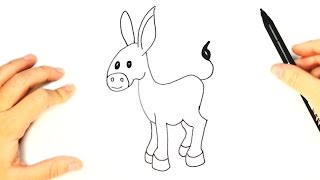
How to draw a Donkey for Kids | Donkey Easy Draw Tutorial
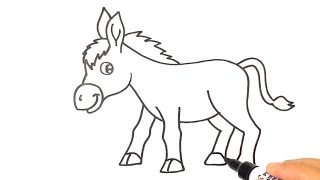
How to DRAW A DONKEY EASY Step by Step

Draw a Cute Donkey Step by Step Easy Drawing for Kids #lidoartworks Short

How To Draw a Donkey
Facts about drawing and sketching for kids
🐴 Donkeys were domesticated over 5,000 years ago and have helped people carry loads and pull carts.
👂 Donkeys have large ears that boost hearing and help them release body heat to stay cool.
🎨 Pro artists often start with simple shapes (circles, ovals, rectangles) to block in proportions before adding details.
✏️ Shading with light, medium, and dark values makes a flat sketch look three-dimensional by showing where light and shadow fall.
🐾 Donkeys have excellent memories and can recognize places and other animals even after long gaps.
How do I draw a donkey step by step for a child?
What materials do I need to draw a donkey with a child?
What ages is drawing a donkey suitable for?
What are the benefits and variations of drawing a donkey?
