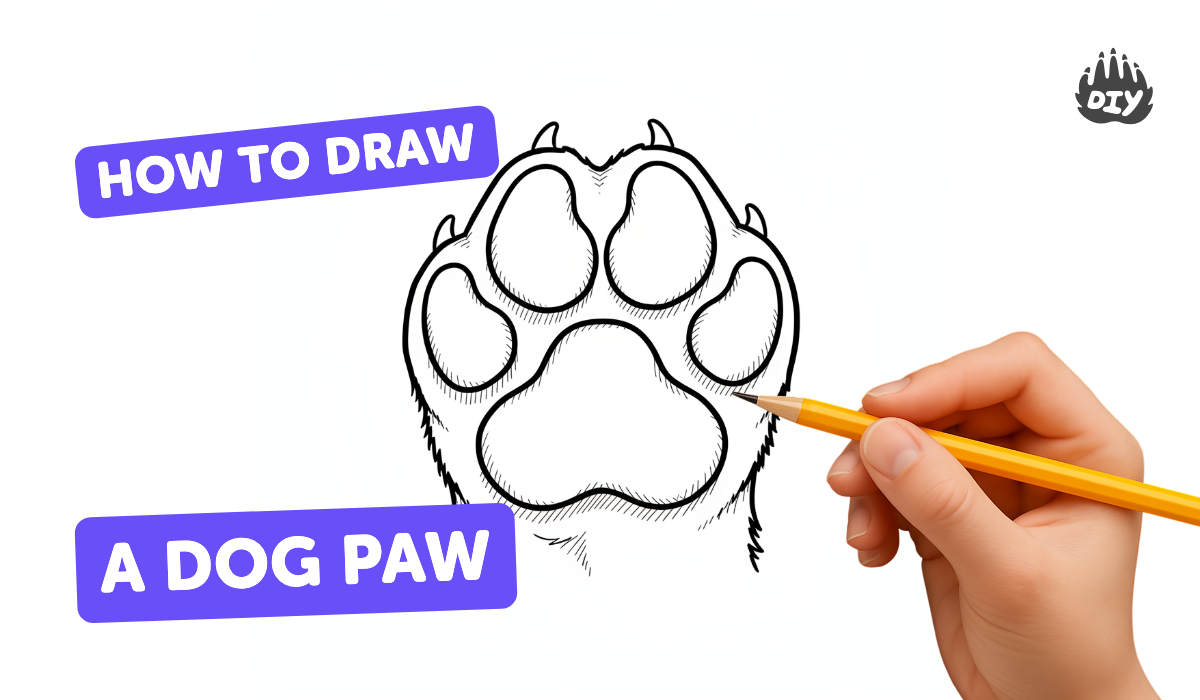
How to draw a dog paw - a free dog paw drawing guide
Draw a realistic dog paw using simple shapes and shading. Practice proportions, symmetry, and texture while adding personal details and coloring.

Drawing Apps
Photos of dog paw drawings


Step-by-step guide to draw a dog paw
How to Draw a Dog Paw
Step 1
Gather your materials and place them where you can reach them.
Step 2
Look at a clear photo of a dog paw and notice the big pad the four toe pads and how they sit together.
Step 3
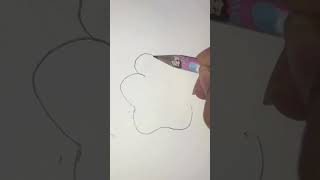
Lightly draw a large oval in the center of your paper for the main paw pad.
Step 4
Lightly sketch four smaller ovals above the big oval spaced evenly for the toe pads.
Step 5
Draw a soft curved line below the main pad to show the bottom edge of the paw.
Step 6
Erase any extra overlapping lines so the pads look neat and separate.
Step 7
Adjust the sizes or positions of any pad by redrawing it until the paw looks balanced and symmetrical.
Step 8
Draw small rounded triangles at the top of each toe pad to make toenails.
Step 9
Add short curved strokes around the pads to suggest fur and skin creases.
Step 10
Shade the pads with light pencil strokes following the round shape to create depth.
Step 11
Darken shadows under and between the pads to increase contrast and realism.
Step 12
Gently blend your shading with a tissue or cotton swab to smooth transitions.
Step 13
Add color and personal touches like spots stripes or a collar using your coloring materials.
Step 14
Share your finished drawing on DIY.org.
Help!?
What can we use if we don't have a cotton swab or tissue for blending?
If you don't have a tissue or cotton swab for blending the shading, use a blending stump, a clean fingertip, or a small piece of paper towel to gently smooth pencil strokes.
My paw looks lopsided after sketching; how can I fix the symmetry?
Lightly erase and redraw individual ovals as the instructions say—compare to your reference photo and adjust the size and spacing of the four toe ovals and the main pad until the paw looks balanced.
How can I simplify or make the activity harder for different ages?
For younger children, pre-draw the large central oval and toe ovals for them to trace and use markers instead of shading, while older kids can add detailed fur strokes, triangular toenails, and layered shading as described in the shading and fur steps.
What are some ways to personalize or extend the drawing once the paw is finished?
Extend the activity by adding spots, stripes, a collar, background elements, or a second paw, experiment with colored pencils or watercolor for the 'Add color and personal touches' step, and then share it on DIY.org.
Watch videos on how to draw a dog paw
How to Draw a Cute Dog Paw! 🐾 Easy Step-by-Step Sketch
4 Videos
How to Draw a Cute Dog Paw! 🐾 Easy Step-by-Step Sketch
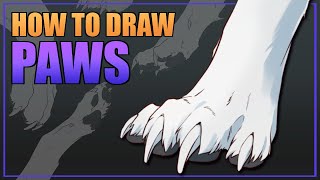
How to draw PAWS - Beginner & Advanced
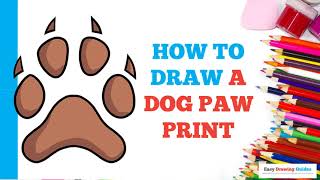
How to Draw a Dog Paw Print in a Few Easy Steps: Drawing Tutorial for Beginner Artists

How to Draw DOG PAW PRINT - Easy & Slow Drawing Tutorial
Facts about drawing animal paws
🐾 Most dogs have five toes on each front paw but only four on each back paw.
🐶 Paw pads act like built-in shock absorbers to protect a dog's feet and help them move quietly.
💧 Dogs mainly sweat through their paw pads, which is one way they help cool down.
🔍 Paw prints can be used for tracking and are often unique enough to help identify animals in the wild.
🎨 When drawing, remember dark pads show strong highlights and reflections while pink or light pads need softer shading.
How do I draw a realistic dog paw step by step?
What materials do I need to draw a dog paw?
What ages is drawing a realistic dog paw suitable for?
What are the benefits of drawing a realistic dog paw?
