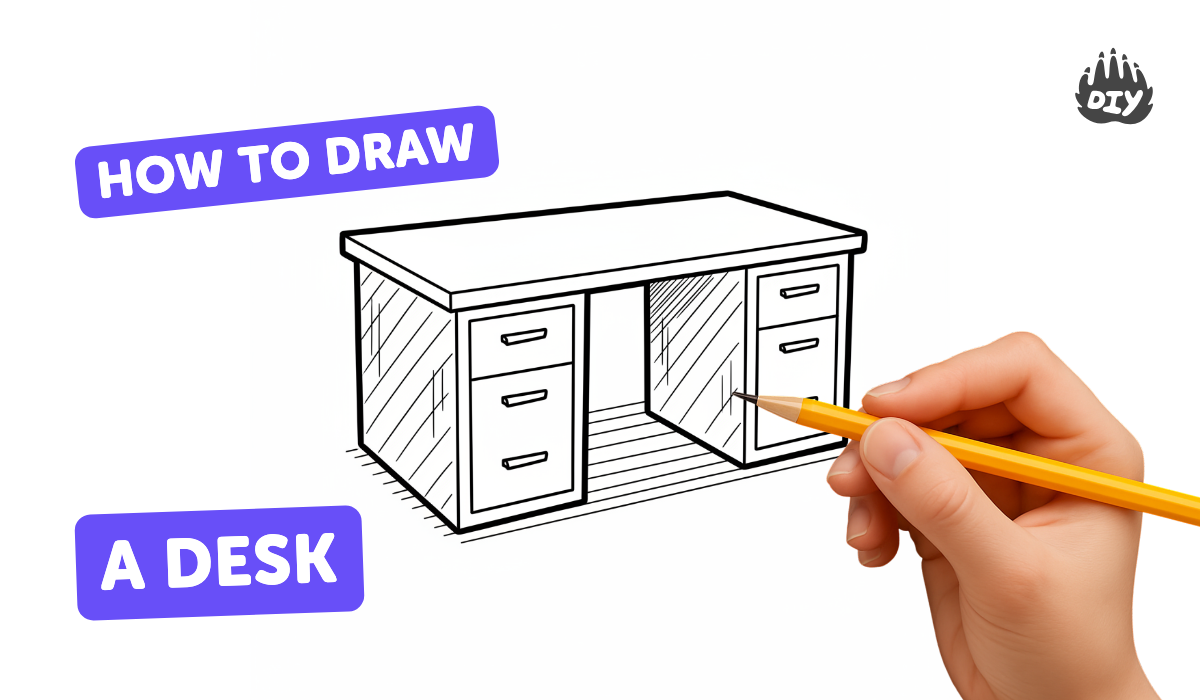
How to draw a desk - a free desk drawing guide
Draw a realistic desk using simple shapes, perspective, and shading. Practice measuring proportions and adding details like drawers, legs, and a tabletop.

Drawing Apps
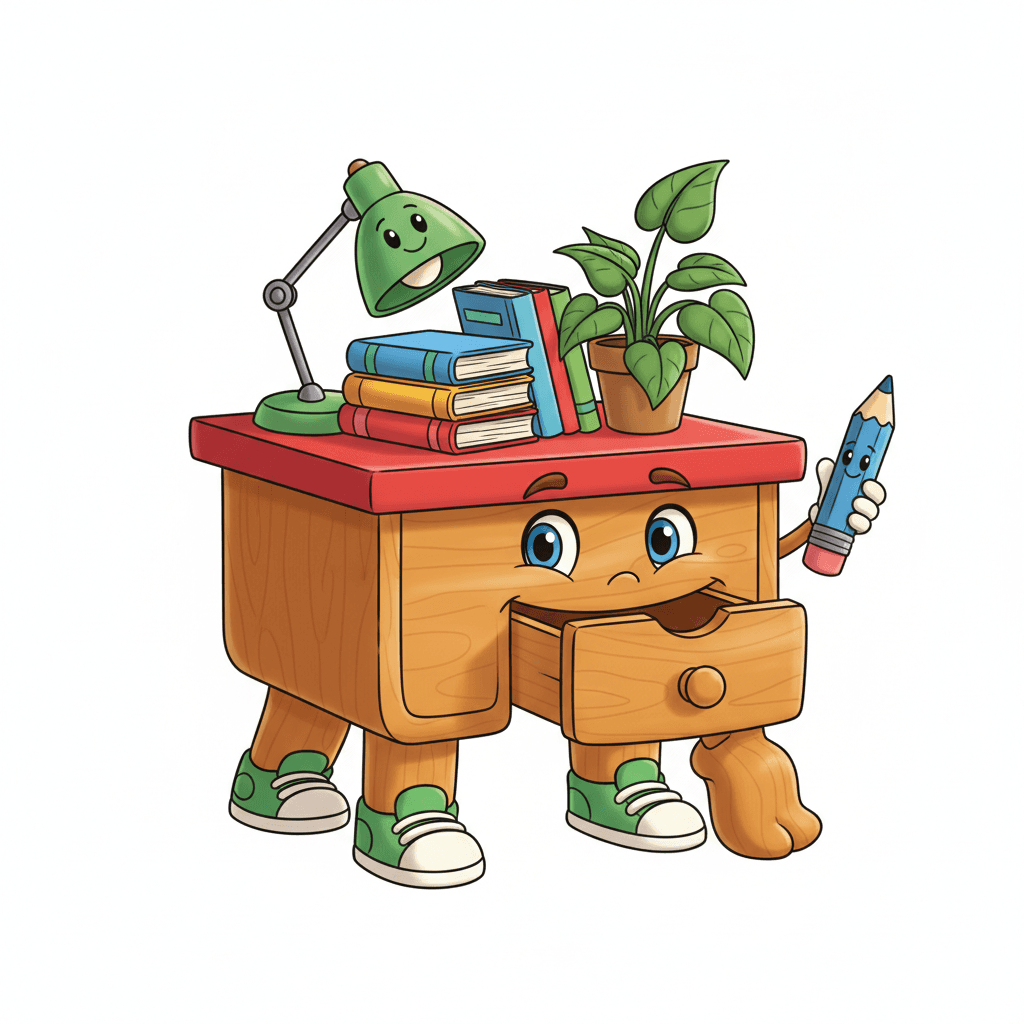
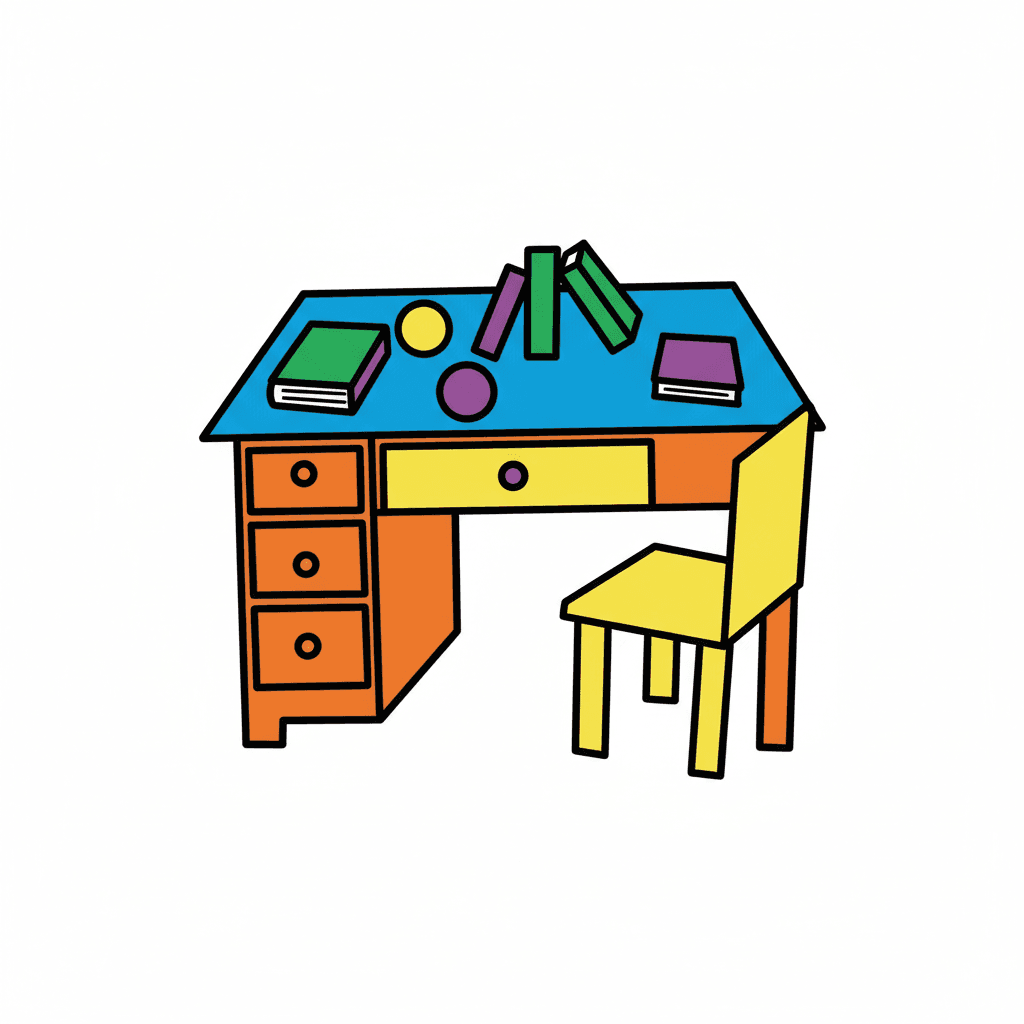
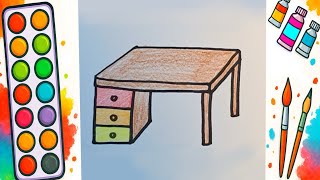
Photos of realistic desk drawings
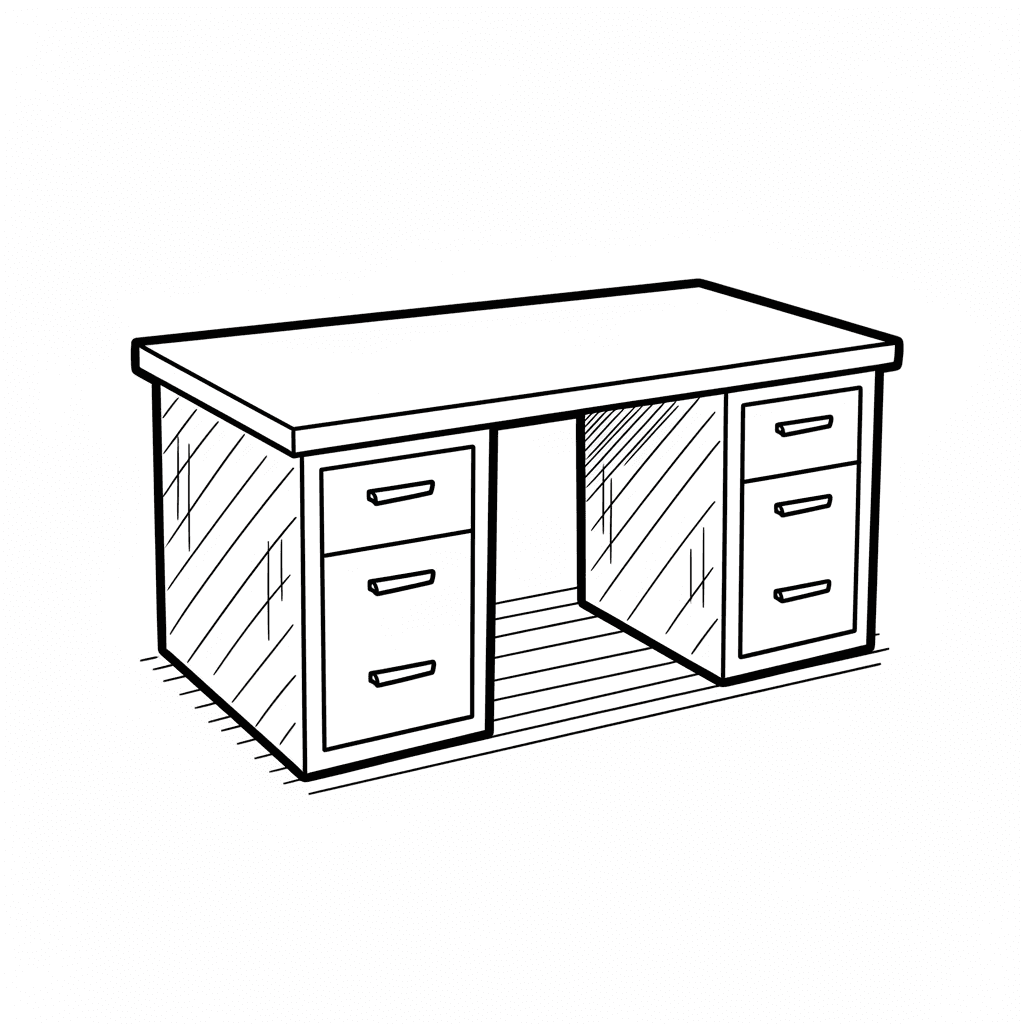

Step-by-step guide to draw a realistic desk
How to Draw Table Step by Step | Learn how to easily draw a desk
Step 1
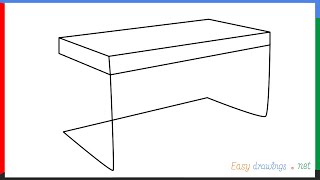
Lightly draw a horizontal horizon line across your paper.
Step 2
Put one small vanishing point on the horizon line.
Step 3
Draw a short horizontal line below the horizon to be the front edge of the tabletop.
Step 4
From each end of that front edge draw a straight line back to the vanishing point.
Step 5
Connect those two perspective lines with a horizontal line to make the back edge of the tabletop.
Step 6
Draw a straight vertical line down from each tabletop corner to mark where the legs will go.
Step 7
Draw a second vertical line next to each leg line to show the thickness of each leg.
Step 8
Connect the bottom ends of each pair of leg lines with short horizontal lines to finish the legs.
Step 9
Draw rectangles on the front face of the desk to make drawers.
Step 10
Add small handle shapes on each drawer where they would be pulled.
Step 11
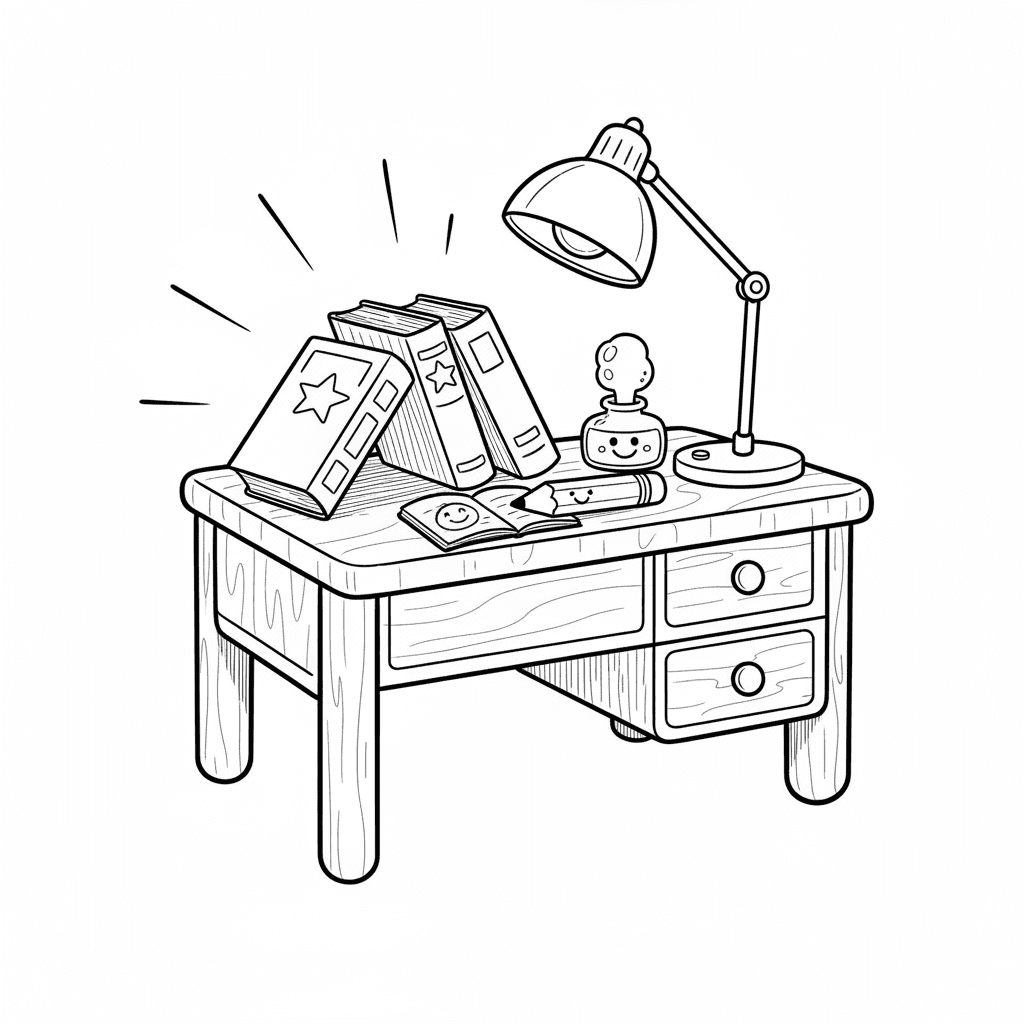
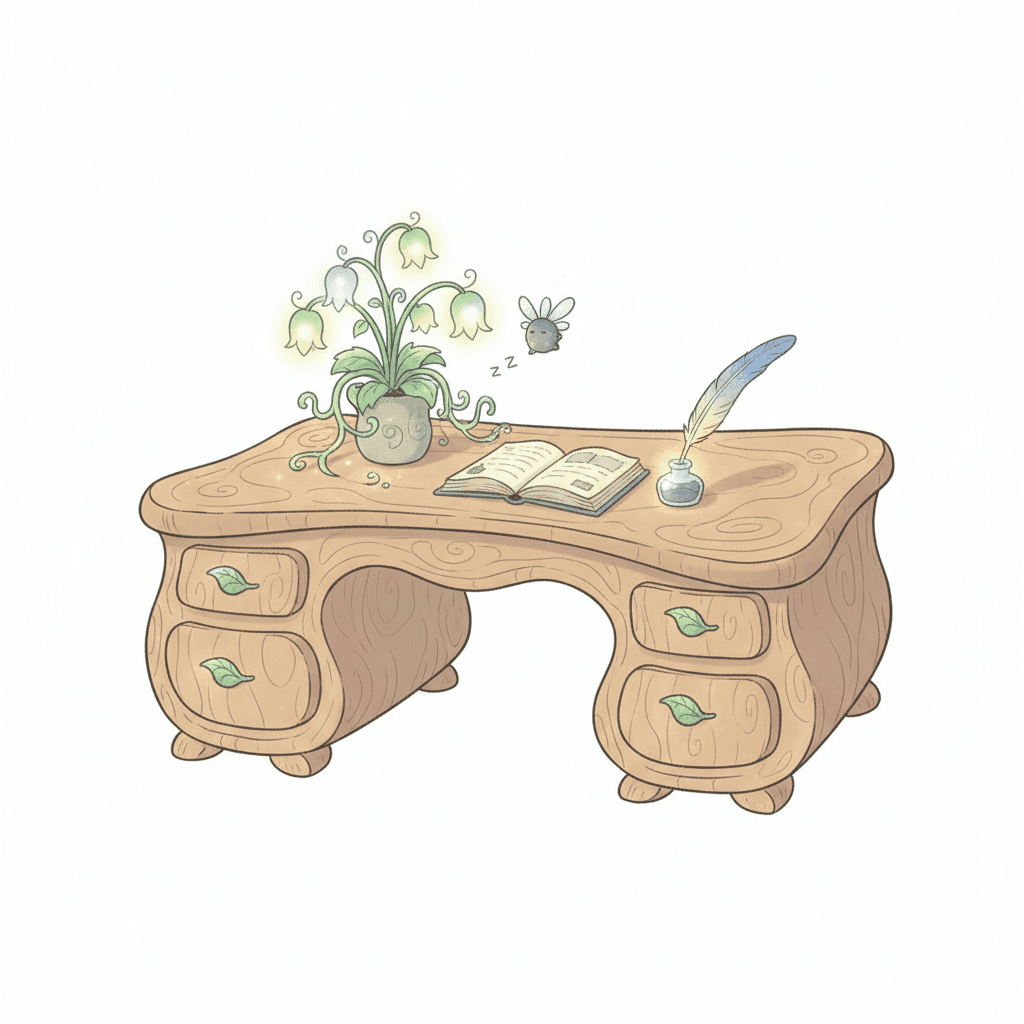
Sketch simple objects on the tabletop like a book or a cup using basic shapes.
Step 12
Choose which side the light is coming from.
Step 13
Lightly shade the desk faces that are away from the light source.
Step 14
Blend the shaded areas with a blending stump or your finger to make smooth tones.
Step 15
Share your finished desk drawing on DIY.org.
Help!?
What can we use if we don't have a blending stump for the shading step?
If you don't have a blending stump, use your finger, a folded tissue, or a cotton swab to blend the shaded desk faces described in the shading and blending steps.
My tabletop perspective looks wrong — what step did I likely miss?
Check that your short horizontal front-edge line and the two straight lines drawn back to the single vanishing point on the horizon all converge properly so the horizontal back edge you draw to connect those perspective lines forms a correct tabletop.
How can I change the activity to suit younger or older kids?
For younger kids, pre-draw the horizon, vanishing point, and front edge and have them trace the perspective lines and add simple tabletop objects, while older kids can add a second vanishing point, more detailed drawer rectangles and handles, and finer shading with a blending stump.
How can we make the finished desk drawing more unique or advanced before sharing it on DIY.org?
Personalize or enhance the drawing by choosing a light side before shading, adding patterned drawer fronts and varied tabletop objects, applying colored pencils after blending for richer tones, and experimenting with cast shadows to increase realism.
Watch videos on how to draw a realistic desk
Learn how to easily draw a desk
4 Videos
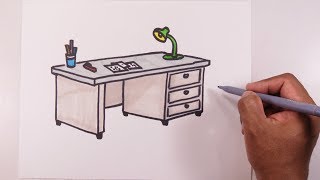
Learn how to easily draw a desk
How to draw a Desk step by step for beginners
How to draw a desk 🎨 easy and fun!
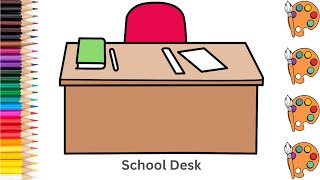
School Desk - Sketch Art and Paint | Step by step tutorial | Pencil to Palette
Facts about drawing and perspective
🧭 In linear perspective, parallel lines that recede converge to a single vanishing point on the horizon — that’s how depth happens!
📦 Many artists build a desk drawing from simple boxes and rectangles first — it makes complex shapes way easier.
💡 Shading creates 3D: remember highlight, midtone, core shadow, and cast shadow to make a tabletop pop.
📏 A standard desk height is about 29–30 inches (73–76 cm) — a great real-world measurement to check your proportions.
🧠 Drawing furniture like desks trains spatial reasoning and attention to tiny details like drawer handles and wood grain.
How do I draw a realistic desk using simple shapes, perspective, and shading?
What materials do I need to draw a realistic desk?
What ages is drawing a realistic desk suitable for?
What are the benefits of practicing realistic desk drawings?
