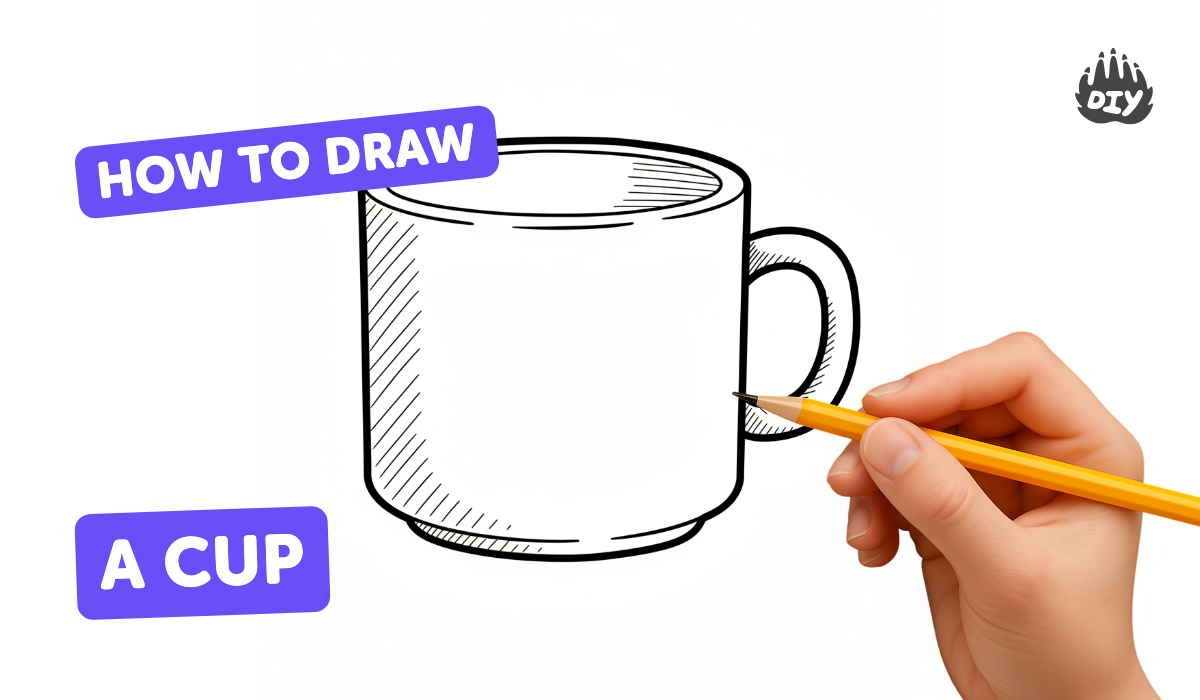
How to draw a cup - a free cup drawing guide
Draw a simple cup using basic shapes, clean lines, and shading to show depth. Practice step by step observation and improve drawing skills.

Drawing Apps
Photos of cup drawing examples


Step-by-step guide to draw a cup
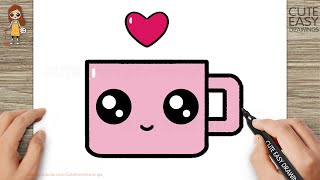
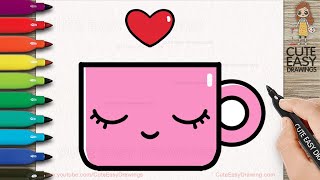
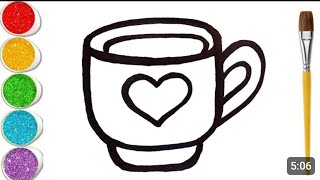
How to Draw a Cute Cup Simple & Easy for Kids
Step 1
Place your paper on a flat surface.
Step 2
Put your pencil and eraser next to the paper.
Step 3
Put a simple cup beside the paper so you can look at it.
Step 4
Lightly draw a horizontal oval for the top rim of the cup.
Step 5
Draw two slightly slanted vertical lines down from the sides of the oval.
Step 6
Connect the vertical lines with a gentle curved line to make the bottom of the cup.
Step 7
Add a second, smaller oval just under the top oval to show the rim thickness.
Step 8
Sketch a C-shaped handle attached to the side of the cup.
Step 9
Erase extra guideline marks and leave the clean cup outline.
Step 10
Choose where the light is coming from and point to that spot.
Step 11
Shade the side of the cup that is opposite the light using light pencil strokes.
Step 12
Gently smudge the shaded area with a tissue or blending stump to make it look smooth.
Step 13
Draw a small shadow on the paper on the side away from the light.
Step 14
Add colour to your cup if you want using colouring materials.
Step 15
Share your finished cup drawing on DIY.org.
Help!?
What can we use if we don't have a simple cup or a blending stump?
Use a mug, bowl, or small jar as your model instead of the simple cup, and substitute a tissue, cotton swab, or your fingertip for the blending stump when you smudge the shaded area.
My cup looks lopsided or the rim is crooked—how do I fix it?
If the top horizontal oval or the two slightly slanted vertical lines look uneven, lightly redraw the oval, make small alignment tick marks under the oval to place the vertical lines before connecting the curved bottom line, and erase extra guideline marks with your eraser.
How can I change the activity for different ages or abilities?
For preschoolers, simplify by tracing a single oval and curved base with a thick crayon and skipping the inner rim, while older kids can add the second smaller oval for rim thickness, detailed C-shaped handle, and refined shading with a blending stump and colored pencils.
How can we make the drawing more interesting or personal after finishing the basic cup?
Personalize the cup by drawing patterns or a logo on the surface before adding colour, experiment with different light source directions to change the shaded side and shadow placement, or create a still-life of several cups in different sizes to photograph and share on DIY.org.
Watch videos on how to draw a cup
How to Draw a Cute Cup Easy for Kids and Toddlers
4 Videos
How to Draw a Cute Cup Easy for Kids and Toddlers
How to Draw Cute Cup Easy for Kids and Toddlers
How To Draw A Cup Step By Step ☕ Cup Drawing
Cup drawing step by step | How to Draw a Cup | Easy coloring for Kids and Toddlers
Facts about drawing and shading for kids
🎨 Most artists begin a cup drawing with simple shapes — an oval for the rim and a rectangle or trapezoid for the body.
🔍 In perspective, a circle turns into an ellipse; getting the rim's ellipse right makes the cup look three-dimensional.
✨ A tiny bright highlight can make a drawn cup look shiny and realistic — highlights trick your brain into seeing reflection.
⬛ Shading usually moves from light to dark opposite the light source — try using three values: light, mid, and dark.
⏱️ Just 10–15 minutes of daily quick sketches can greatly boost observation skills and drawing confidence in a few weeks.
How do I teach my child to draw a simple cup step by step?
What materials do I need to draw a simple cup with my child?
What ages is this cup-drawing activity suitable for?
What are the benefits of practicing simple cup drawings with my child?
