How to draw a crystal - a free crystal drawing guide
Draw a sparkling crystal by sketching geometric facets, practicing symmetry, shading for depth, and adding highlights to show light reflection and sparkle.

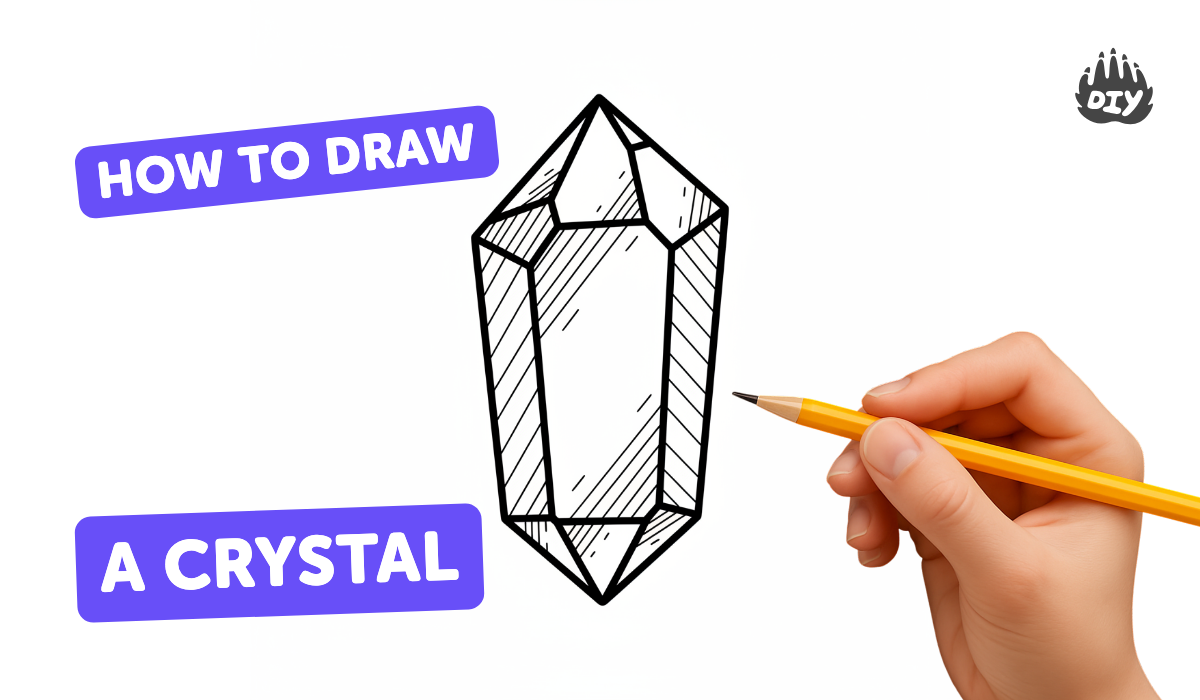
Step-by-step guide to draw a sparkling crystal
Crystal Drawing Magic ✨ Easy Step-by-Step Tutorial for Kids
Step 1
Gather all your materials and place the paper in front of you so you have lots of space to draw.
Step 2
Lightly draw a straight vertical guideline down the middle of the paper using your pencil and ruler to help keep the crystal symmetrical.
Step 3
Lightly mark a top tip and a bottom tip on the guideline to set how tall your crystal will be.
Step 4
Sketch the outer shape of the crystal by drawing straight angled lines from the top tip to the sides and down to the bottom tip to make a tall faceted polygon.
Step 5
Draw a horizontal waist line across the crystal to divide the top and bottom sections for different facet patterns.
Step 6
Add straight lines from the outer edges toward the center to create geometric facets on the top section making sure to mirror each line on the opposite side.
Step 7
Add straight lines from the outer edges toward the center to create geometric facets on the bottom section making sure to mirror each line on the opposite side.
Step 8
Erase any extra guideline marks so only the outline and facet lines of the crystal remain visible.
Step 9
Trace over the main outer outline and a few facet edges with a black pen or darker pencil to make the crystal shapes stand out.
Step 10
Choose a light source direction and lightly shade the facets that face away from the light to add depth.
Step 11
Gently blend the shaded areas with a tissue or cotton swab to smooth the tones and make the shading look soft.
Step 12
Use the eraser to lift tiny thin highlights on facets and add small starburst sparkles and dots around the crystal to show bright reflections.
Step 13
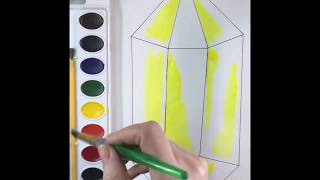
Colour the facets with cool tones or your favorite colors keeping highlights pale so the crystal looks shiny and three-dimensional.
Step 14
Share a photo of your finished sparkling crystal on DIY.org so others can see your awesome creation.
Help!?
What can I use if I don’t have a ruler, black pen, or cotton swabs?
Use a straight book edge or a piece of cardboard to draw the vertical guideline and facet lines, trace the main outline with a darker pencil if you don’t have a black pen, and gently blend shaded facets with a folded tissue or your fingertip instead of a cotton swab.
My crystal looks lopsided or the facets don’t match — how do I fix it?
Lightly re‑draw the vertical guideline (step 2), re‑measure the top and bottom tips so they’re centered, erase extra marks from step 8, and mirror each angled facet line across the guideline using your ruler or book edge until the sides match.
How can I adapt this drawing for younger or older kids?
For younger kids, pre‑draw the outer shape and waistline and let them add facets, shading, and sparkles with crayons, while older kids can add more facets, detailed shading in steps 9–12, color layering, and precise highlights with an eraser or gel pen for a realistic 3D effect.
What are some ways to make my crystal more realistic or personalized?
Enhance steps 11–13 by using colored pencils for layered cool tones, a white gel pen or eraser to lift tiny highlights and starburst sparkles, add a watercolor wash or glitter background, or create a cluster of crystals and share the photo on DIY.org.
Watch videos on how to draw a sparkling crystal
HOW TO DRAW CRYSTALS - STEP BY STEP - EASY!
4 Videos
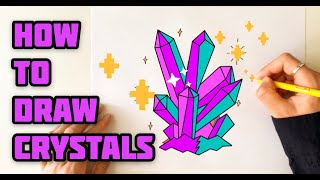
HOW TO DRAW CRYSTALS - STEP BY STEP - EASY!
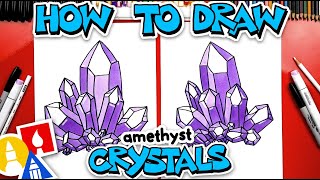
How To Draw Amethyst Crystals
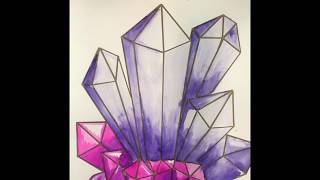
How to draw a cluster of crystals for kids
How to draw gems and crystals 1 for kids
Facts about geometric drawing and shading for kids
🔷 Crystals are made of repeating geometric patterns called lattices—those patterns help artists sketch believable facets.
✨ Sparkle happens when light reflects and refracts inside and between facets, creating bright flashes and color shifts.
🔺 Many crystals (like quartz) show rotational symmetry—using symmetry makes your crystal look balanced and realistic.
🎨 Shading one side of a facet darker and the other lighter gives flat shapes a 3D, gem-like look.
💡 A tiny, bright specular highlight shows exactly where the light source hits and makes a crystal look shiny.
How do I draw a sparkling crystal step by step?
What materials do I need to draw a crystal with sparkling facets?
What ages is crystal drawing suitable for and how should I adapt it?
What are the benefits of teaching kids to draw crystals and fun variations?
