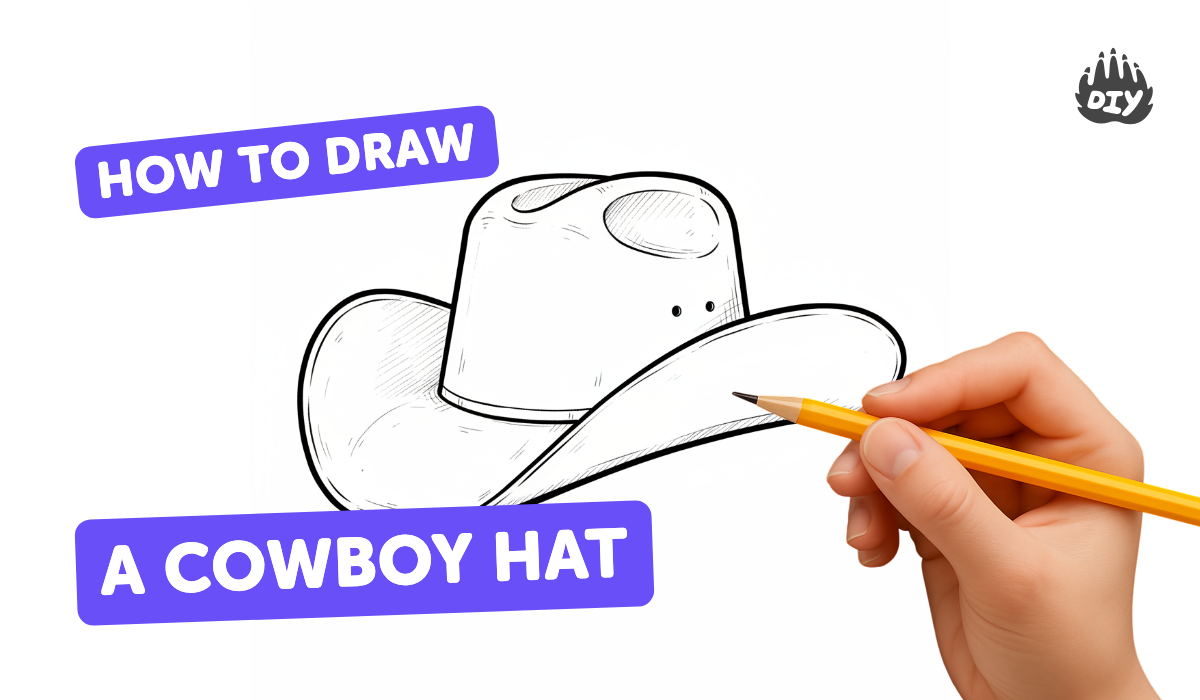
How to draw a cowboy hat - a free cowboy hat drawing guide
Draw a cowboy hat step by step using simple shapes, outlines, shading, and erasing. Practice proportions, symmetry, and adding decorations like a hatband.

Drawing Apps
Photos of cowboy hat drawing examples


Step-by-step guide to draw a cowboy hat
How to draw a COWBOY HAT for kids
Step 1
Gather your paper pencil eraser black marker and colouring materials and place them on a flat surface.
Step 2
Lightly draw a vertical center line down the middle of your paper to help keep the hat symmetrical.
Step 3
Lightly sketch a wide horizontal oval centered on the center line to make the outer brim of the hat.
Step 4
Draw a slightly smaller oval inside the first oval to show the thickness of the brim.
Step 5
Above the brim and centered on the center line draw a rounded dome shape for the crown of the hat.
Step 6
Draw two curved lines from the top of the crown down toward the brim to form the center crease detail.
Step 7
Add a shallow curved dent on each side of the crown making the left and right shapes mirror each other.
Step 8
Draw a narrow horizontal strip around the base of the crown to make the hatband.
Step 9
Draw a small decoration like a buckle or star on the hatband near the front.
Step 10
Gently erase the center guide line and any extra sketch marks you do not want to keep.
Step 11
Shade the underside of the brim with light strokes to show shadow.
Step 12
Shade the sides of the crown with light strokes to show roundness.
Step 13
Trace the final hat lines with your black marker or darker pencil so the shape stands out.
Step 14
Erase any remaining pencil marks and then colour your hat using the colouring materials.
Step 15
Take a photo of your finished cowboy hat or upload it and share your creation on DIY.org.
Help!?
What can I use if I don't have a black marker or special colouring materials?
If you don't have a black marker, use a dark pencil or fine-tipped pen to trace the final hat lines, and substitute crayons, colored pencils, or watered-down poster paint for the colouring materials when you colour your hat.
My ovals and crown look uneven—how can I fix that?
Keep the center guide line while adjusting the wide horizontal oval and inner oval, erase and redraw lightly until the brim and the rounded dome align on the center line, then use the light center crease lines to balance the crown.
How can I adapt this drawing for different ages or skill levels?
For younger kids skip the inner oval and detailed shading so they focus on the outer brim and crown, while older kids can refine the two curved center-crease lines, add mirrored side dents, and add detailed hatband decorations as described in the steps.
How can we extend or personalize the cowboy hat activity once the hat is finished?
Extend the activity by designing unique hatband patterns or a buckle/star, adding background scenery or a cowboy character, or cutting out the coloured hat to make a wearable prop before you take a photo and share it on DIY.org.
Watch videos on how to draw a cowboy hat
How to Draw a Cowboy Hat | Easy Step by Step Drawing Guide Tutorial
4 Videos
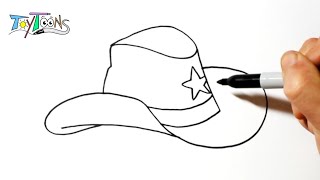
How to Draw a Cowboy Hat | Easy Step by Step Drawing Guide Tutorial
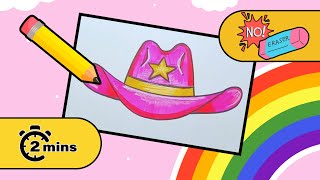
Draw a Cowboy Hat with NO ERASER in less than 2 Minutes! ✏️🤠✏️
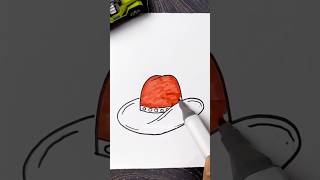
Easy Cowboy Hat Drawing Tutorial 🤠 | Simple and Fun Step-by-step Hat Drawing for Kids

How to Draw a Cowboy Hat - Easy Drawing & Coloring Page
Facts about basic drawing techniques
🤠 The iconic cowboy hat was popularized by John B. Stetson in the 1860s with his "Boss of the Plains" design.
✏️ Many artists build a hat drawing from simple shapes like ovals and rectangles first to lock in proportions.
🔥 Real felt cowboy hats can be reshaped using steam or heat to change the crown and brim style.
📏 Checking symmetry by folding a light tracing or flipping your canvas helps make both sides match.
🎀 Hatbands began as practical sweatbands and became decorative — leather, ribbon, and conchos are common.
How do I teach my child to draw a cowboy hat step by step?
What materials do I need to draw a cowboy hat with my child?
What ages is drawing a cowboy hat suitable for?
What are the benefits of practicing drawing a cowboy hat?
