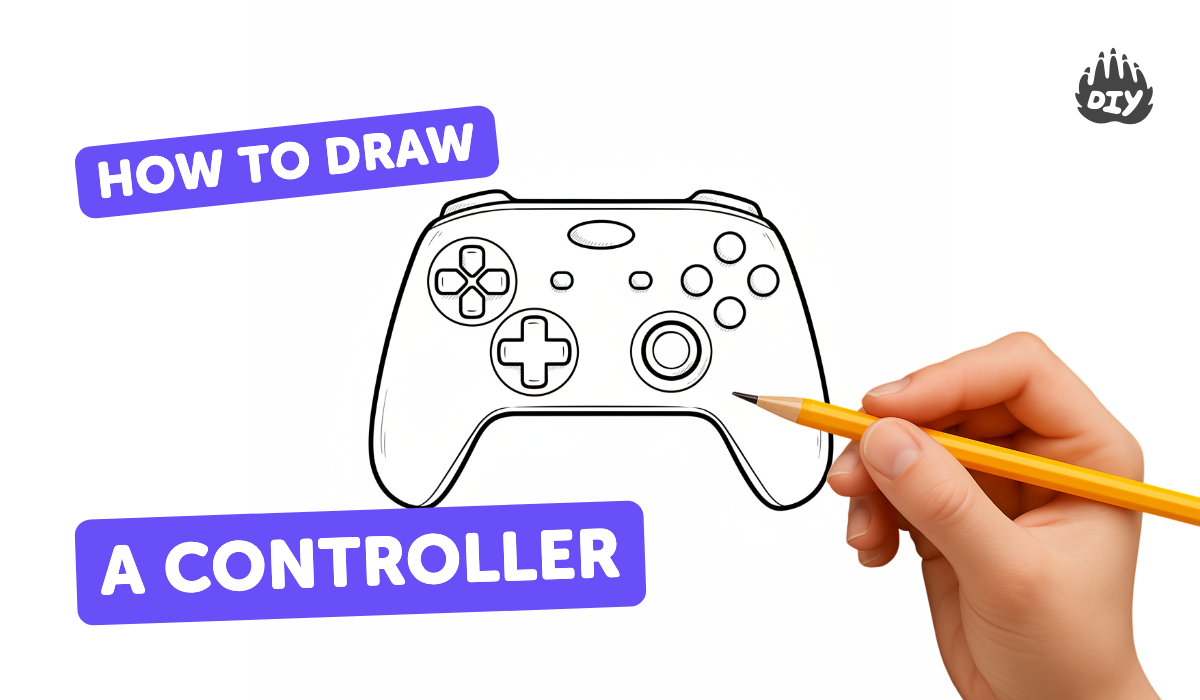
How to draw a controller - a free controller drawing guide
Draw a video game controller step by step with pencil and markers, practicing shapes, symmetry, button placement, and shading to create a realistic final illustration.

Drawing Apps
Photos of video game controller drawings


Step-by-step guide to draw a video game controller
How To Draw A Game Controller For Kids
Step 1
Place your paper landscape and draw a light vertical center line down the middle with your ruler.
Step 2
Sketch a large rounded rectangle or oval in the center for the main body using light pencil strokes.
Step 3
Draw matching rounded grips on both sides of the body using the center line to keep them level.
Step 4
Draw a small circle above the left grip for the left joystick.
Step 5
Draw a plus-shaped D-pad below the left joystick on the left side.
Step 6
Draw a small circle above the right grip for the right joystick.
Step 7
Draw four evenly spaced small circles in a diamond shape on the right side for the face buttons.
Step 8
Draw two small rounded rectangles in the middle area for the start and select buttons.
Step 9
Trace over the final outlines you want to keep with your black fineliner or a darker pencil to make them crisp.
Step 10
Erase the center guideline and any extra sketch lines gently with your eraser.
Step 11
Add shading with your pencil under the grips and around button edges to make the controller look 3D.
Step 12
Color the body and buttons with your markers or coloring materials the way you like.
Step 13
Share your finished controller drawing on DIY.org.
Help!?
What can we use if we don't have a ruler, black fineliner, or markers?
Use a straight edge like a book or cereal box for the ruler, a darker pencil or felt-tip pen instead of the black fineliner when you trace the final outlines, and colored pencils or crayons in place of markers to color the body and buttons.
My grips or buttons look uneven — how can I fix them?
If the grips or face buttons look uneven, keep your paper landscape, redraw them using the light vertical center line and measure matching distances with your ruler or straight edge before you trace over the final outlines.
How can I change the activity for younger or older children?
For younger kids simplify by drawing larger rounded shapes, skipping shading, and using thick markers or crayons with a pre-drawn center line, while older kids can add detailed shading under the grips, tiny screw marks or logos, and use a fineliner for crisp outlines.
How can we extend or personalize the controller drawing?
Personalize by designing custom button symbols and colors, adding patterns or a gamer logo on the body before coloring, or cut and glue the finished drawing to cardboard to make a pretend controller prop to share on DIY.org.
Watch videos on how to draw a video game controller
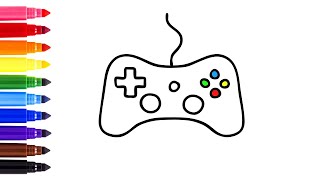
How to draw a Game Controller for Beginners | Step-by-Step Easy Drawing Tutorials
4 Videos

How to draw a Game Controller for Beginners | Step-by-Step Easy Drawing Tutorials
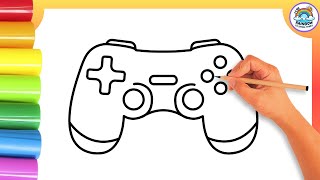
Easy Game Controller🎮 Drawing Tutorial for Kids! Learn to Colors a Video Game Controller!
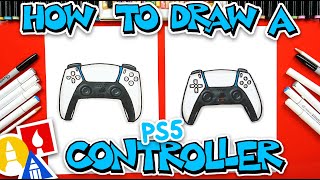
How To Draw A PS5 Controller
How to draw a game controller step by step
Facts about drawing and sketching for kids
🎮 The NES controller introduced the directional pad (D-pad) and two face buttons—features that shaped many future gamepads.
🕹️ Modern controllers usually have around 10–15 input controls (face buttons, bumpers, triggers, sticks and a D-pad) for richer gameplay.
✏️ Starting with light pencil sketches helps you place buttons and check proportions before committing with markers.
🤲 Many controllers are designed with left-right symmetry so both hands feel balanced and comfortable during play.
🖌️ Shading techniques like cross-hatching, blending, and cast shadows can turn a flat outline into a realistic, 3D-looking controller.
How do I draw a video game controller step by step?
What materials do I need to draw a video game controller with pencils and markers?
What ages is drawing a video game controller suitable for?
What are the benefits of drawing a video game controller?
