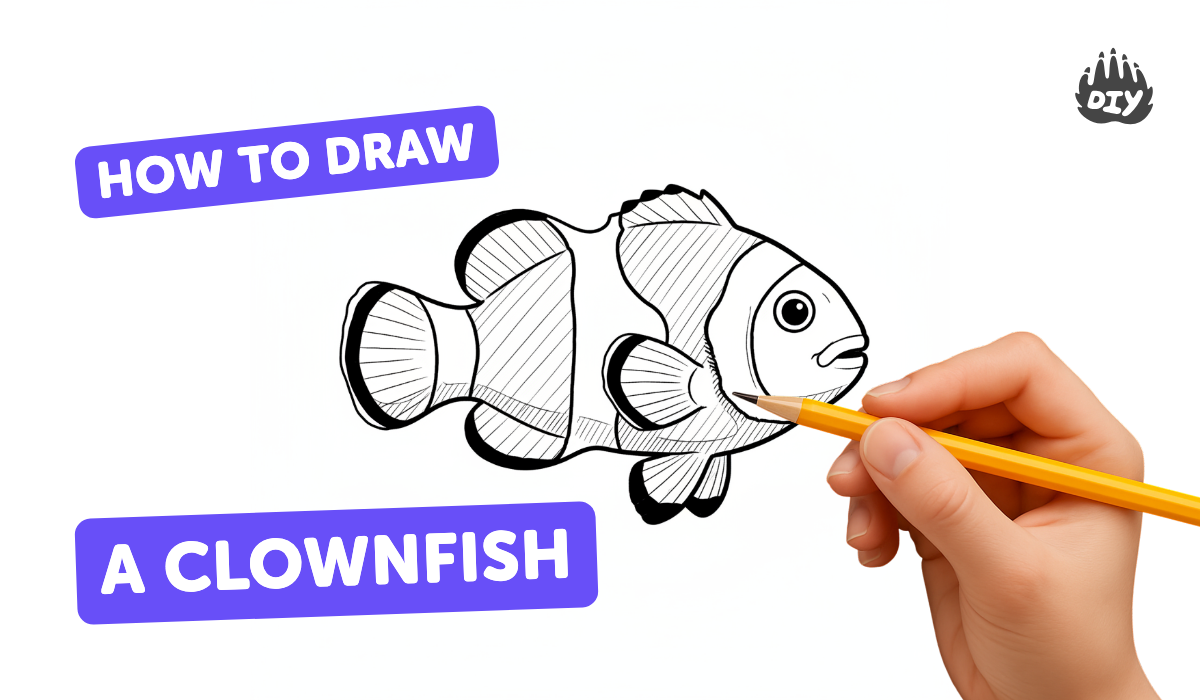
How to draw a clownfish - a free clownfish drawing guide
Draw a colorful clownfish step by step using pencil, ink, and colored pencils. Learn proportions, simple shapes, and patterns while practicing observation and neatness.

Step-by-step guide to draw a clownfish
How To Draw A Realistic Clownfish
Step 1
Find a clean flat surface and place your paper and pencil in front of you so you can sit comfortably.
Step 2
Lightly draw a horizontal oval in the middle of the paper to make the main body of the clownfish.
Step 3
Draw a curved triangular tail attached to the right end of the oval to show the fish’s tail.
Step 4
Add a rounded fin on top of the oval like a soft triangle to make the dorsal fin.
Step 5
Draw a teardrop-shaped fin on the side of the oval for the pectoral fin.
Step 6
Draw a small circle near the front of the oval for the eye.
Step 7
Draw a tiny curved line in front of the eye for the fish’s smile-shaped mouth.
Step 8
Lightly sketch three curved vertical lines across the body to mark the clownfish’s white stripes.
Step 9
Erase any extra overlap lines so the fish’s outline and stripe marks look neat and clear.
Step 10
Carefully trace over your final pencil lines and stripe marks with the fine-tip ink pen.
Step 11
Let the ink dry fully and then gently erase all remaining pencil marks so only the ink lines remain.
Step 12
Color the fish’s body orange with even strokes, leaving the three stripe areas white.
Step 13
Use black colored pencil to draw thin outlines around the white stripes and add a black tip to the tail.
Step 14
Use a darker orange pencil to add a little shading along the bottom edge and behind the fins to make the fish look round.
Step 15
Sign your name and share a photo of your finished clownfish on DIY.org
Help!?
What can we use if we don't have a fine-tip ink pen or orange/darker-orange colored pencils?
Trace your final pencil lines with a black gel pen or thin permanent marker instead of the fine-tip ink pen and color the body with orange crayons or washable markers, using a darker orange marker or layered crayon for the shading step and a black crayon or marker to outline the white stripes and add the black tail tip.
My fish's stripes and outline look messy after inking—how can I fix that?
Before you trace with the pen, lightly sketch the three curved vertical stripe lines and erase extra overlap lines until the body and stripe marks look neat, then let the ink dry fully as instructed before gently erasing remaining pencil marks to avoid smudges.
How can I adapt this clownfish drawing for younger kids or older kids?
For younger kids simplify steps by drawing the horizontal oval and one large stripe, skip the fine-tip inking and use crayons or stickers for the eye, while older kids can refine the curve of the dorsal fin, add the darker orange shading behind the fins, and use the black colored pencil to make crisper stripe outlines and tail details.
How can we extend or personalize the clownfish project after finishing the drawing?
Add a blue watercolor wash background with coral and bubble details, create patterned or glittered white stripes, include other fish, then sign your name and follow the final step to share a photo of your personalized clownfish on DIY.org.
Watch videos on how to draw a clownfish
How To Draw A Starfish - Preschool
4 Videos
How To Draw A Starfish - Preschool

How To Draw A Jellyfish - Preschool
How To Draw A Pufferfish - Preschool
How To Draw Mom And Baby Goldfish
Facts about drawing and sketching for kids
🐠 Clownfish live among sea anemone tentacles and are protected by a slimy coating that keeps them safe from stings!
✏️ Many artists begin with simple shapes — a clownfish can start as two ovals and a triangle for the tail.
🎬 The Ocellaris clownfish inspired the character Nemo from the movie Finding Nemo — that bright orange is iconic!
🖋️ Inking over pencil lines makes edges crisp and helps colored pencils look cleaner and neater.
🎨 You can layer colored pencils (orange + light red + a touch of brown) to make a clownfish look rounded and shiny.
How do I draw a colorful clownfish step by step using pencil, ink, and colored pencils?
What materials do I need to draw a clownfish with pencil, ink, and colored pencils?
What ages is this clownfish drawing activity suitable for?
What are the benefits of drawing a clownfish with pencil, ink, and colored pencils?
