How to draw a city - a free city drawing guide
Draw a detailed cityscape using simple perspective, buildings, roads, and landmarks. Practice planning layout, scale, and adding texture to create realistic streets.

Drawing Apps
Get inspired with these


Instructions
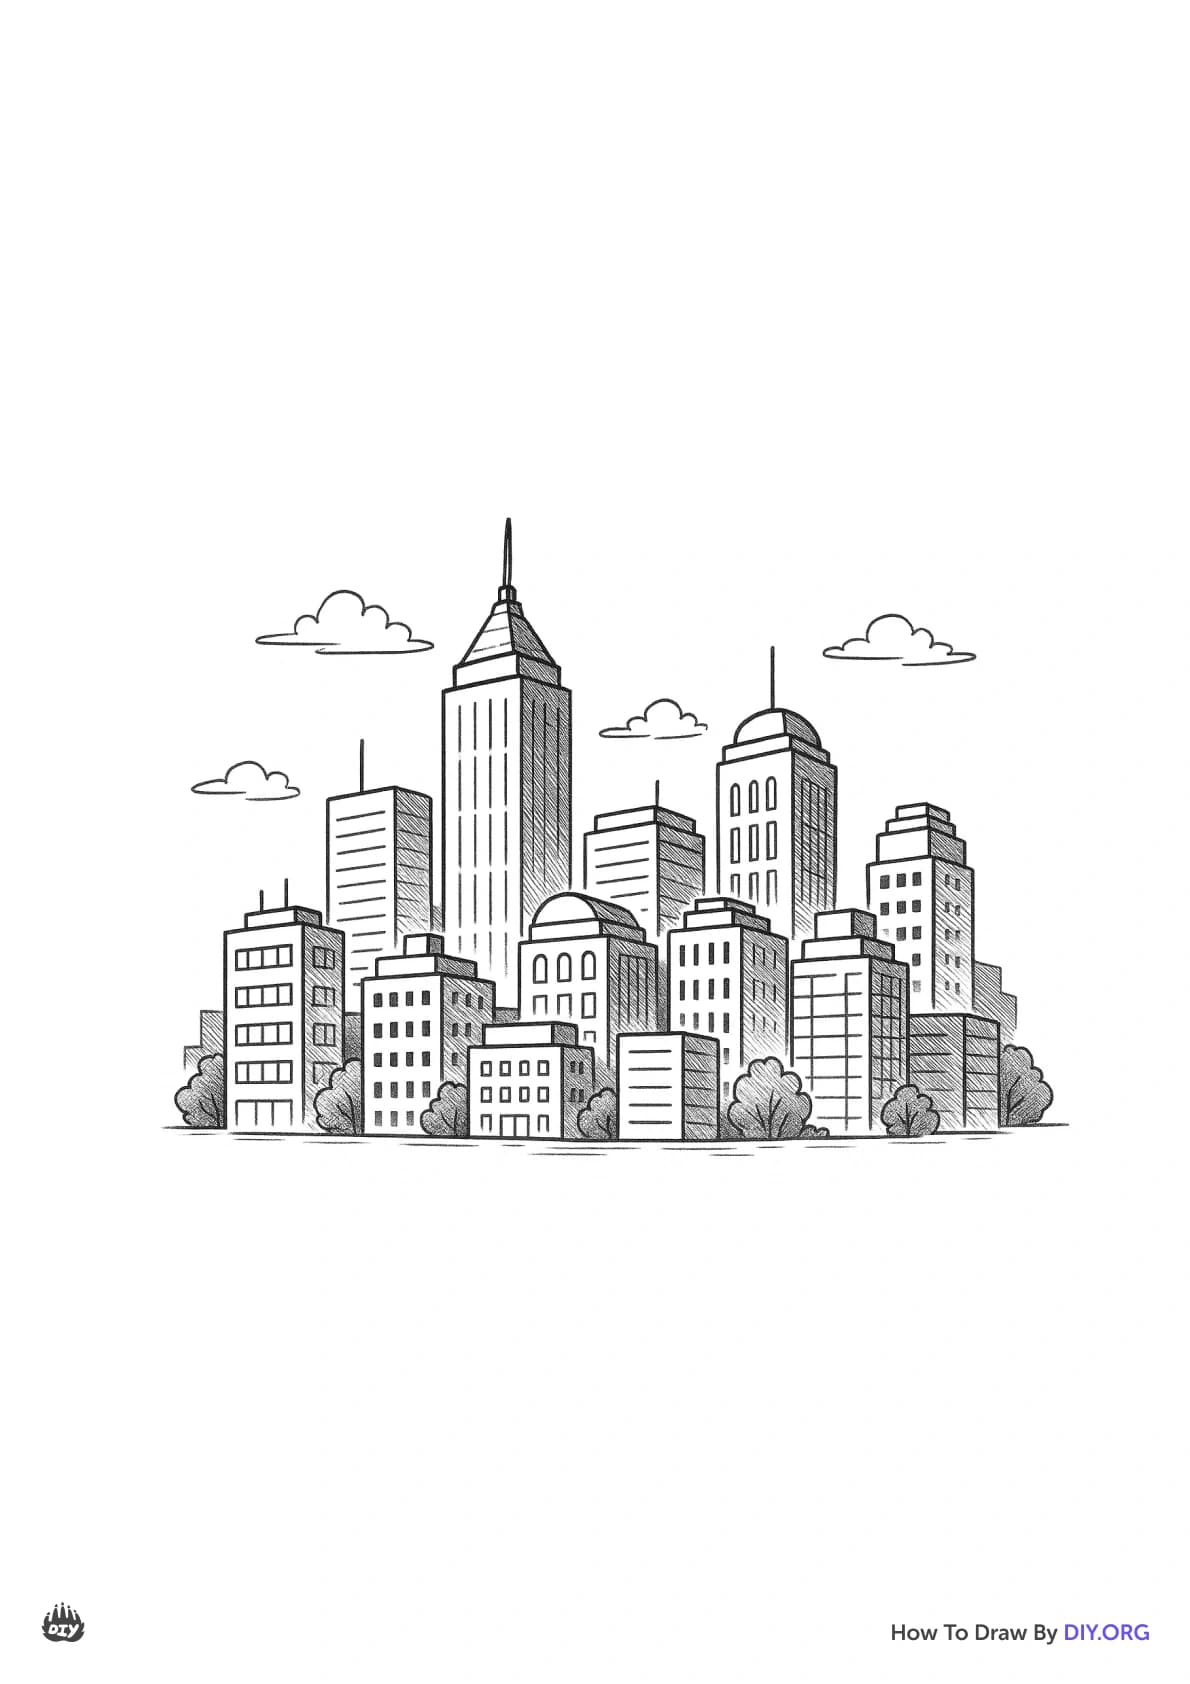
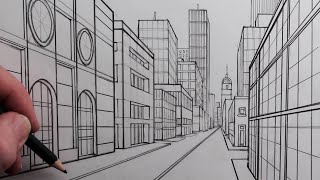
How To Draw A Cityscape
Step 1
Place your paper landscape (wide side across) on a flat table so you have lots of room for buildings.
Step 2
Lightly draw a straight horizon line across the middle of the paper with your pencil.
Step 3
Put a dot on the horizon line to be your vanishing point where streets will seem to meet.
Step 4
Use your ruler to draw two straight lines from the vanishing point down toward the bottom edge to make the sides of a main street.
Step 5
Sketch building blocks along each side of the street using rectangles and trapezoids to show lots of houses and shops.
Step 6
Add windows and doors to each building by drawing small rectangles and squares in rows.
Step 7
Draw a park area beside the street and add simple trees using round shapes for leaves and lines for trunks.
Step 8
Draw cars and buses on the street using simple rectangles and circles for wheels.
Step 9
Add small street details like streetlights benches signs and a crosswalk to make your city feel real.
Step 10
Trace the important lines you want to keep with a black marker if you like a bold outline.
Step 11
Gently erase the extra pencil guidelines so your drawing looks neat and clean.
Step 12
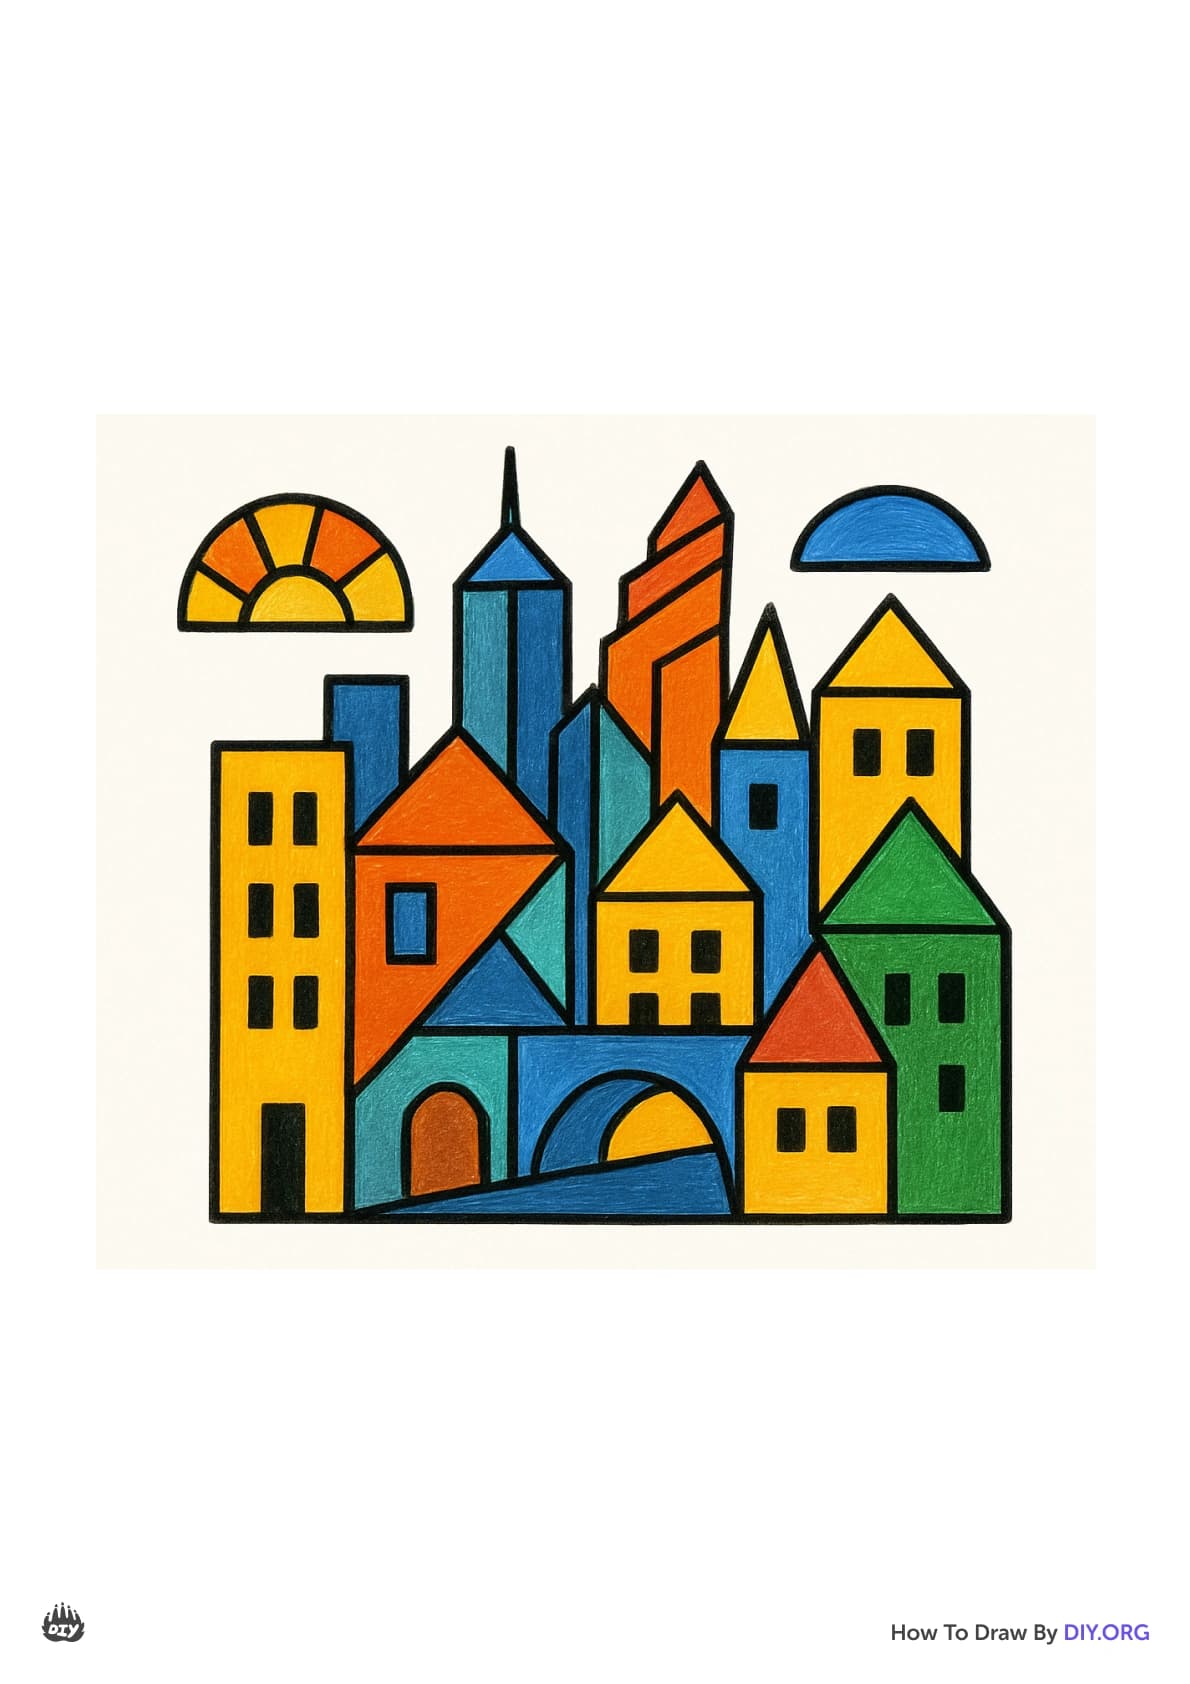
Color your buildings streets trees and details using your coloring materials to bring the city to life.
Step 13
Share your finished city drawing on DIY.org
Help!?
I don't have a ruler or a black marker—what can I use instead?
Use a straight edge like a hardcover book or credit card to draw the street lines from the vanishing point and swap the black marker for a dark pen, crayon, or thin permanent marker to trace important lines.
My buildings don't look like they're meeting at the vanishing point—how can I fix that?
Lighten your pencil guidelines, place a straight edge on the vanishing point and redraw the street and building edges toward the bottom edge so they converge properly, then erase extra lines and trace the final ones.
How can I change this activity to suit different ages?
For younger kids, simplify to big rectangles for buildings, round trees, and large cars with crayons, while older kids can add rows of windows and doors, trapezoid roofs, detailed streetlights, and shading or ink the important lines as in the steps.
How can we improve or personalize our city drawing after finishing the basic steps?
After erasing pencil guidelines and coloring, personalize by naming shops, cutting and gluing extra paper buildings for 3D storefronts, adding a painted sky or shadows for time-of-day, and sharing the finished city on DIY.org.
Related videos
How to Draw a City using One-Point Perspective for Beginners
4 Videos

How to Draw a City using One-Point Perspective for Beginners

Easy City Drawing for Kids | Step by Step Town Drawing and Coloring
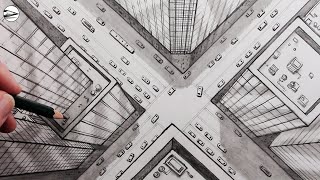
How to Draw a City using One-Point Perspective: Bird's Eye View for Beginners
How to Draw a City Street in One-Point Perspective for Beginners
Fun Facts
🏛️ Filippo Brunelleschi first demonstrated linear perspective in the 15th century, which transformed how artists created realistic space.
✏️ One-point perspective uses a single vanishing point (perfect for straight streets), while two-point perspective uses two vanishing points for building corners.
🎨 Aerial (atmospheric) perspective makes distant buildings look paler and bluer—artists use this to show depth in cityscapes.
📏 Architects and designers often use scale rulers like 1:100 or 1:50 to keep building proportions accurate in drawings.
🏙️ Cityscapes are a popular art subject—famous painters of urban scenes include Canaletto and Edward Hopper.
How do I draw a city scene using simple perspective?
What materials do I need to draw a city with rulers and coloring?
What ages is this city-drawing activity suitable for?
What are the benefits of drawing a city scene with perspective?
