How to draw a church - a free church drawing guide
Draw a simple church using paper, pencil, ruler, and colors, following step by step instructions to practice shapes, symmetry, and windows.

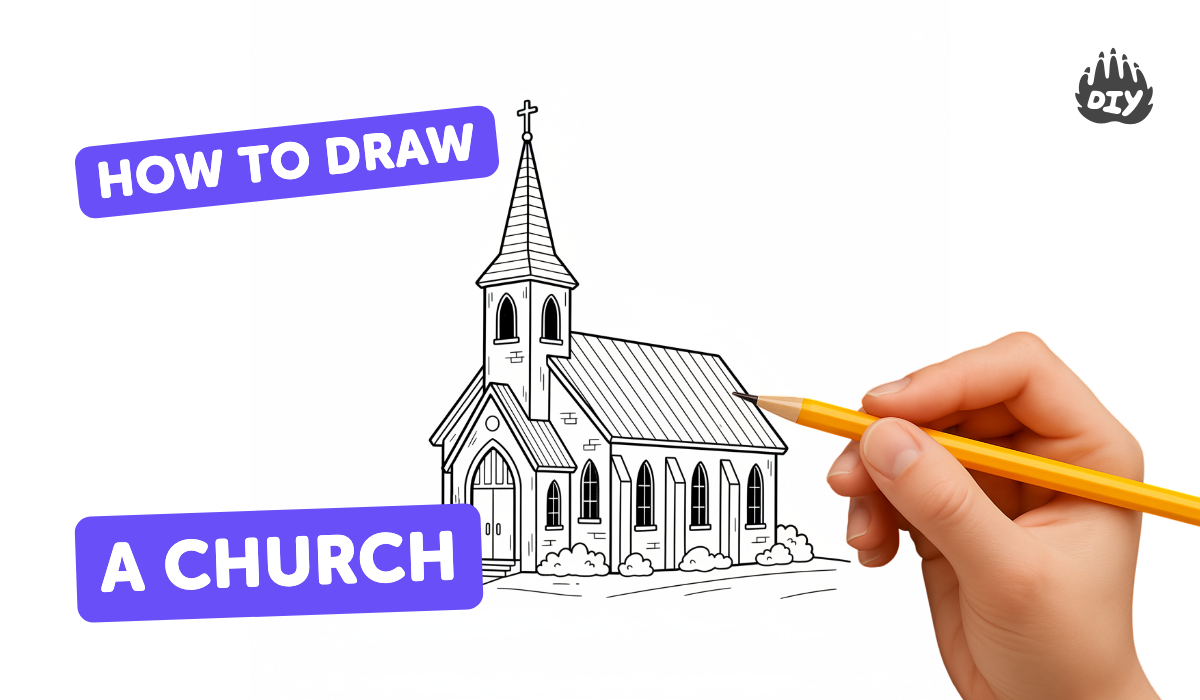
Step-by-step guide to draw a simple church
How To Draw A Church ⛪️ VERY EASY! Step-By-Step Tutorial For Kids
Step 1
Place your paper in portrait orientation on a flat surface and put your pencil and ruler next to it.
Step 2
Lightly draw a vertical center line down the middle of the paper with your ruler as a symmetry guide.
Step 3
Use the ruler to draw a large rectangle centered on the paper to make the church's main body.
Step 4
Draw an isosceles triangle on top of the rectangle so its base sits along the top edge of the rectangle to form the roof.
Step 5
Draw the steeple by sketching a narrow rectangle centered on the roof and a small triangle on top of that rectangle.
Step 6
Draw a tall arched door centered at the bottom of the main rectangle for the church entrance.
Step 7
Draw two matching arched windows one on the left and one on the right of the door and add straight lines inside them to make window panes.
Step 8
Draw a circular or rose window in the center of the roof or on the steeple.
Step 9
Add a small cross or decorative shape at the top of the spire if you like.
Step 10
Erase the center guide line and any extra sketch marks you don't want to keep.
Step 11
Trace over your final church lines to make the outline darker and neat.
Step 12
Color your church using your coloring materials and fill the roof walls door and windows with colors you love.
Step 13
Take a photo or scan your finished church and share it on DIY.org.
Help!?
I don't have a ruler—what can I use instead to draw the center line and rectangles?
Use the straight edge of a book, a cereal box, or a folded piece of paper as a ruler to lightly draw the vertical center line and the large rectangle, and swap markers or colored pencils if you don't have a full set of coloring materials.
My roof and steeple look crooked—how can I fix them without starting over?
Lightly redraw the vertical center line with your straight edge, realign the large rectangle and isosceles triangle so their centers match, then erase only the offending sketch marks before retracing the final roof and steeple lines.
How can I change the activity for younger or older kids?
For younger children, pre-draw the main rectangle and triangle and let them add the arched door, windows, and color, while older kids can add detailed window panes, a rose window pattern, shading, and trace over final lines for a neater finish.
What are simple ways to personalize or extend my church drawing?
Add surrounding elements like trees, a path, and people, decorate the roof and rose window with patterns or metallic colors, and then take a photo or scan your finished church to share on DIY.org.
Watch videos on how to draw a simple church
How to Draw Church Easy for Kids and Toddlers
4 Videos
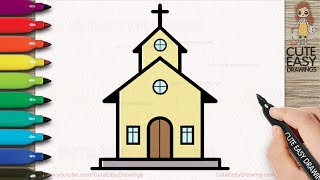
How to Draw Church Easy for Kids and Toddlers
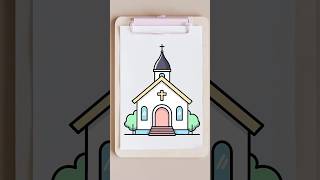
How to draw a church | Step by step drawing tutorial

How to Draw a Church
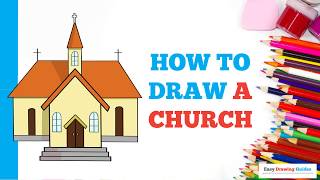
How to Draw a Church in a Few Easy Steps: Drawing Tutorial for Beginner Artists
Facts about drawing for kids
🏛️ Many churches are designed symmetrically so both sides mirror each other — symmetry makes drawings look balanced.
✏️ Architects often start with simple shapes (rectangles, triangles, circles) to build a complex-looking building.
📐 Using a ruler for straight lines and guidelines helps windows and doors line up perfectly in your drawing.
🪟 Stained glass windows were used to tell stories and fill churches with colorful light — great inspiration for window designs.
🎨 Color choices change mood: warm colors feel cozy and small, cool colors can make a church seem taller and calmer.
How do you draw a simple church step by step?
What materials do I need to draw a simple church with my child?
What ages is this church drawing activity suitable for?
What are some easy variations and benefits of drawing a church?
