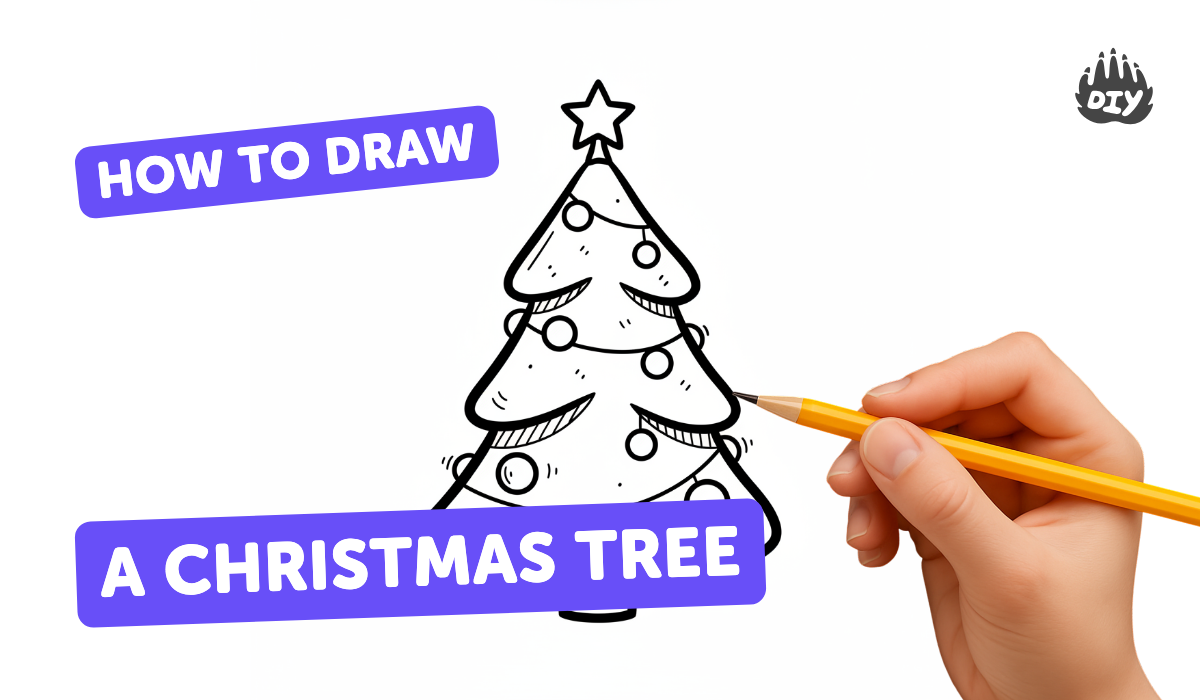
How to draw a christmas tree - a free christmas tree drawing guide
Draw a Christmas tree step by step using simple shapes, add ornaments, lights, and shading, then practice symmetry and coloring to create a festive picture.

Drawing Apps
Photos of Christmas tree drawing examples


Step-by-step guide to draw a Christmas tree
How to Draw a Cute Christmas Tree - Easy Step-by-Step for Kids!
Step 1
Gather your paper pencil eraser ruler and coloring materials and find a flat spot to draw.
Step 2
Lightly draw a straight vertical center line down the middle of the paper using your ruler to help with symmetry.
Step 3
Draw a small triangle near the top of the center line to make the top section of the tree.
Step 4
Draw a medium triangle below the top triangle sharing the same center line so the points line up.
Step 5
Draw a large triangle below the medium triangle so all three triangles stack into a tree shape.
Step 6
Draw a small rectangle centered under the bottom triangle to make the tree trunk.
Step 7
Draw a simple star shape centered at the very top of the center line above the top triangle.
Step 8
Draw three gently curved horizontal lines across the tree triangles to make garlands.
Step 9
Draw matching pairs of small circles on each side of the center line to place ornaments symmetrically.
Step 10
Draw tiny ovals along the garland lines to add strings of lights across the tree.
Step 11
Shade the left side of each triangle with light diagonal pencil strokes to give the tree depth.
Step 12
Carefully trace the outer edges of the tree star ornaments and lights with the black marker to make them bold.
Step 13
Color all three triangle sections green using even strokes to fill the tree.
Step 14
Color the trunk star ornaments and lights in bright colors to decorate your tree.
Step 15
Take a picture of your finished festive Christmas tree and share it on DIY.org.
Help!?
What can I use instead of a ruler or a black marker if I don't have them?
Use the straight edge of a hardcover book or a folded piece of paper as a ruler and a fine-tip black pen or dark gel pen to carefully trace the outer edges in place of a black marker, and use a phone camera for the final picture.
My triangles or ornament pairs look uneven—how can I fix that without ruining the drawing?
Rely on the lightly drawn vertical center line and your ruler to remeasure and erase uneven triangle points or ornament distances with your eraser, redraw with light pencil strokes, and only trace with the black marker once you are satisfied and the ink will be less likely to smudge if allowed to dry.
How can I adapt the activity for younger or older kids?
For younger kids pre-draw the stacked triangles and let them place stickers for ornaments and color with crayons, while older kids can use the ruler and pencil to add branch detail, diagonal shading on each triangle, and colored gel pens for intricate lights.
How can we make the finished Christmas tree more special or advanced?
Add a snowy background, draw wrapped presents at the trunk, apply glitter glue to the star and ornaments after tracing with the black marker, and sign and date the drawing before photographing it to share on DIY.org.
Watch videos on how to draw a Christmas tree
How To Draw A Christmas Tree
4 Videos
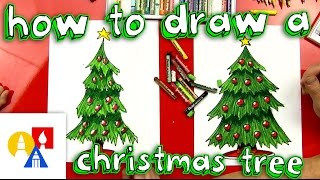
How To Draw A Christmas Tree
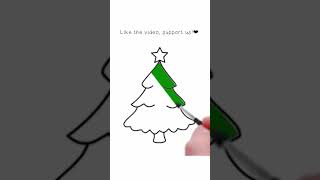
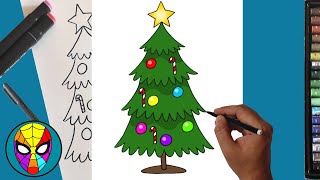
How to Draw Easy Christmas Tree | Holiday Fun Art for Kids Hub 🎄✨
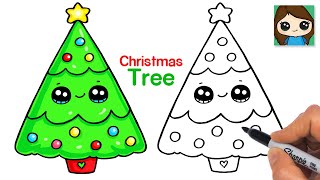
How to Draw a SUPER EASY Christmas Tree 🎄
Step-by-Step Guide: How to Draw a Christmas Tree Easily
Facts about drawing for kids
🎄 The modern Christmas tree tradition started in early modern Germany and spread worldwide in the 19th century.
🎨 Artists and teachers often break drawings into simple shapes—triangles for tree layers and circles for ornaments make drawing easy for beginners.
✨ Glass Christmas baubles were popularized by German glassblowers from Lauscha and became widespread in the 19th century.
💡 The first electrically lit Christmas tree was created by Edward H. Johnson, a colleague of Thomas Edison, in 1882.
🔁 Practicing mirror symmetry (drawing one side and matching the other) boosts spatial reasoning and helps create balanced artwork.
How do I draw a Christmas tree step by step?
What materials do I need to draw a Christmas tree?
What ages is this drawing activity suitable for?
What are the benefits and safe variations of drawing a Christmas tree?
