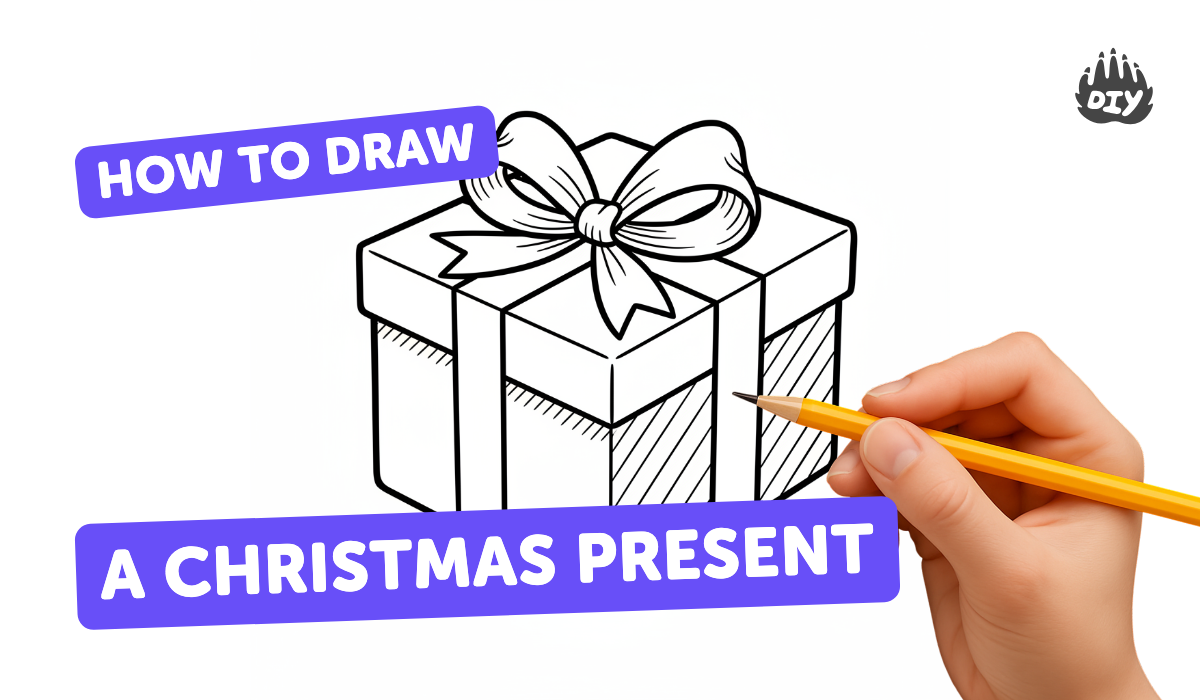
How to draw a christmas present - a free christmas present drawing guide
Draw a Christmas present with ribbon and bow, adding patterns, shading, and highlights to practice proportions and symmetry. Finish by coloring neatly.

Drawing Apps
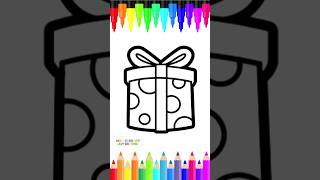
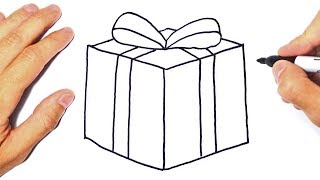
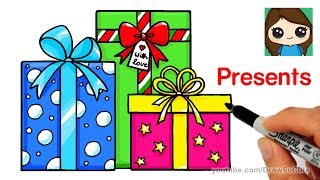
Photos of Christmas present drawing examples


Step-by-step guide to draw a Christmas present with ribbon and bow
How To Draw A Christmas Present
Step 1
Clear a flat workspace and lay out your materials where you can reach them easily.
Step 2
Draw a neat rectangle in the middle of the paper using your ruler to make the sides straight.
Step 3
Lightly draw a vertical and a horizontal centerline across the rectangle to help keep things symmetrical.
Step 4
Draw a ribbon across the box by tracing two straight lines along the centerlines from one edge of the rectangle to the other.
Step 5
Draw a bow where the ribbons cross by sketching a knot and two loops on either side at the ribbon intersection.
Step 6
Add repeating patterns on the wrapping paper like stripes dots or small stars keeping the designs balanced on both sides.
Step 7
Pick where the light is coming from by pointing to a corner of the paper so you know where highlights and shadows will go.
Step 8
Shade the side of the box and the underside of the ribbon that is away from the light using your pencil and blend with the tissue to make it smooth.
Step 9
Gently lift small highlights on the ribbon and bow with your eraser to make them look shiny.
Step 10
Trace the final outlines of the box ribbon bow and patterns with your black pen or fineliner to make everything crisp.
Step 11
Erase the faint centerlines and any extra pencil marks so your drawing looks clean.
Step 12
Color the wrapping paper carefully staying inside the lines and keeping your strokes neat and even.
Step 13
Color the ribbon and bow neatly using brighter colors and add tiny darker strokes where you shaded to keep depth.
Step 14
Draw a soft shadow beneath the box with pencil and blend it to make the present sit on the page.
Step 15
Take a photo or upload a scan and share your finished Christmas present drawing on DIY.org
Help!?
What can I use if I don't have a fineliner, ruler, or blending tissue?
Use a well-sharpened dark pencil or thin permanent marker to trace the final outlines instead of the fineliner, a straight edge like a credit card in place of the ruler for drawing the rectangle and ribbon lines, and a cotton ball or your fingertip to blend the pencil shading if you don't have tissue.
My ribbon looks uneven and my shading is blotchy—how can I fix this?
Redraw the vertical and horizontal centerlines lightly with your ruler to realign the ribbon before inking, then build shading in light layers and blend each layer with tissue as the instructions say to avoid patchy tones.
How can I adapt this drawing for younger or older kids?
For younger children, print a rectangle to trace and let them color the wrapping paper with crayons while skipping the shading and eraser-highlight steps, and for older kids, challenge them to add perspective, detailed repeating patterns, and use fineliner plus blending tissue to refine the ribbon, bow, and shadows.
How can we make the present drawing more special or advanced?
Personalize the gift by drawing a name tag and adding metallic gel-pen highlights on the bow after inking, or extend the activity by making several stacked boxes with different patterned wrapping papers, ribbon colors, and deeper blended shadows to create a scene.
Watch videos on how to draw a Christmas present with ribbon and bow
Learn How to Draw a Christmas Gift for Kids | Easy Drawing Tutorial
4 Videos
Learn How to Draw a Christmas Gift for Kids | Easy Drawing Tutorial
How to draw a Present Step by Step | Christmas Present Drawing
How to Draw Presents Easy | Christmas Gifts

How To Draw Christmas Gift Step by Step
Facts about drawing and shading for kids
🎁 The custom of exchanging decorated gifts at winter festivals has roots in ancient traditions and evolved into today's Christmas present ritual.
🎀 A simple ribbon bow is tied using the same basic knot principle as a shoelace knot — make two loops and knot them together!
📐 Artists use proportion tools like grids and the rule of thirds to keep drawings balanced and help both sides match for symmetry.
🖌️ Chiaroscuro (Italian for 'light-dark') is a classic shading method that makes flat drawings appear three-dimensional with highlights and shadows.
🎨 Small, even strokes and steady pressure make coloring look neat and smooth — coloring edge-to-edge helps keep bright, clean finishes.
How do you draw a Christmas present with ribbon and bow, adding patterns, shading, and highlights?
What materials do I need to draw and color a Christmas present with ribbon and bow?
What ages is this Christmas present drawing activity suitable for?
What are the benefits of drawing a Christmas present with patterns, shading, and highlights?
