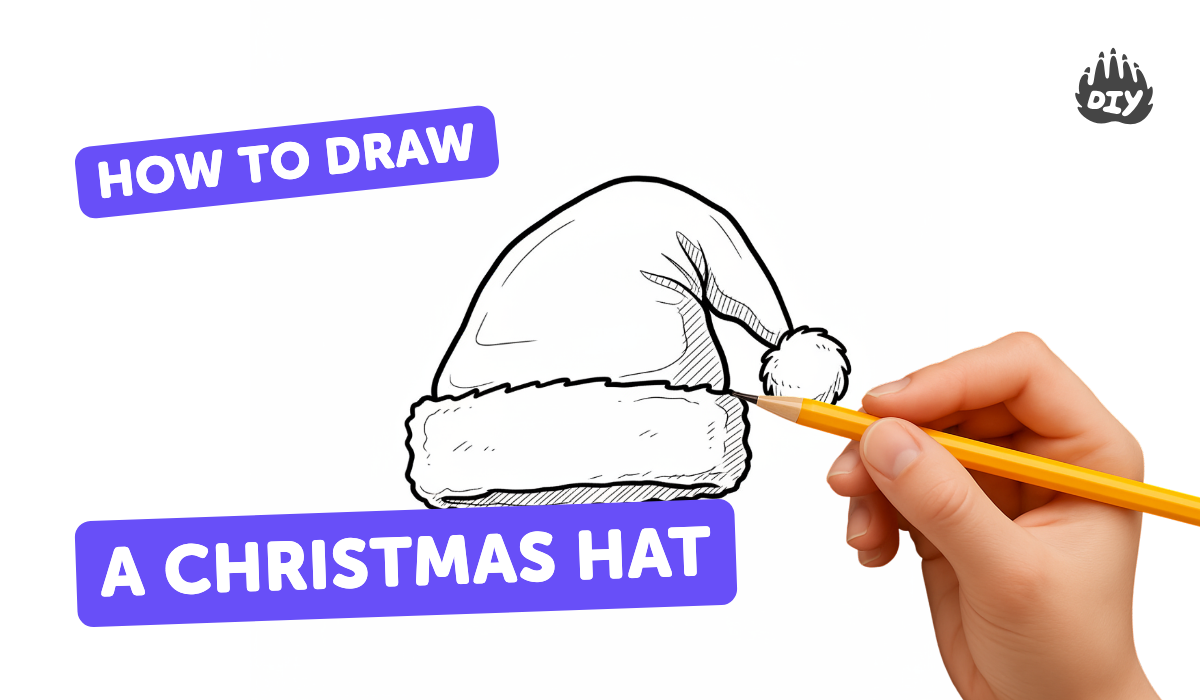
How to draw a christmas hat - a free christmas hat drawing guide
Draw a simple Christmas hat step-by-step using pencil, eraser, and markers. Practice adding fur, pompom, and shading to complete it.

Drawing Apps
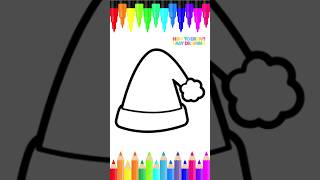
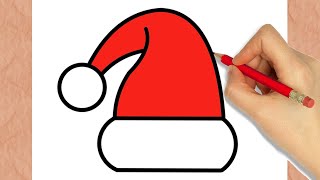
Photos of Christmas hat examples


Step-by-step guide to draw a Christmas hat
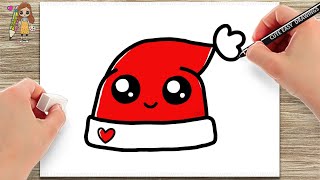
How to Draw a Cute Christmas Santa Hat - Easy Step-by-Step for Kids!
Step 1
Place your paper on a flat surface so it is easy to draw.
Step 2
Lightly draw a gently curved horizontal line near the bottom third of the paper for the bottom edge of the hat brim.
Step 3
Draw a second gently curved horizontal line above the first to make the top edge of the fluffy brim.
Step 4
Add small rounded scallops or zigzag lines between the two brim lines to create fur texture.
Step 5
From the top edge of the brim draw a large slanted triangle or curved cone shape pointing up and to one side for the hat body.
Step 6
Draw a short curved line partway down the hat body to show a cute fold or bend in the hat.
Step 7
Draw a circle at the tip of the hat for the pompom.
Step 8
Add short curved strokes all around the circle to make the pompom look fluffy.
Step 9
Gently erase any extra guideline marks that you no longer need.
Step 10
Add light pencil shading with soft strokes along one side of the hat and under the brim to show shadow.
Step 11
Carefully trace your final outlines with a marker so the drawing looks crisp.
Step 12
Color the hat and pompom with markers using your favorite festive colors.
Step 13
Share your finished Christmas hat drawing on DIY.org
Help!?
What can we use instead of markers or a soft pencil if we don't have them?
Use colored pencils or crayons to color the hat and pompom, a regular HB pencil with light strokes for the shading step, and a fine-tip pen instead of a marker for tracing the final outlines.
My fluffy brim scallops and pompom look messy—how can I fix them?
Lightly redraw the small rounded scallops between the two brim lines with a sharp pencil, add short curved strokes around the pompom for fluff as the instructions say, then gently erase extra guideline marks and retrace with a marker when satisfied.
How can I adapt the activity for a preschooler versus an older child?
For preschoolers, pre-draw the two curved brim lines and the pompom and let them add scallops and color with crayons, while older kids can add the fold, detailed pompom strokes, layered shading along one side and under the brim, and decorative patterns before tracing.
How can we personalize or extend the Christmas hat drawing after finishing the basic steps?
After tracing and coloring as instructed, personalize the hat by adding stripes, holly leaves, stars, a glitter pompom, a small face under the brim, or a snowy background and then share the finished drawing on DIY.org.
Watch videos on how to draw a Christmas hat
Learn How to Draw Santa's Hat for Kids | Easy Drawing Tutorial
4 Videos
Learn How to Draw Santa's Hat for Kids | Easy Drawing Tutorial
How to Draw a Christmas Hat
How to Draw Santa Claus Hat - Very Easy For KIDS

Drawing Santa Claus hat tutorial | How to draw a Santa hat | Christmas Drawing
Facts about drawing for kids
🎅 The red-and-white Santa hat we draw today became popular in the 1800s as part of the modern Santa Claus image.
✏️ An HB pencil is great for sketching a hat—dark enough to see but still easy to erase and fix.
🧶 The fluffy pom-pom on top started as a simple decorative tassel and you can make one from yarn in minutes.
🖊️ Washable markers are kid-friendly and blend nicely for bright hat colors without permanent mistakes.
🎨 Short parallel lines called hatching are a quick way to add shading and make the fur trim look fluffy.
How do I teach my child to draw a simple Christmas hat step-by-step?
What materials do I need to draw a Christmas hat with my child?
What ages is drawing a Christmas hat suitable for?
What are some fun variations and creative ideas for a Christmas hat drawing?
